
Current Portal: open Services → SIP Lines for the selected identity's SIP details. Match its authentication, signaling transport and call-audio settings on your device; old screenshots show an earlier software version. Use your own credentials and current regional server. Private values in illustrations are hidden.
In this article, we'll show you how to easily download, install, and configure Zoiper on your mobile device (Android or iOS) to use with your IllyVoIP account. Zoiper is a user-friendly softphone application that lets you make VoIP calls directly from your smartphone, keeping you connected wherever you go.
If you don’t already have an IllyVoIP account, click the button below to create one: Sign UP
Step 1: Download and Install Zoiper
To get started, download Zoiper from the official app stores:
-
For Android devices: Google Play Store
-
For iOS devices: Apple App Store
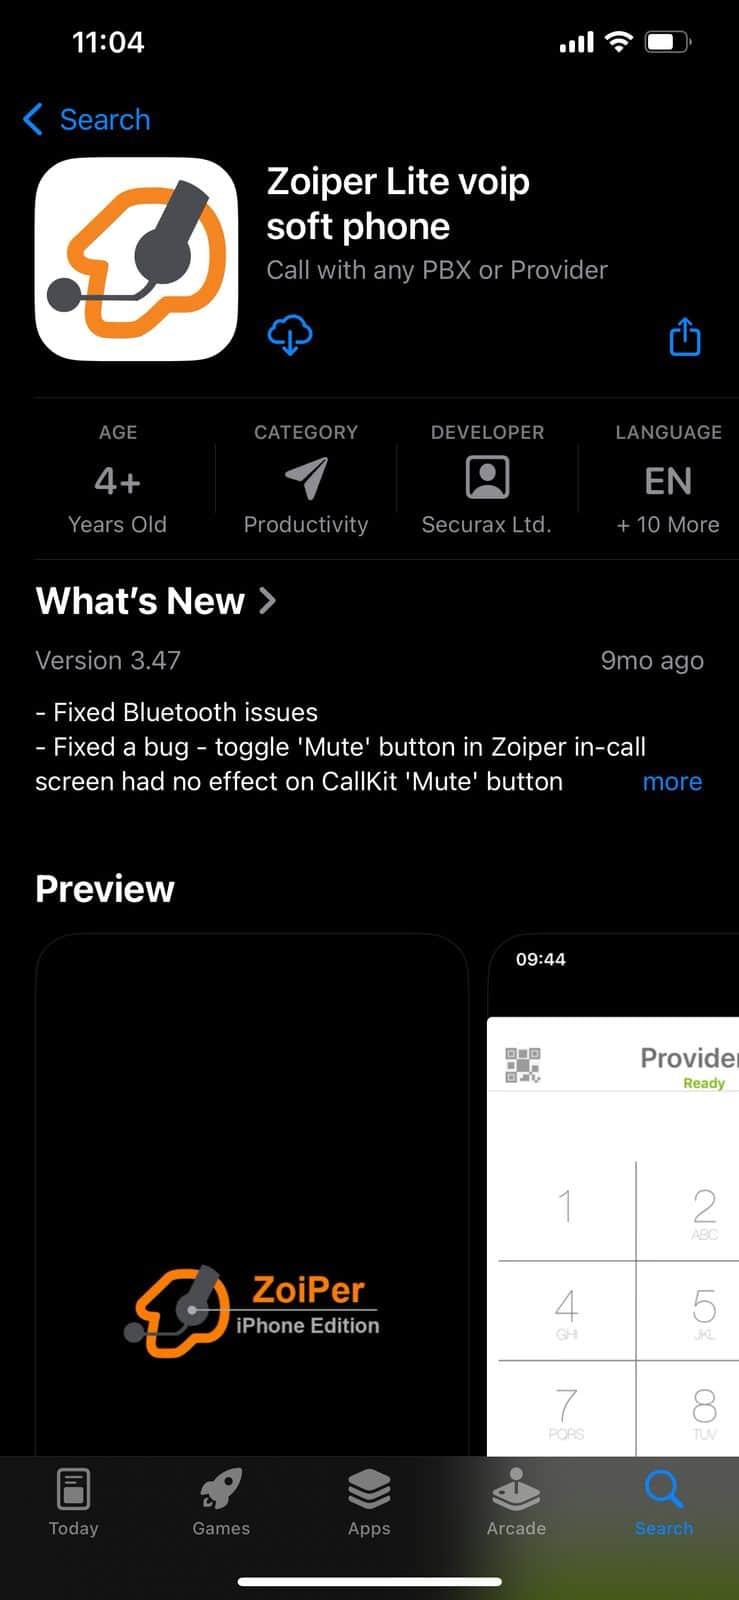
Once downloaded, install Zoiper on your device by following the simple instructions provided by the app store.
Step 2: Configure Your VoIP Account on Zoiper
Open the Zoiper app on your iPhone. The app will request permission to use your microphone, speaker, and other necessary features. Be sure to allow microphone and speaker access. Once you've provided these permissions, go to the Settings menu to continue the setup.
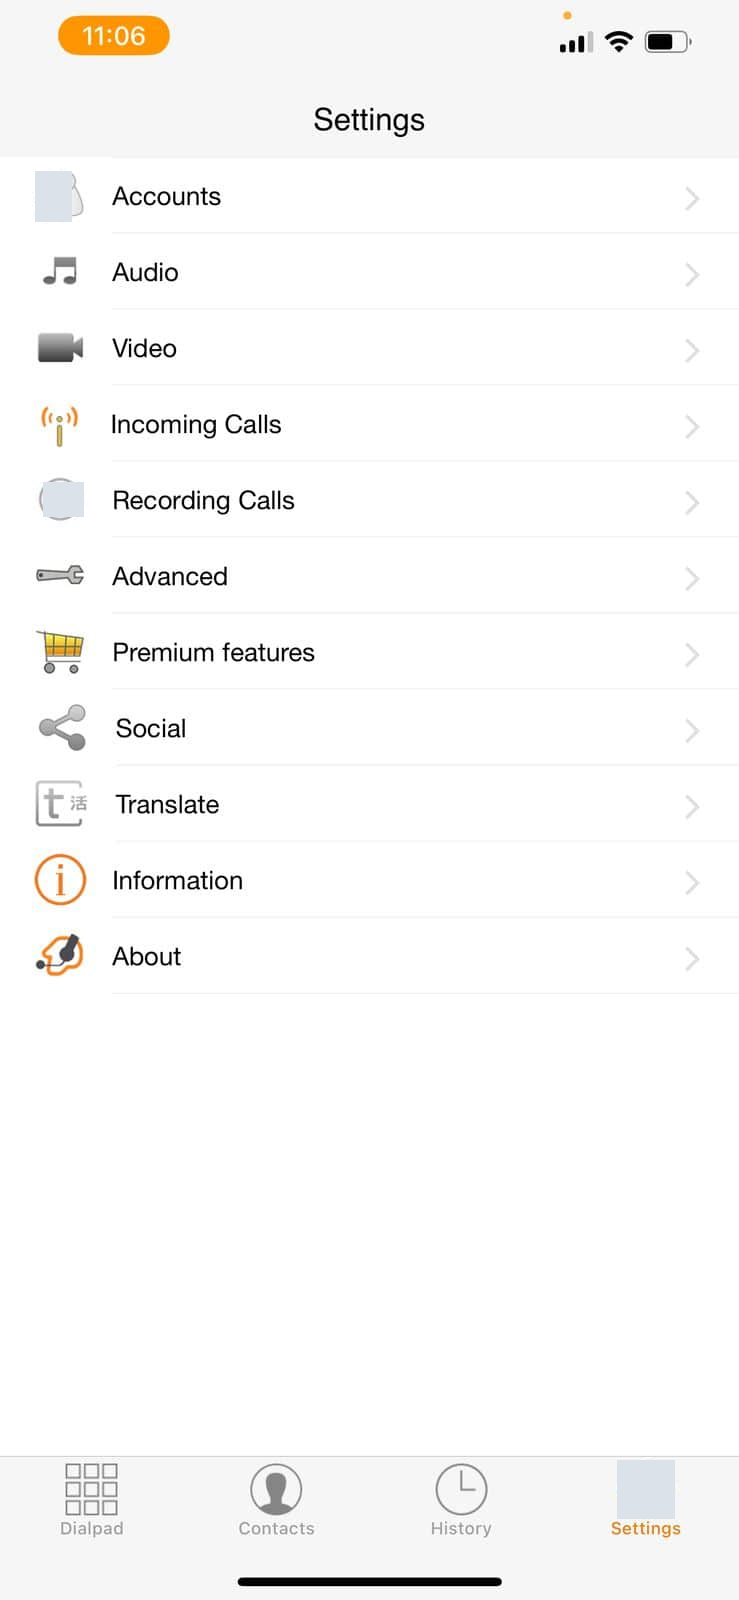
Navigate to Account, tap the "+" icon to add a new account. Zoiper will ask if you already have a SIP account. If you're registered with IllyVoIP, you already have one, so select "Yes". Next, Zoiper will prompt you to choose a provider or add one manually—tap "Manual configuration" to set up your IllyVoIP SIP account.
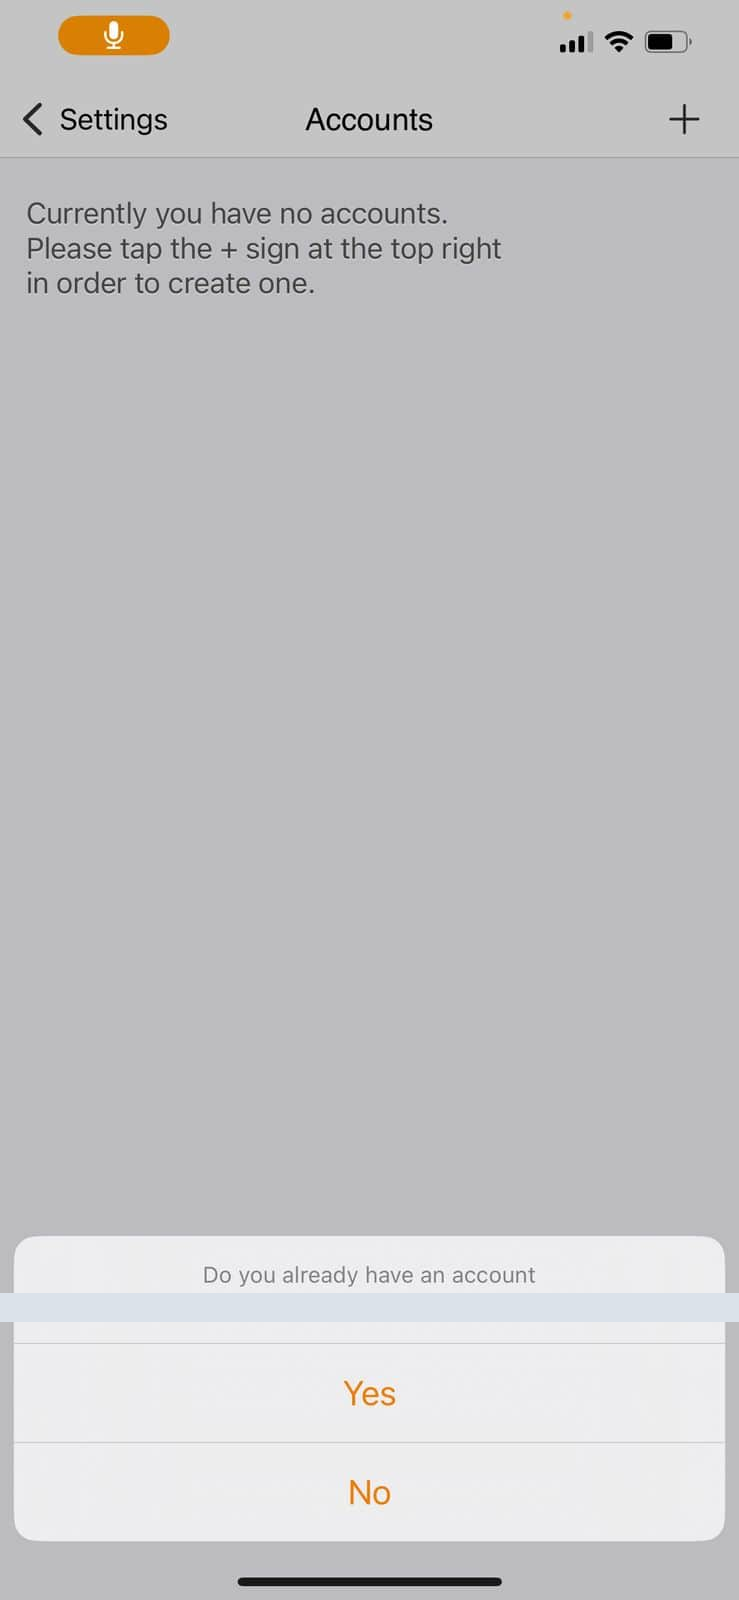
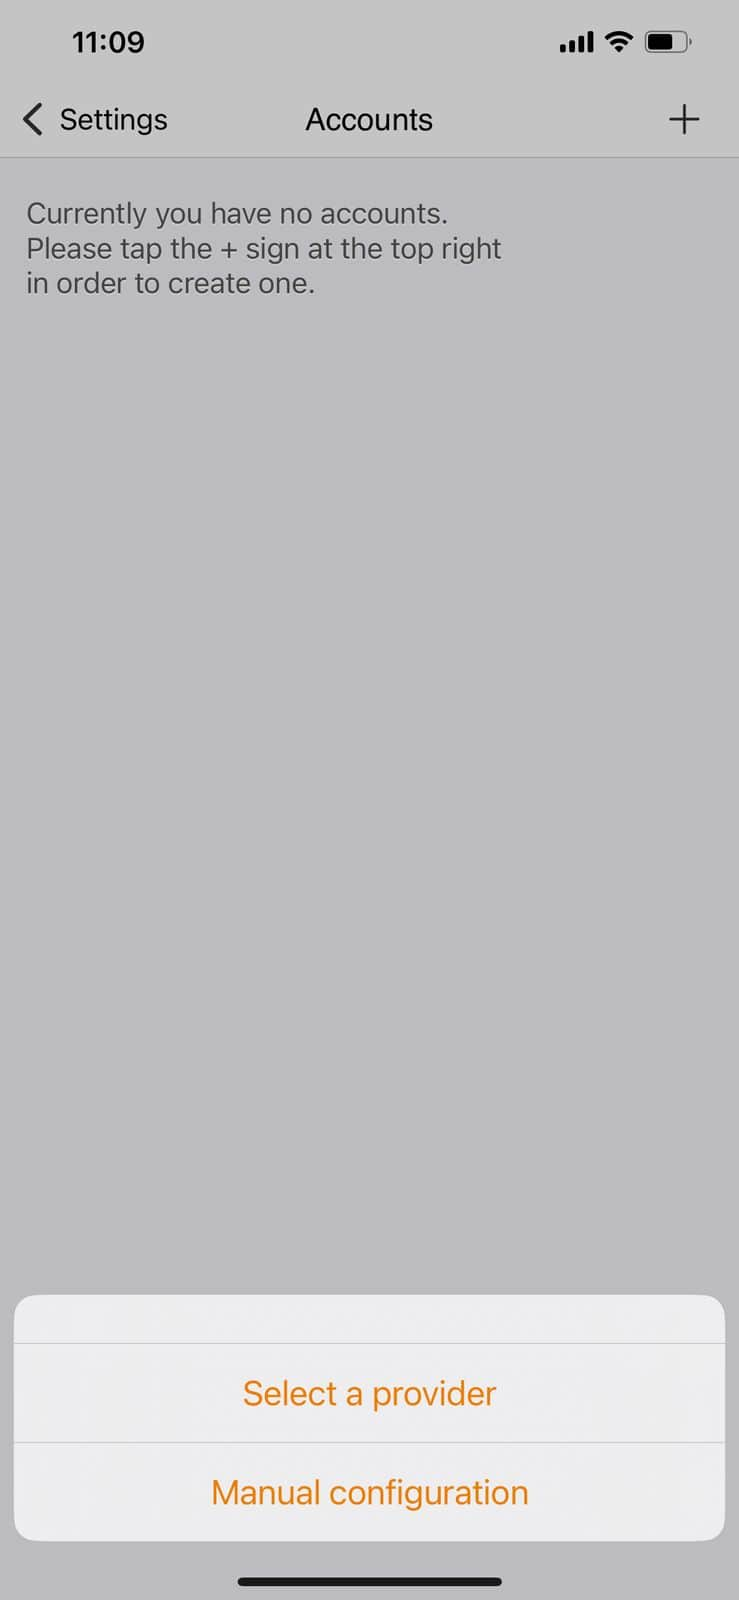
After selecting "Manual Configuration," you'll be prompted to enter your SIP Username, SIP Password, and Domain. You can easily find these details in your IllyVoIP account under the "SIP Lines" section.
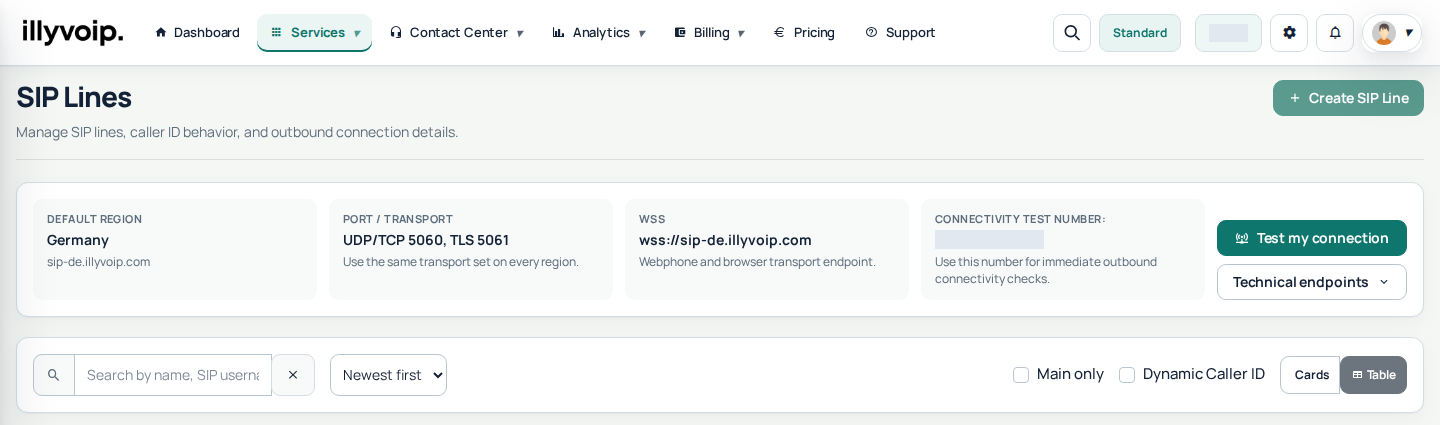
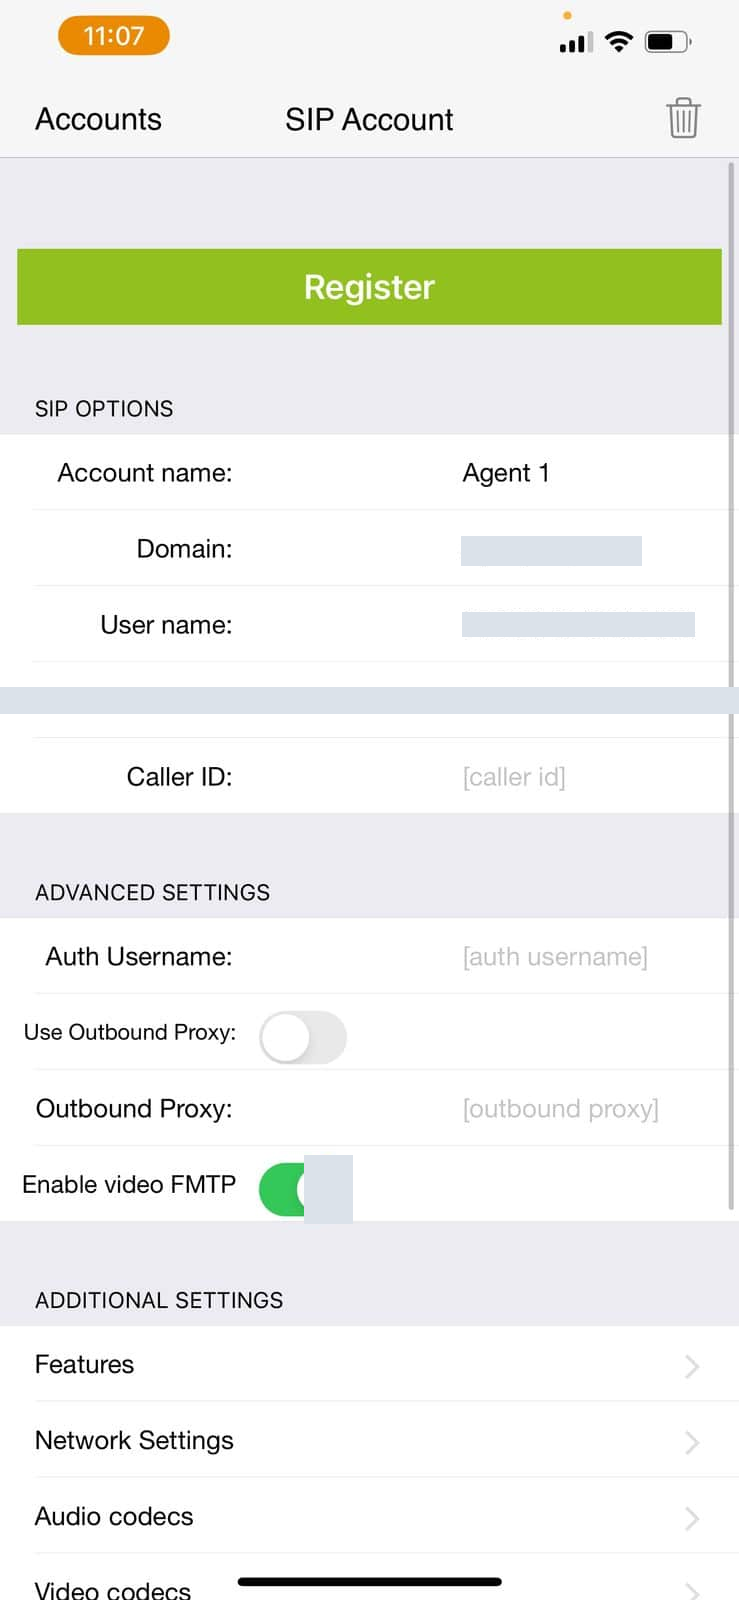
Copy your SIP Username, SIP Password, and Domain from the SIP Lines section on your IllyVoIP dashboard, and enter these details into the corresponding fields shown in the Zoiper app (as in the image above). Once you've entered all the information correctly, tap Register. The registration status should show as "OK", confirming that your account is ready to use.
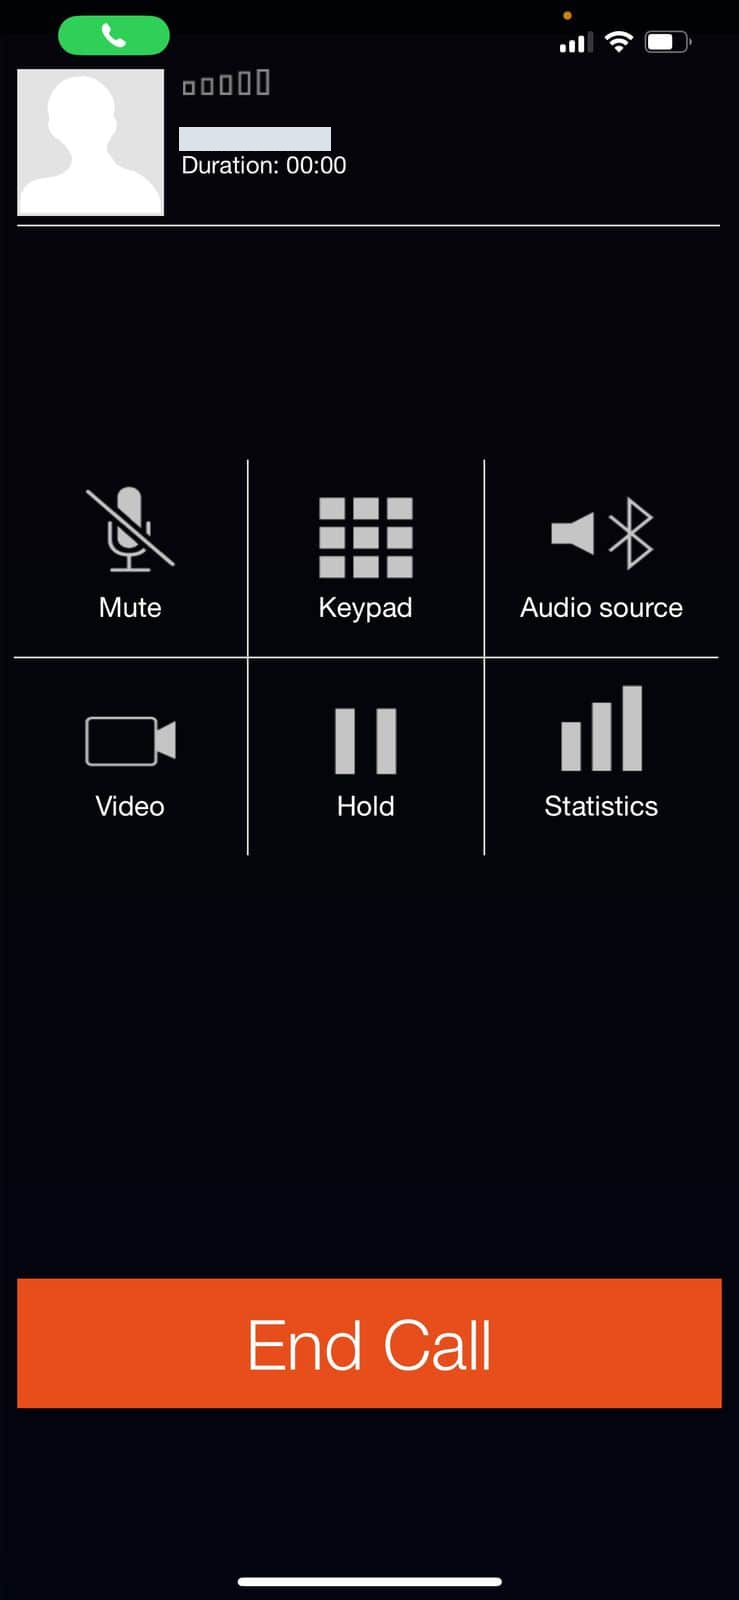
If you've entered everything correctly, you can now start making calls using Zoiper after successful configuration.
Note: The Zoiper app doesn't allow setting your Caller ID directly. To set or change your Caller ID, log in to your IllyVoIP account, go to SIP Lines → Caller ID, and enter your desired Caller ID there. Change CallerID
For additional help or questions, please contact our live support team. If you want to learn more about SIP trunking or how to set up other softphones, check out these related articles : SIP Trunking Configurations
If a screenshot shows UDP, use it only with a compatible configured line. Registration and working two-way audio are separate checks. Caller ID is controlled by the selected identity and account/package permissions in IllyVoIP.