
N610 IP PRO: configure the base, account and handsets separately
The N610 has distinct provider profiles, SIP accounts and handset assignments. A handset can be paired with the base while its SIP account is still unregistered; a registered account can also have no handset assigned to ring. Follow this N610 section for that model and retain the N670 procedure below for an N670.
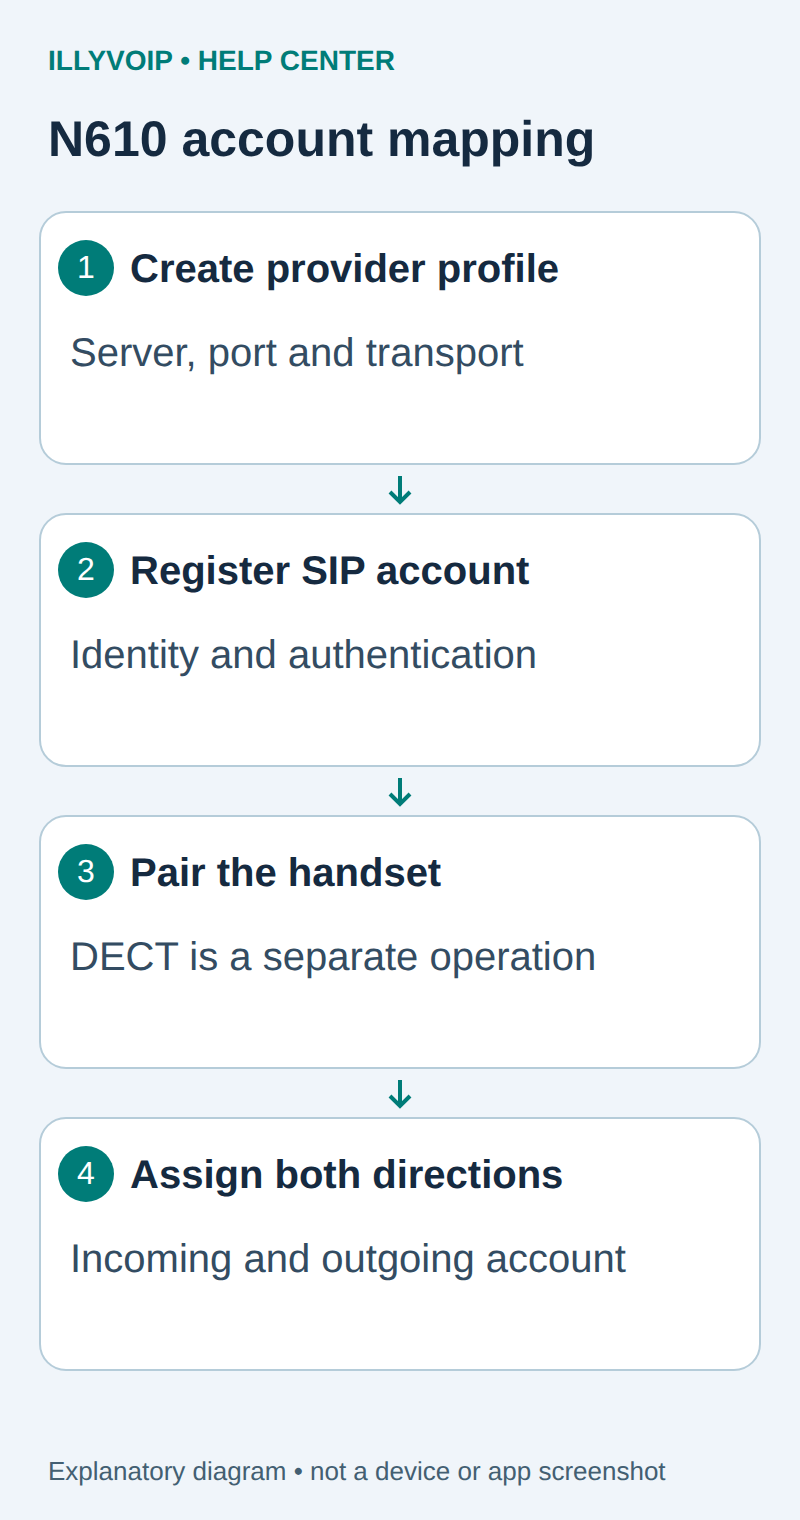
In IllyVoIP, open Services → SIP Lines, select the intended password-authenticated line and expand Technical endpoints. Copy its SIP username, SIP password, regional hostname, destination port and transport. These are not your Portal login credentials. Keep any existing working devices and IP-authenticated configuration intact.
N610 step 1: create the provider profile
Open the base’s trusted web configurator and choose Settings → Provider or PBX profiles. Add or edit the intended profile without replacing another working provider. Map the supplied SIP domain, proxy and registration-server values to the corresponding fields. Use the destination ports and transport supplied for the IllyVoIP line, not the base’s local management address.
Match the transport and media policy to the line. UDP, TCP and TLS describe signaling; standard RTP, SDES-SRTP and DTLS-SRTP describe different media modes. Selecting a TLS port does not enable TLS automatically or encrypt audio. Use the supplied hostname for certificate verification and keep device time and certificate trust correct. Do not disable a firewall or expose the administration interface to the Internet.
If the base uses your own PBX, the profile and credentials belong to that PBX extension. The PBX then uses its IllyVoIP trunk. Do not mix direct-provider registration values into an existing PBX profile.
N610 step 2: add the SIP account
Open Settings → SIP accounts → Administration and add the intended account. Select the provider profile you just checked.
| Setting | Value or action |
|---|---|
| Authentication name | SIP authentication ID. |
| Authentication password | SIP password. |
| Username | SIP account identity; do not substitute a public incoming number without explicit account instructions. |
| Display name | A readable label. This does not authorize an external caller ID. |
| VoIP provider | The profile containing the intended server and transport settings. |
Save and check the SIP account’s registration state. Resolve registration errors before changing handset assignments. Keep exported account settings private.
N610 step 3: register and assign the handset
- Use Settings → Mobile devices → Registration Centre to register an authorized compatible handset according to its manual. Pairing a handset is a DECT operation, separate from SIP registration.
- Check that it appears under Mobile devices → Administration.
- Open Settings → SIP accounts → Assignments. Use the available/assigned handset controls to assign the intended handset for incoming calls.
- Set its intended outgoing account as well. Do not assume the incoming assignment chooses the outgoing identity.
- Save and recheck both assignments, especially when several handsets share the base.
N610 step 4: prove the actual handset path
- Confirm registration on the configured account, not merely another account on the device.
- Check your balance, destination rate and permitted caller ID. Call a number you control, using the international format accepted by your routing configuration; the call can be charged.
- Answer and check speech in both directions, the destination and caller ID. Hang up and verify the call ends.
- For incoming calls, assign an active IllyVoIP number to the intended SIP line in its number configuration. Registration alone does not change that destination. Call it from another phone and verify the intended device rings.
If only one handset should ring, test that another paired handset stays silent. If registration is healthy but no handset rings, inspect incoming assignments before changing the SIP password. If outbound calls use the wrong identity, inspect outgoing assignment and handset account selection. Poor coverage and DECT pairing faults are separate from public-number routing.
Reference: official N610 documentation, May 2024 English system manual. The remaining procedure is retained for N670 installations.
This guide connects a Gigaset N670 IP PRO and a compatible DECT handset to IllyVoIP. There are three separate tasks: create the provider profile, assign a SIP identity to the handset and register the handset to the DECT system. A handset can be connected to the base while its SIP account is still unable to make calls.
The field references follow Gigaset's N670 international system manual, available from its current official manual page. Firmware and device role affect the menus. The main walkthrough uses the standard per-handset provider-data arrangement; the separate internal-telephony role is explained below. Do not change a working system's role to make its screens match this guide.
1. Identify the system you are configuring
Confirm the model, firmware, device role and administrator responsible for the system. For a managed installation, use the DECT manager's configuration interface rather than an individual radio-only base. Keep a backup of existing settings and avoid changes to shared profiles without checking which handsets use them.
Connect the N670 to the intended network with appropriate power and have a charged, compatible handset ready. Check Gigaset's handset compatibility information for the installed firmware. This guide does not configure a multicell expansion, change DECT synchronization or certify coverage throughout your building.
If the N670 connects to an office PBX, use PBX extension credentials here. Configure the IllyVoIP trunk on that PBX separately. For a direct IllyVoIP connection, prepare a password-authenticated SIP line for the handset.
2. Collect the IllyVoIP values
- Open Services → SIP Lines and select the intended line.
- Confirm password authentication, then obtain the SIP username and password securely.
- Expand Technical endpoints and record the regional hostname, destination port and transport.
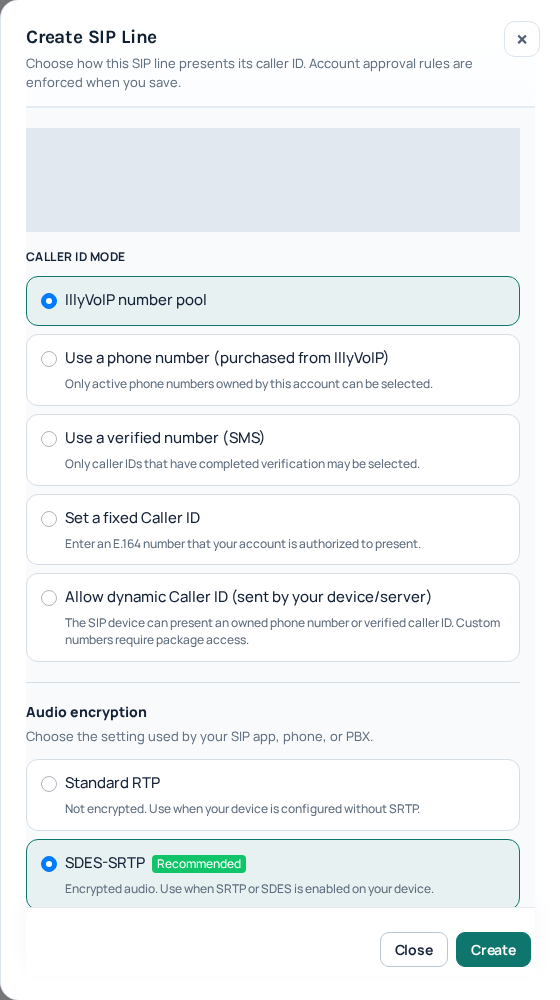
- Check the line's audio-encryption setting and allowed caller ID.
- Confirm any required verification, available balance or package and the destination of any incoming number.
Do not use your Portal login password as the SIP password. Do not repurpose an IP-authenticated production trunk without reviewing its existing users. See Manage SIP Lines if you need a separate identity, and review the terms displayed in the Portal.
3. Open the N670 web configurator
- Use a computer on a network permitted to reach the system's management interface.
- Find the N670 or DECT manager in your DHCP server's lease list, matching the MAC address on the device. Use its actual current address.
- Open that address using the management protocol configured for the device.
- Sign in with the administrator account. The provider-profile page requires the admin role.
- On first setup, complete the required password change and select the correct regional radio setting as directed by Gigaset.
Do not assume an example IP address is your device's address, expose the management interface to the internet or factory-reset an installed system just to recover access. Ask the existing administrator if credentials or the management network are unknown.
4. Create an IllyVoIP provider profile
Open Settings → Provider or PBX profiles and edit an unused entry. Give it an identifiable connection name. Use the generic/manual configuration appropriate to your firmware rather than an unrelated PBX provisioning preset.
| N670 setting | Value or action |
|---|---|
| Connection name or number | A local profile name, such as IllyVoIP. |
| Domain | The SIP domain supplied for your line, normally the selected regional hostname. |
| Proxy server address | The current IllyVoIP SIP endpoint hostname. |
| Proxy server port | The destination port paired with the selected endpoint and transport. |
| Transport protocol | The corresponding UDP, TCP or TLS setting. |
| Registration refresh time | Retain the supported default unless the service or administrator requires a different interval. |
| SRTP options | Match the SIP line's audio-encryption policy and the installed firmware's supported media method. |
In the referenced manual, Registration server under Failover server is a redundancy setting. Do not put the primary server there merely because another manufacturer's guide uses a registrar field with that name. Do not enable failover or an outbound proxy without the corresponding service details.
For an SDES-SRTP line, confirm compatible SRTP configuration on the N670. The separate option to accept non-SRTP calls changes whether unencrypted media is accepted; it should follow your intended policy, not be enabled as a universal fix. Keep TLS certificate checks in place. Save the profile with Set.
5. Add the handset's SIP identity
In the standard arrangement, open Settings → Mobile devices → Administration. Add a new handset entry or edit the intended existing one. Under Personal provider data, select the IllyVoIP profile you just configured.
| Handset field | What to enter |
|---|---|
| VoIP provider | The intended IllyVoIP provider profile. |
| Authentication name | The SIP authentication identity, normally the selected line's SIP username. |
| Authentication password | The SIP password of that line. |
| Username | The line's SIP username; do not replace it with an arbitrary caller-ID number. |
| Display name | An optional readable name. It does not authorize the outgoing telephone number. |
If internal telephony is enabled: the manual describes a separate Settings → SIP accounts → Administration page for the All in one + internal telephony - dynamic IP role. Create or edit the SIP account there, then assign it to the handset for the intended incoming and outgoing use. In that role, provider data comes through the SIP-account assignment rather than the per-handset fields above. Preserve the existing role and follow its assignment controls; do not enter duplicate accounts in both places.
6. Register the handset to DECT
For a new handset entry, use its IPUI when available to restrict registration to that handset. Set or generate the four-digit Authentication Code (PIN) used for DECT registration. This PIN is separate from the SIP password and the web-administrator password.
- Complete the handset entry and choose Register now.
- Start registration on the physical handset using that handset model's instructions.
- Enter the DECT PIN when prompted and complete registration during the configured registration window.
- Return to the mobile-device list and confirm the DECT status.
- Check SIP status separately for the configured account.
The Registration Centre/Center can prepare a timed window for multiple handsets; start with one for the initial test. Gigaset's mobile-device instructions include genuine interface illustrations. Keep the window bounded and confirm the correct handset registered. Do not de-register an existing handset as a routine SIP troubleshooting step: doing so can remove its entry.
7. Check registration and calls independently
If DECT is connected but SIP is not, review the assigned profile, SIP credentials and endpoint settings. If SIP is connected but the handset cannot reach the base, review DECT registration, power and coverage. These failures need different corrections.
- From the intended handset, call a number you control in the required international format. Normal call charges may apply.
- Confirm audio in both directions and the permitted outgoing caller ID.
- Call an IllyVoIP number whose destination is this SIP identity and confirm the intended handset rings.
- Answer and check two-way audio, then test a harmless keypad-menu option if needed.
- Repeat from the locations where the handset will normally be used and after an idle period.
Only add the next handset after the first identity passes. Do not assume that copying the same SIP username to several independent registrations creates a supported ring group. Plan account assignment and incoming routing for the required behavior.
8. Troubleshoot without disturbing other handsets
- No management access: check the correct manager address, network reachability and administrator role.
- Handset cannot register to DECT: check IPUI, PIN, registration window, compatibility and radio coverage.
- DECT works, SIP fails: check the selected provider profile, credentials, hostname, port and transport.
- Wrong handset rings: inspect number destination and handset/SIP-account assignments.
- Call connects but audio fails: check codec/media compatibility and network reachability rather than re-registering DECT.
- Several handsets fail after one edit: review the shared profile you changed and restore its recorded working values if appropriate.
For Support, record the device role, base and handset firmware, DECT and SIP statuses, exact error and test timestamp/timezone. Share the affected account reference securely. Exclude passwords, DECT PINs and unrelated call information from screenshots.
Frequently asked questions
Does a connected handset mean IllyVoIP registration succeeded?
No. DECT is the radio connection to the base; SIP connects the configured identity to the telephone service. Check both statuses.
Why are the SIP credentials on a separate page?
The internal-telephony role manages SIP accounts and handset assignments separately. Use the workflow for the existing role rather than changing roles to match another guide.
Should I enter my incoming number as the username?
Use the SIP username supplied for the line. Number routing and outgoing caller-ID authorization are managed separately.