
This walkthrough follows the UCM630x administration interface. UCM630xA, older UCM models and firmware releases can differ, so check the manual matching your device. You need an already working internal extension. A SIP trunk connects the UCM to IllyVoIP; it does not replace the extension accounts used by your phones.
Before you begin
This walkthrough uses an IllyVoIP line with password authentication. In SIP Lines, obtain the SIP username, SIP password, server, destination port and transport for your connection. Do not use your Portal email or login password. If the existing line uses IP authentication, do not switch it without checking the devices that depend on it.
You need administrator access to the PBX, a private configuration backup and a working internal extension for testing. An IllyVoIP SIP line connects the PBX to IllyVoIP; an extension connects a staff phone to the PBX. They are not the same account.
Start with one test extension and a destination you control. Do not move the whole office to the new trunk immediately. If the PBX already carries calls, keep the existing route available until the test is complete.
1. Create the registration trunk
Open Extension/Trunk → VoIP Trunks and add a Register SIP Trunk. Choose a clear Provider Name so you can recognize the connection in rules and logs. Keep the trunk enabled and enable Need Registration for this workflow. Enter the line details, then save and apply changes.
| Field | Value to use |
|---|---|
| Host Name | IllyVoIP SIP server, not the Portal website |
| Username / Auth ID | SIP username and authentication ID from the line |
| Password | SIP password |
| Transport | The transport supplied for your connection |
| Need Registration | Enabled for this password-registration workflow |
| Provider Name | Local label used when choosing the trunk in routes |
Check the trunk’s registration state on the dashboard/status page. Do not choose Account SIP Trunk, which accepts a registration from another device, when you want the UCM to register outward. Do not change a working peer connection into a registered trunk without reviewing its authentication method.
2. Add an outgoing rule and its permissions
Under Extension/Trunk → Outbound Routes, create a test rule and select the new trunk. Start with the destination you control, then expand the dial pattern deliberately. Review the rule’s outbound permissions or source allowlist for your firmware: only intended internal users should be able to use it.
Check strip/prepend behavior before calling. The number leaving the UCM must contain the intended country code, not an office access digit or a duplicated prefix. If another trunk handles the test, inspect matching rules and routing priority rather than adding a second copy of the trunk.
3. Create the incoming rule
First point the active IllyVoIP number at the SIP line used by this trunk. Then open Extension/Trunk → Inbound Routes, select the trunk and match the expected called identifier. Choose a known internal extension or ring group as the initial destination. The exact match should follow the identifier received by the UCM, not a guessed format.
Do not route public incoming calls to unrestricted external numbers or dial-through features just to make a test ring. A successful inbound route to one extension is a safer baseline. Add IVR, schedules or forwarding only after you understand and authorize that behavior.
4. Separate Caller ID from trunk credentials
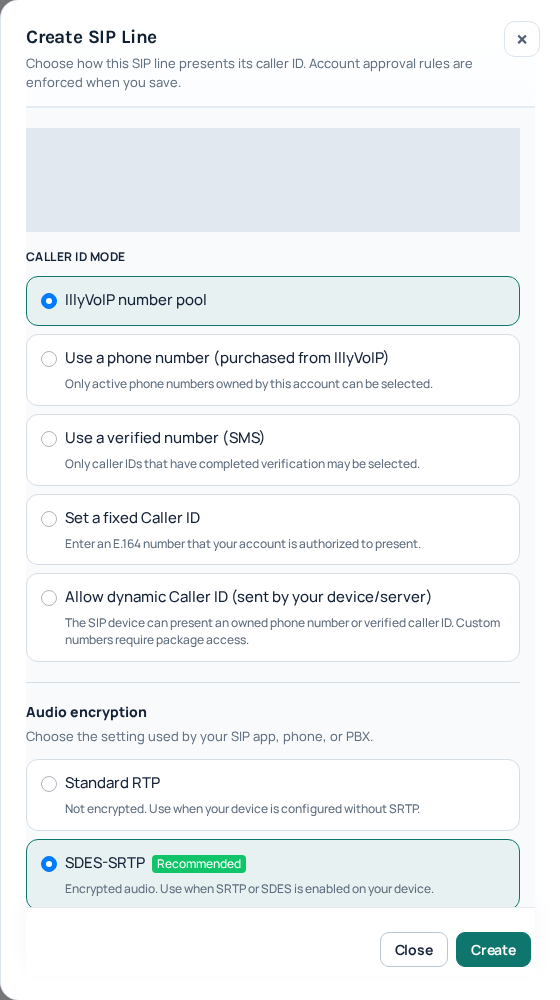
Username/Auth ID identify the SIP account. Caller ID identifies the number proposed to the called party. Replacing the authentication identity with a desired display number can break the trunk. Keep one permitted caller-ID choice during setup and avoid competing extension, DOD and trunk overrides until the first call works.
A local UCM permission or DOD assignment cannot authorize a number that IllyVoIP does not allow. If the displayed number differs from what you expect, compare the outgoing identity settings with the Portal line and package permissions instead of repeatedly changing the password.
5. Troubleshoot by following one call
- Not registered: verify Need Registration, server, transport, user, Auth ID and password.
- Registered, call rejected before leaving: inspect the pattern, permission level/allowlist and trunk selection.
- Incoming call appears but no phone rings: inspect its inbound rule, schedule, destination and extension status.
- Wrong caller ID or gateway: compare the selected rule and its overrides with the trunk you meant to use.
Use one time-stamped test rather than changing several rules at once. Keep the previous rule settings privately so you can undo the test change without restoring the entire PBX. After successful checks, enable only the extensions and destinations your team needs; do not broaden access merely to avoid understanding a permission failure.
Audio, caller ID and security
SIP transport and media encryption are separate settings. Match the Portal line’s audio mode to the PBX; Standard RTP, SDES-SRTP and DTLS-SRTP are not interchangeable. Avoid changing transport, codecs and network settings together, because you then lose track of which change fixed or broke the connection.
Use only an outgoing caller ID permitted by your account. Typing a number into the PBX does not verify it. Do not allow anonymous inbound traffic to reach public outbound routes, and do not disable your firewall. If source-IP restrictions are needed, obtain the current permitted addresses for your connection from Support rather than guessing an allowlist.
Acceptance checklist before staff use
- Check trunk registration separately from the test phone’s extension registration.
- Place a call from the chosen extension and confirm which trunk the PBX used. Check balance and rates first; this may be a chargeable test.
- Check two-way audio and the number presented to the recipient. Test keypad digits against a telephone menu you are authorized to use.
- For incoming calls, route an active IllyVoIP number to the PBX SIP line, call it externally and verify the destination inside the PBX.
- Confirm an extension without permission cannot use the test route. Expand staff access only after these checks.
Record the time, timezone, test extension, selected route and public call reference. If something fails, send these details and the PBX model/version to Support. The SIP response-code guide helps describe the failure. Do not post passwords or unredacted logs in public forums.
This guide is based on official documentation and the Portal workflow, not a claim that every PBX version has been tested through a real call. Emergency services and specialist equipment require separate configuration and verification.