
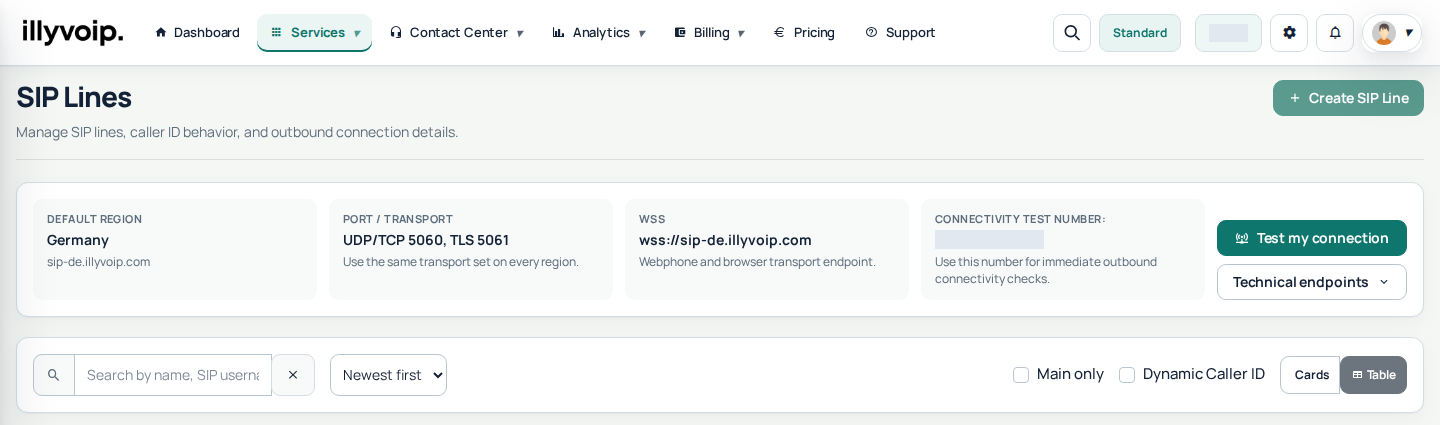
Current Portal: open Services → SIP Lines for the selected identity's SIP details. Match its authentication, signaling transport and call-audio settings on your device; old screenshots show an earlier software version. Use your own credentials and current regional server. Private values in illustrations are hidden.
In this article, we will explain how to download, install, and configure Zoiper 5 to use with your ILLYVOIP account. Zoiper is a softphone application that allows you to make VoIP calls directly from your computer or mobile device. It’s simple to use, supports multiple platforms, and works seamlessly with ILLYVOIP. To use Zoiper, you need to have an active account on ILLYVOIP. Follow this guide to get started!
If you don’t have an account, click the button below to create one and start configuring Zoiper: Sign Up
Step 1: Download and Install Zoiper
Visit the official Zoiper website to download the app for your platform (Windows, macOS, iOS, or Android). Alternatively, you can download Zoiper directly from here: Zoiper5
Step 2: Set Up Your VoIP Account on Zoiper
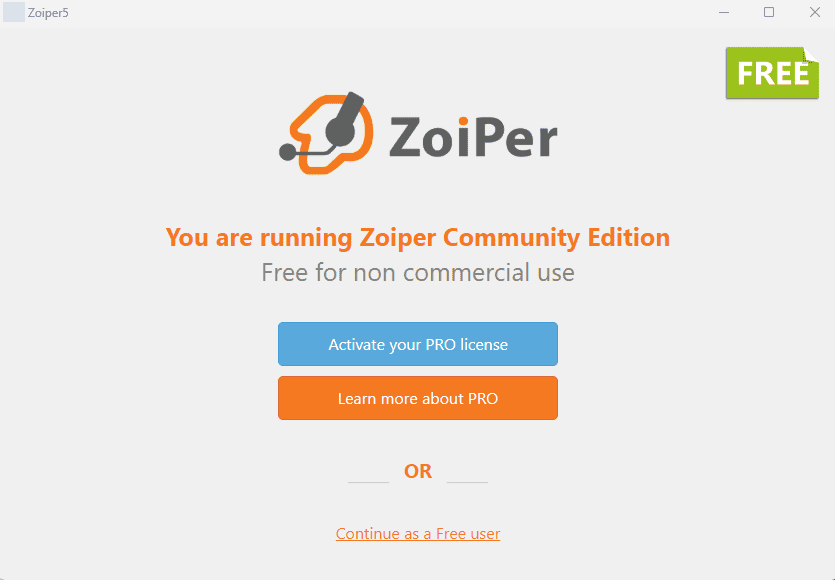
To get started, launch Zoiper and choose how you want to use the app.
- If you don’t have a premium license, you can continue as a free user by clicking "Continue as a Free User". The free version allows you to configure and use one SIP account at a time.
- If you prefer additional features or need to manage multiple accounts, you can choose the paid version by activating a premium license. Activation credentials are provided by Zoiper upon purchasing a license. Note that these credentials are separate from your ILLYVOIP login details.
Step 3: Log In with Your VoIP Account
After launching Zoiper, you will be taken to the login screen. Here, you’ll see fields for Username / Login and Password.
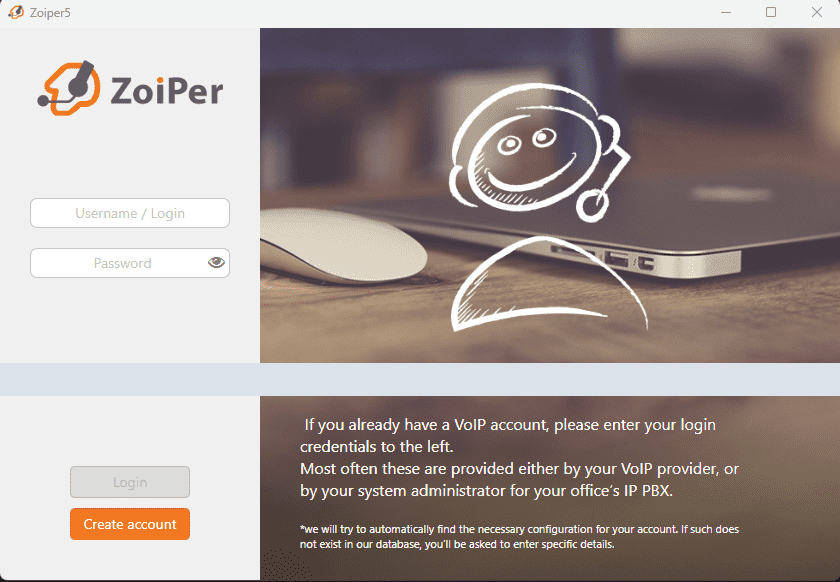
- If you already have a VoIP account with ILLYVOIP:
Log in to your account and go to the SIP Lines section. Copy your SIP Username and SIP Password from this section. Use these credentials to configure Zoiper.
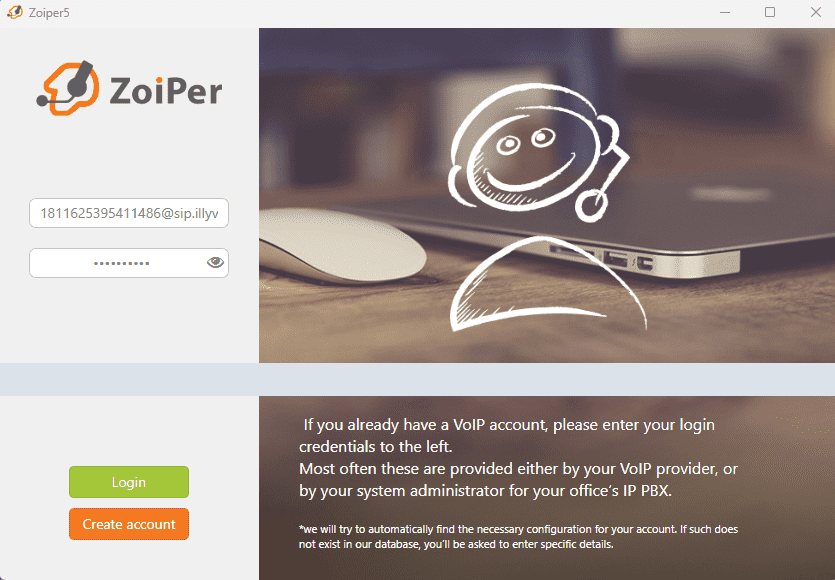
Fill in the Username field with your SIP Username in the format:
sipusername@sip.illyvoip.com
For example: YOUR_SIP_USER@sip.illyvoip.com
Then, enter your SIP Password in the Password field. Click Login to proceed.
Next, fill in the Hostname field with the domain: sip.illyvoip.com (or the IP address provided by ILLYVOIP).
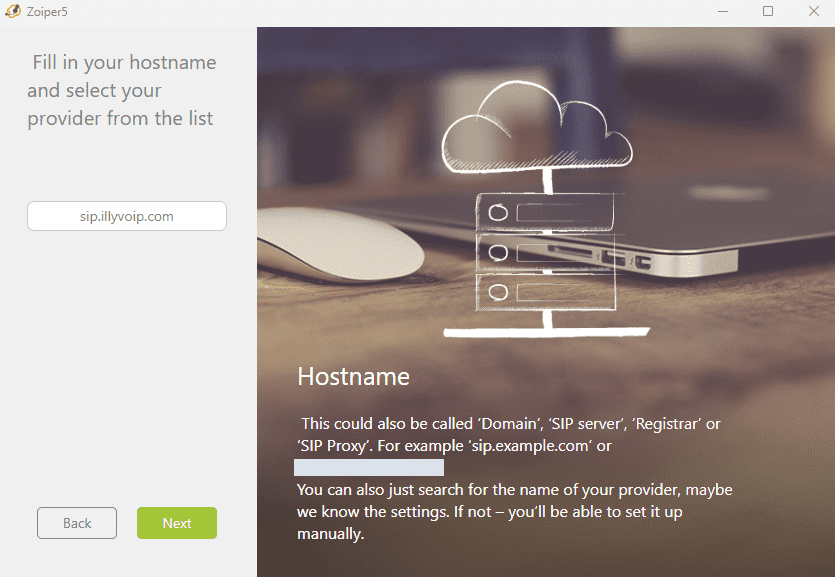
Once entered, click Next to proceed with the configuration.
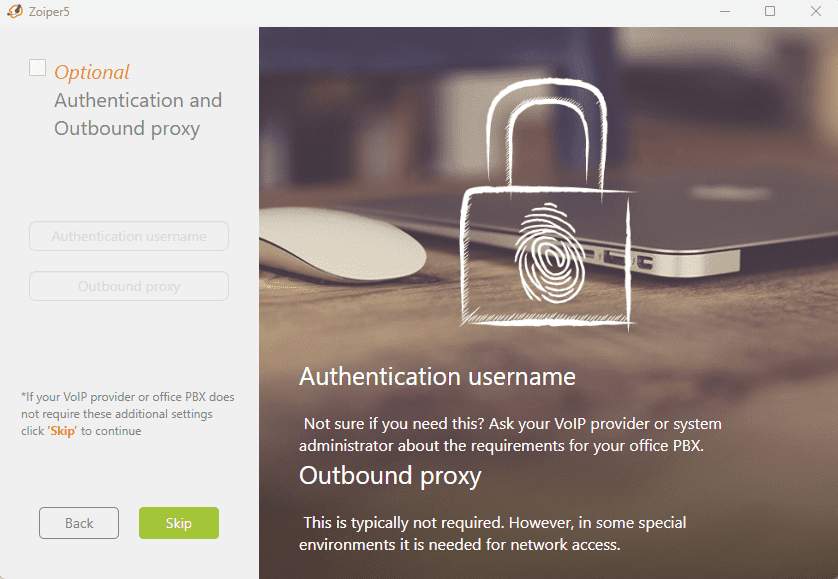
On this screen, simply click Skip to continue. These fields are optional and not required.
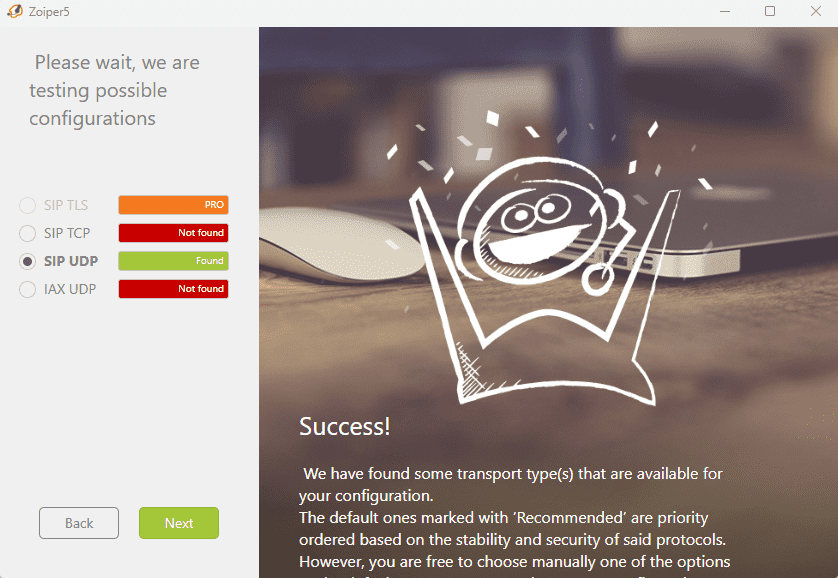
Zoiper will test the configurations automatically. Once the results are displayed, make sure SIP UDP is selected (as it’s commonly used), and click Next to continue.
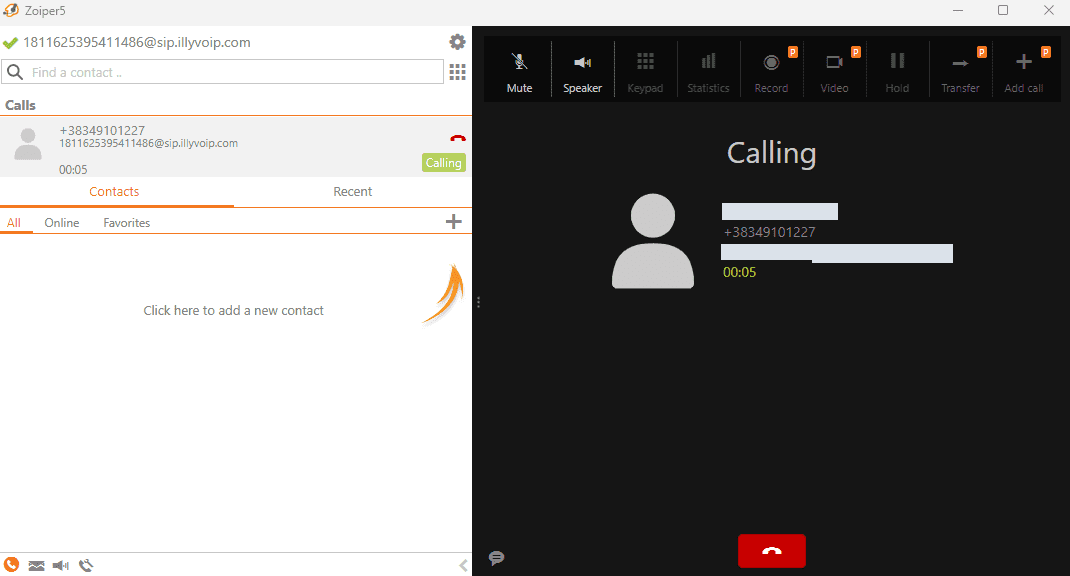
Now your configuration is complete, and you’re successfully making calls through Zoiper! You’re ready to enjoy seamless VoIP communication with ILLYVOIP.
For more information, watch this tutorial on how to configure Zoiper for your ILLYVOIP account:
If a screenshot shows UDP, use it only with a compatible configured line. Registration and working two-way audio are separate checks. Caller ID is controlled by the selected identity and account/package permissions in IllyVoIP.