
Welcome! Signing up for IllyVoIP is quick and easy. This guide takes you from creating your account to preparing your first call.
Signing up for an account
Open the sign-up page. Choose email or phone registration and complete the details requested on screen.
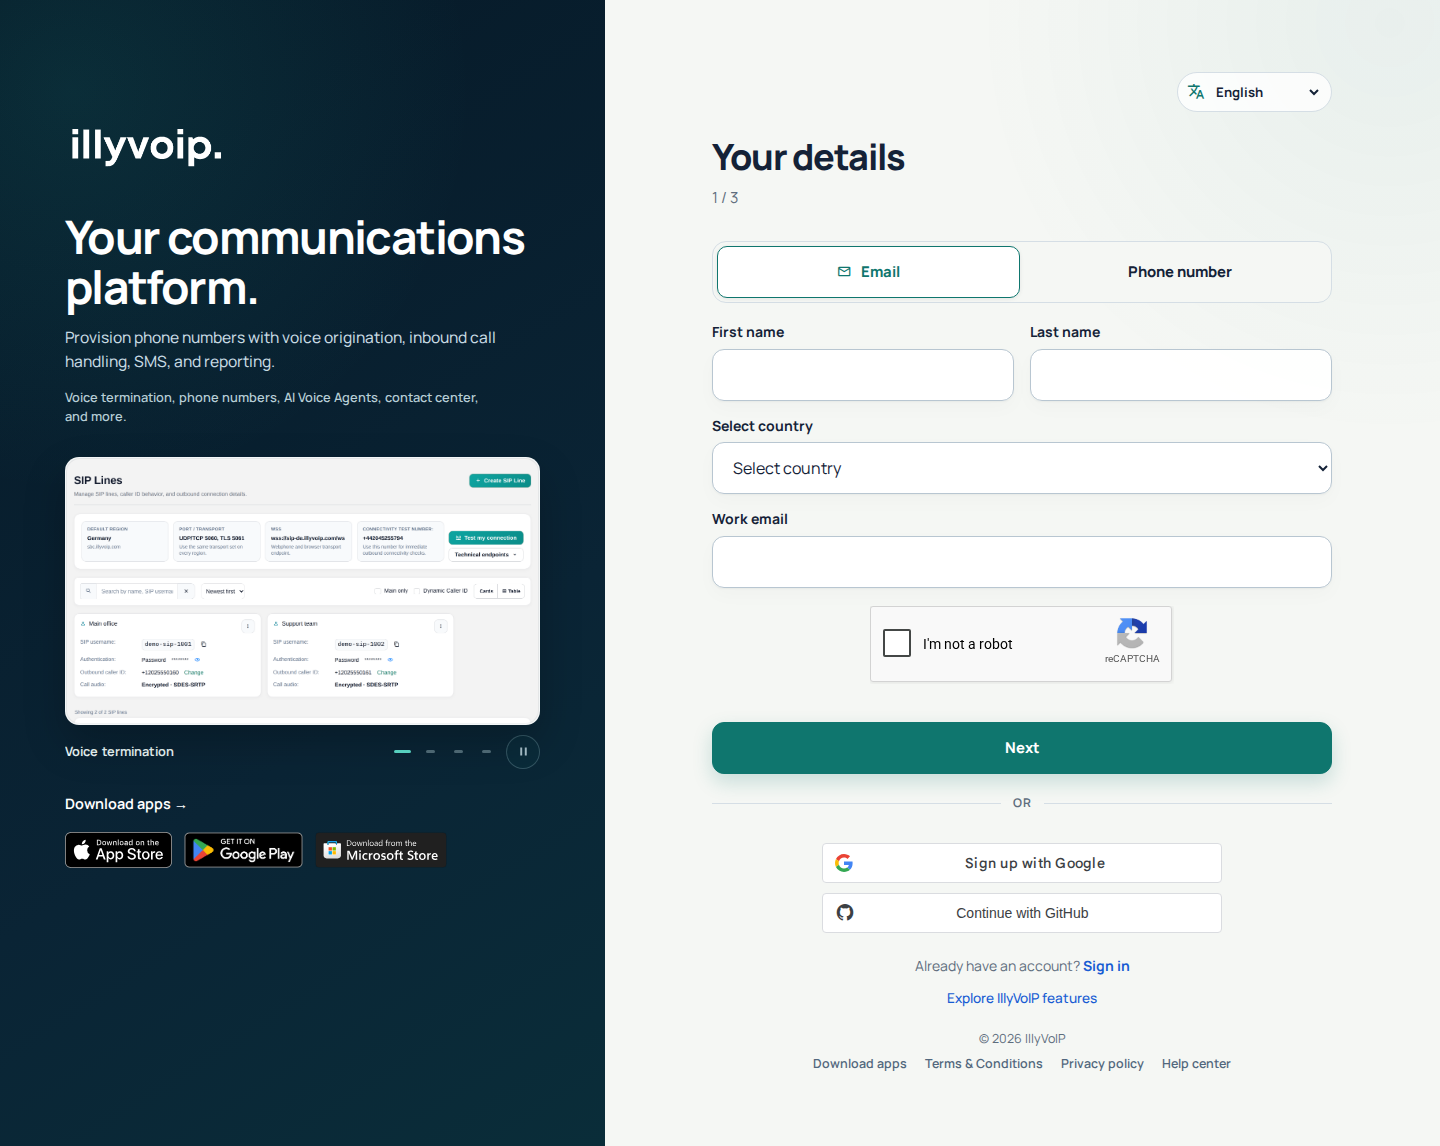
Enter your details
Enter your name, country and the email address or phone number you want to use for your account, then complete the security check shown on screen. Use an address or number you can access: you will need it to verify your registration and protect future sign-ins.
Email or phone verification
Enter the verification code sent through the channel shown in the registration form. For email registration, check your inbox and spam folder. For phone registration, check the indicated channel and use an alternative delivery option only when offered. If needed, use the resend option when it becomes available; use the newest code rather than repeatedly requesting replacements. After the code is accepted, create and confirm your password following the displayed requirements, review the terms and complete registration. On a shared device, do not enable the option to remember it.
Account verification is separate from your signup code
The code used during signup confirms access to your email address or phone number. It does not, by itself, complete identity verification or sign your Service Agreement. Services that require a verified account depend on the status shown in Account verification.
Step 1: Complete identity verification
- Sign in as the account owner and open Account verification. Team members cannot complete this on behalf of the owner merely because they can access the account.
- Read the current identity status. Select Start identity verification, or continue the existing check if the page offers that option. Follow the document and identity-check instructions shown for your case.
- After completing the check, return to the verification page. Wait for its actual status: submitting documents does not mean they have been approved.
If the status is In progress, use the existing journey rather than repeatedly creating a new one. If it is Not approved, follow the available instructions or contact Support. A temporary status-loading error does not erase an earlier verification. If a new check has been requested, complete that request even if an older verification is recorded.
Step 2: Review and sign your Service Agreement
- When identity verification allows you to continue, choose whether you are signing as an individual or an authorized company representative. Check your signing details. For a company, provide the requested company information and confirm your authority.
- Select Review agreement. Read the document, using the page controls or Open original PDF if necessary. Use Edit signing details to correct details before signing.
- If you agree, select the consent checkbox, then Sign agreement and follow the device’s passkey prompts. On a first signature, you may need to create a passkey and then confirm the signature.
- Wait for the page to confirm the signed agreement. Creating a passkey alone does not sign it. If the page offers Retry completion, use that recovery step and check the resulting status.
- Check that Account verification is complete is displayed. Your available signed copies appear under Your signed agreements.
If your device cannot sign
Use an up-to-date browser with a supported, configured passkey authenticator. The operating-system version alone is not enough. When offered, use the page’s another-device link or QR code, then sign in to the same account on that device. Follow the on-screen compatibility guidance. Your verified identity does not need to be repeated simply because you changed signing devices, unless a new identity check was requested.
If a signing passkey already exists, use that passkey or its available synced copy. If it is no longer accessible, contact Support for recovery. Do not create another account to bypass the problem. A saved verification on one account does not verify a different account.
Return to the service you wanted to use
After verification is complete, return to your requested service, or use Return to IllyVoIP when shown in the mobile flow. Verification does not add credit, place an order or approve every service-specific request. Phone numbers may still require local address documents, and communication use cases have their own review. Follow the requirements shown for the service you choose.
Need test credit?
Contact support if you would like to test the service. Trial credit is subject to review and approval; creating an account does not guarantee an automatic credit. Open Support and describe what you want to test.
Prepare your Caller ID and routing plan
Before calling, review your Routing Settings and compare the available packages on the Pricing page. Use the Caller ID controls for the relevant SIP line or webphone to choose an eligible number. Arbitrary custom Caller ID is available only when your account and selected package allow it.
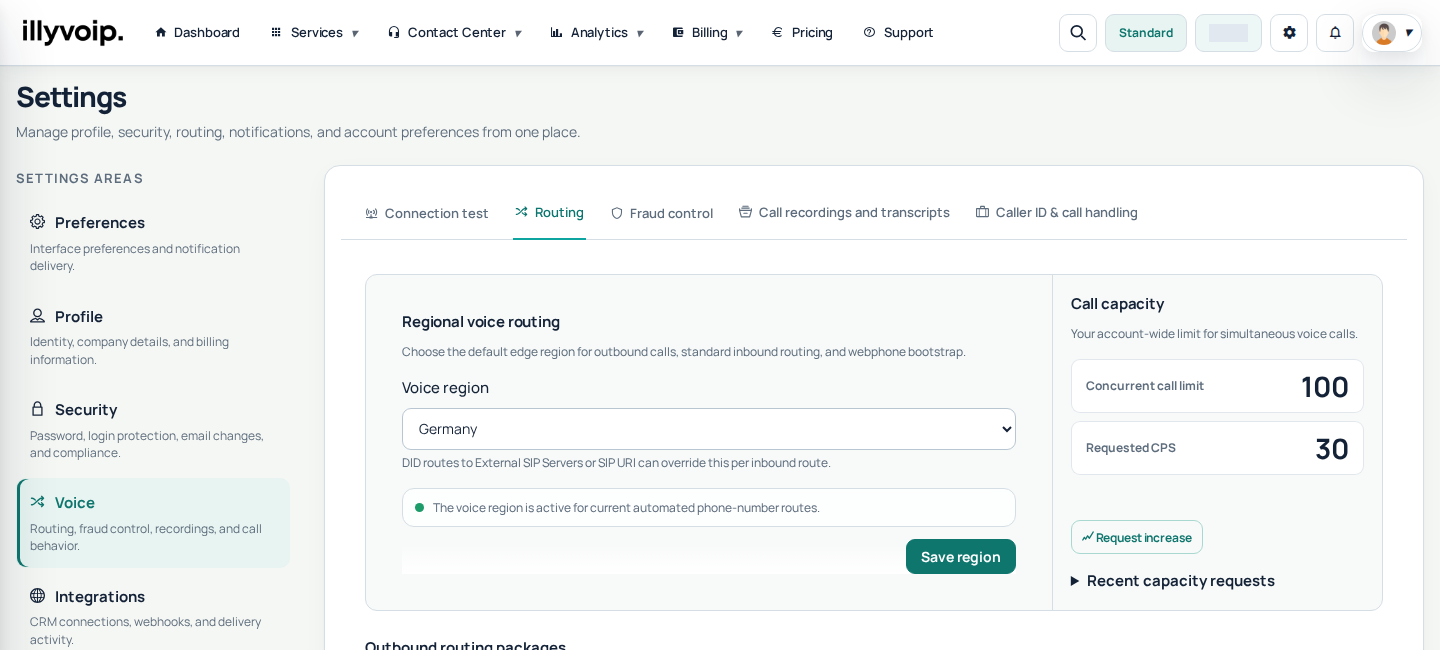
Make sure the account has sufficient credit and that any required verification is complete. You can use the webphone in the Portal to place a call after allowing microphone access.
Using a third-party softphone or SIP software
Open Services → SIP Lines. Use the selected line's SIP username, authentication mode, server and transport settings for Zoiper, MicroSIP or your PBX. Your SIP password is not your Portal login password. Follow the relevant softphone guide in this Help Center.
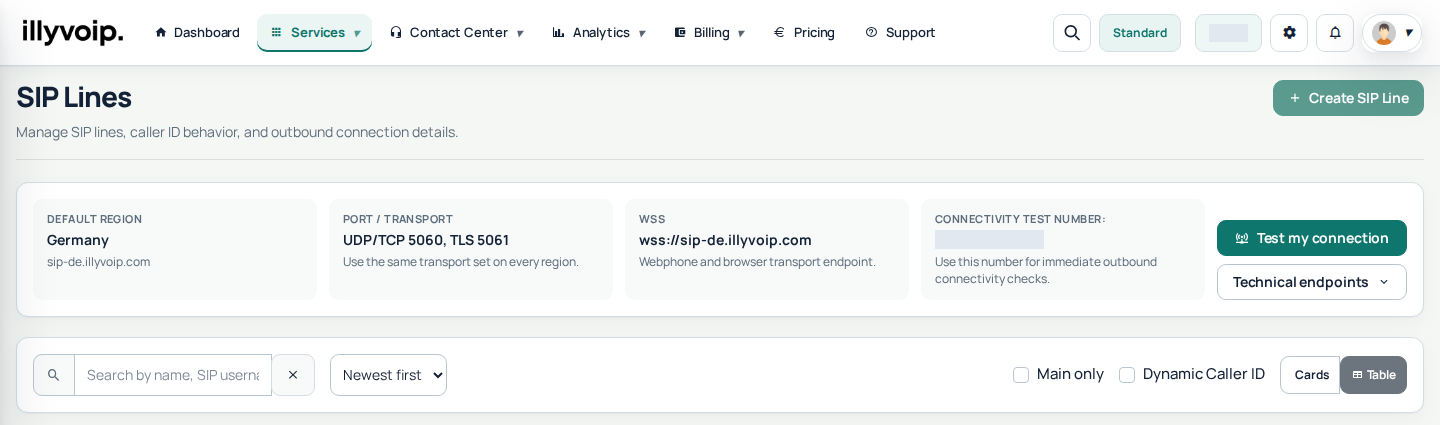
Prefer the official app? See IllyVoIP mobile and Windows setup for permissions, audio and incoming-call checks.
Finish the verification that is currently requested
Email and phone signup use different delivery channels. Follow the destination and channel shown on screen, including WhatsApp or SMS when offered; a code for an earlier step is not interchangeable with the current one. Check the address or international phone number before requesting another code. Use the latest code and respect the resend countdown.
Completing a signup code does not complete identity verification or sign the Service Agreement. Return from the identity-check journey to review the current status. If documents are pending or a correction is requested, follow that status rather than repeatedly starting new submissions. After signing, wait for confirmation and use the available agreement-document option to keep a copy. Contact Support if the status remains unclear; do not assume a fixed approval time.