
Create narration with IllyVoIP TTS, then insert the resulting audio into a PowerPoint presentation. The workflow keeps one script and audio file per slide so corrections are easy to track. It uses PowerPoint’s normal audio controls; no IllyVoIP PowerPoint add-in is required.
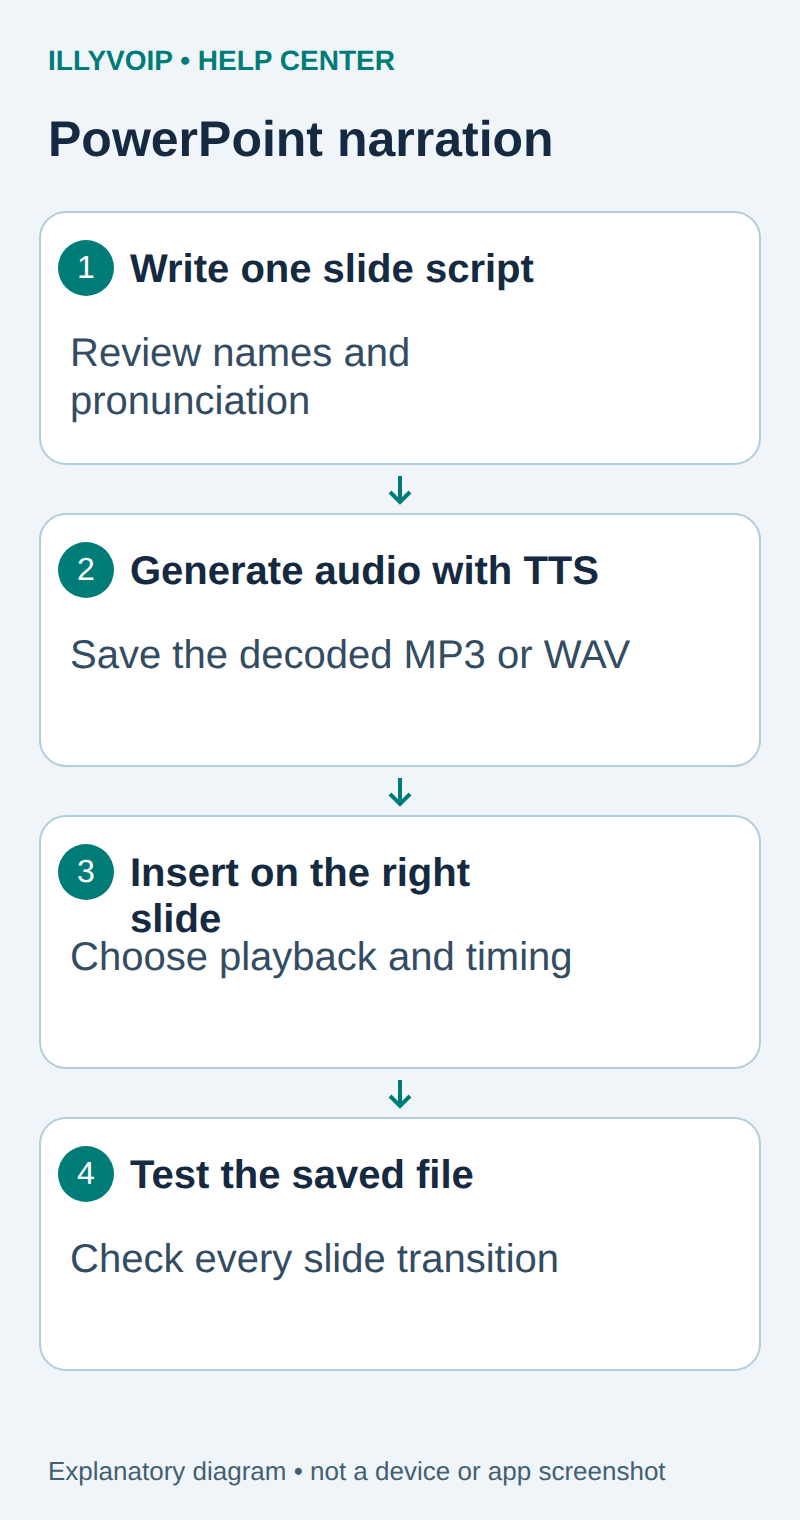
1. Prepare the slide scripts
You need an IllyVoIP account permitted to use the relevant API, sufficient balance for paid operations and an API key. In the Portal, open Account settings → Developer tools and follow its verification prompts. Keep the key in your server’s secret configuration as ILLYVOIP_API_KEY, outside source control and shared documents. Read-only catalog and reporting requests are different from paid speech generation or SMS submission.
Use a desktop PowerPoint version with audio insertion and playback controls. Save a working copy of the presentation. Write the words the audience should hear for each slide, including explanations of diagrams where needed. Slide titles, speaker notes and hidden slides are not automatically sent to IllyVoIP.
Give slides stable local names such as slide-001 and slide-002. Store the approved text, chosen language/voice and audio filename together. Review names, abbreviations and number pronunciation before creating all slides.
2. Select and generate the narration
Use the standalone speech_api context. Read the current language catalog, and for synthesis select an exact voice from the corresponding voice catalog. Do not assume that the Voice Agent’s available languages or another provider’s voice names apply to the standalone API.
Follow the TTS guide below to synthesize one script and decode its audio_base64 response into MP3 or WAV. The script must fit the 2,000-character request limit. For a longer slide, shorten the narration or split it into reviewed audio parts and assemble them locally before insertion.
Choose one voice and compatible output settings consistently across the presentation. Test a short, representative script first and listen to it. A voice identifier is a catalog value, not a promise of a particular accent in every language.
Preserve the exact input, local job identity and response before moving to the next step. A timeout or lost response is an uncertain outcome, not permission to submit the same paid operation again under a new name. Recover from a saved successful response when possible; otherwise reconcile the original attempt. API duplicate-charge protection does not replace your application’s operation history.
3. Insert the audio on the correct slide
- Open the intended slide in PowerPoint.
- Choose Insert → Audio and select the option for an audio file on your computer. Labels differ slightly between Windows and Mac versions.
- Select that slide’s validated MP3 or WAV file. Confirm the audio icon appears on the intended slide.
- Play the audio in the editor and compare it with the slide’s script.
- Repeat for the other slides using the manifest, not an assumed file-selection order.
If PowerPoint cannot open the file, inspect its actual format. A JSON response renamed to .mp3 is not an audio file. Keep narration files private if they contain unpublished business information.
4. Choose playback behavior deliberately
Select the audio object and open the Playback controls. Choose whether playback begins on click or automatically, depending on the presentation style. Check the slide’s transition timing so it does not advance before narration finishes.
For ordinary slide-by-slide narration, avoid enabling background playback across multiple slides accidentally. Review volume and any trim settings. Hiding the audio icon during a show should not make the narration impossible for a presenter to control or restart.
| Item | Meaning or action |
|---|---|
| Presenter-led | Use deliberate start controls and allow time for questions. |
| Self-running | Check automatic start, slide duration and the transition to the next slide. |
| Multiple clips on one slide | Verify order and gaps; combine locally if that is easier to maintain. |
| Muted or unexpected audio | Check object volume, system output and overlapping clips. |
5. Test the saved presentation
Save, close and reopen the file, then run Slide Show from the beginning and from a middle slide. Check every narration start, finish and transition. Test a copy on the intended presentation computer; do not assume the author’s local file paths or playback environment will exist there.
If exporting a video, inspect the exported video rather than accepting the editor preview as proof. If sharing a PDF, explain that a PDF export is not the same narrated experience. Retain the script/audio manifest so a changed slide can be regenerated selectively.
Fix a single slide without rebuilding everything
When wording changes, update that slide’s script and version, generate only its approved replacement audio, remove or replace the old audio object, then test the surrounding slides. Keep the earlier file until the replacement is accepted.
This workflow creates spoken narration, not captions, automatic translation or an accessibility guarantee. Provide appropriate text alternatives and check them separately when your audience needs them.
Related guides and reference
Microsoft audio insertion. IllyVoIP API reference. Reviewed October 11, 2026. Examples are instructional: local checks do not establish a completed paid request, live third-party integration or production PBX acceptance.