
IP Base: apply the audio workflow to the installed entrance
For a 2N IP Base, use the SIP and directory workflow below with the controls exposed by its installed firmware. Preserve the existing IP Solo and IP Verso instructions; their modular hardware choices are not instructions to add modules to an IP Base.
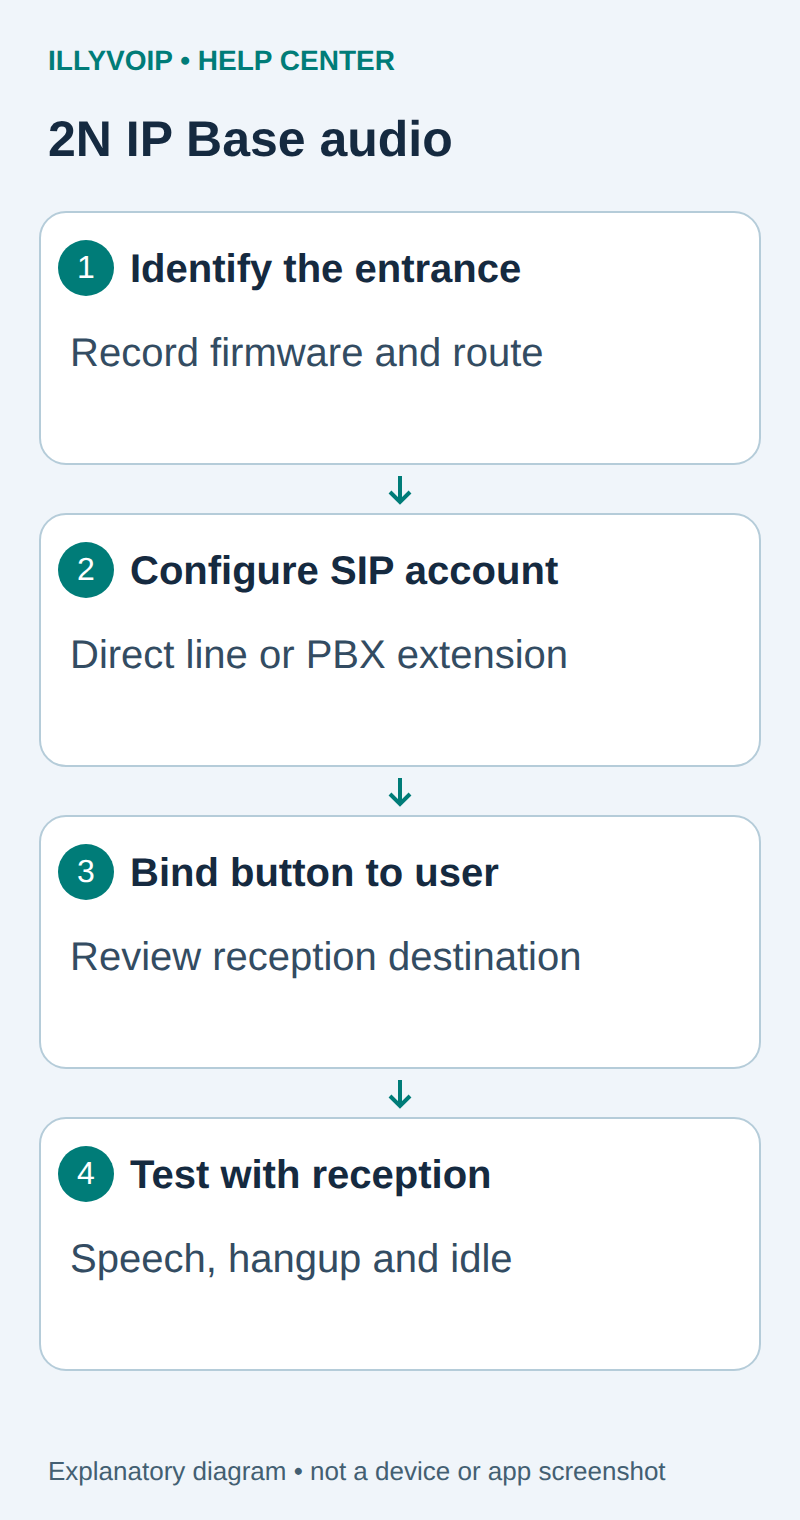
Before changing anything, identify the entrance, firmware, existing SIP account and physical button in use. Arrange an attended reception test so a visitor is not left waiting during setup. Keep a private backup and a record of the current reception destination.
IP Base step 1: select the correct call architecture
In IllyVoIP, open Services → SIP Lines, select the intended password-authenticated line and expand Technical endpoints. Copy its SIP username, SIP password, regional hostname, destination port and transport. These are not your Portal login credentials. Keep any existing working devices and IP-authenticated configuration intact.
Choose either direct registration to the approved IllyVoIP line or registration to a private PBX extension whose PBX uses IllyVoIP. In the second arrangement, the intercom needs the PBX extension credentials. Do not enter the provider trunk password into a device that is supposed to be a private extension.
Use the shared SIP field table below to configure the identity, domain, authentication, proxy and registrar. Enable registration for a password-authenticated account, save and inspect Registration State and Failure Reason. Configure only accounts actually supported and shown by this model’s firmware; do not infer account counts from another 2N model.
Match the transport and media policy to the line. UDP, TCP and TLS describe signaling; standard RTP, SDES-SRTP and DTLS-SRTP describe different media modes. Selecting a TLS port does not enable TLS automatically or encrypt audio. Use the supplied hostname for certificate verification and keep device time and certificate trust correct. Do not disable a firewall or expose the administration interface to the Internet.
IP Base step 2: bind the entrance button to reception
- Open the reception user in Directory → Users. Confirm the telephone destination and intended SIP account.
- In the firmware’s button/quick-dial configuration described below, select the physical entrance button you are configuring and associate that reception user.
- Review the user’s other phone entries, schedules and fallback behavior. An old destination or time profile can make a correct SIP setup call someone else.
- Save the configuration. Physically identify the button before testing; do not assume the first directory entry is automatically its target.
Leave switches, relay activation, DTMF opening sequences and access credentials unchanged. Dialing a reception number and operating a door lock are different workflows.
IP Base step 3: complete an attended acceptance check
Check the destination rate and balance, then press the configured entrance button once. Reception should answer on the intended destination. Verify speech in both directions, the allowed caller ID and the call ending when either side hangs up. Confirm the entrance returns to idle and a second call can be made normally.
If the button is silent, inspect the button/user association and schedule first. If it calls the wrong number, inspect all numbers attached to that user and account selection. If SIP registration fails, retain its failure reason and follow the shared troubleshooting section. If audio fails after answer, inspect codecs and the media path instead of repeatedly replacing passwords.
Do not route a public incoming number to the intercom until its incoming-call behavior has been reviewed. Unattended answering can open a microphone path. Successful reception audio does not validate video, access control or emergency operation.
Reference: 2N IP configuration manual 2.48, including IP Base. The shared configuration and earlier model-specific instructions follow.
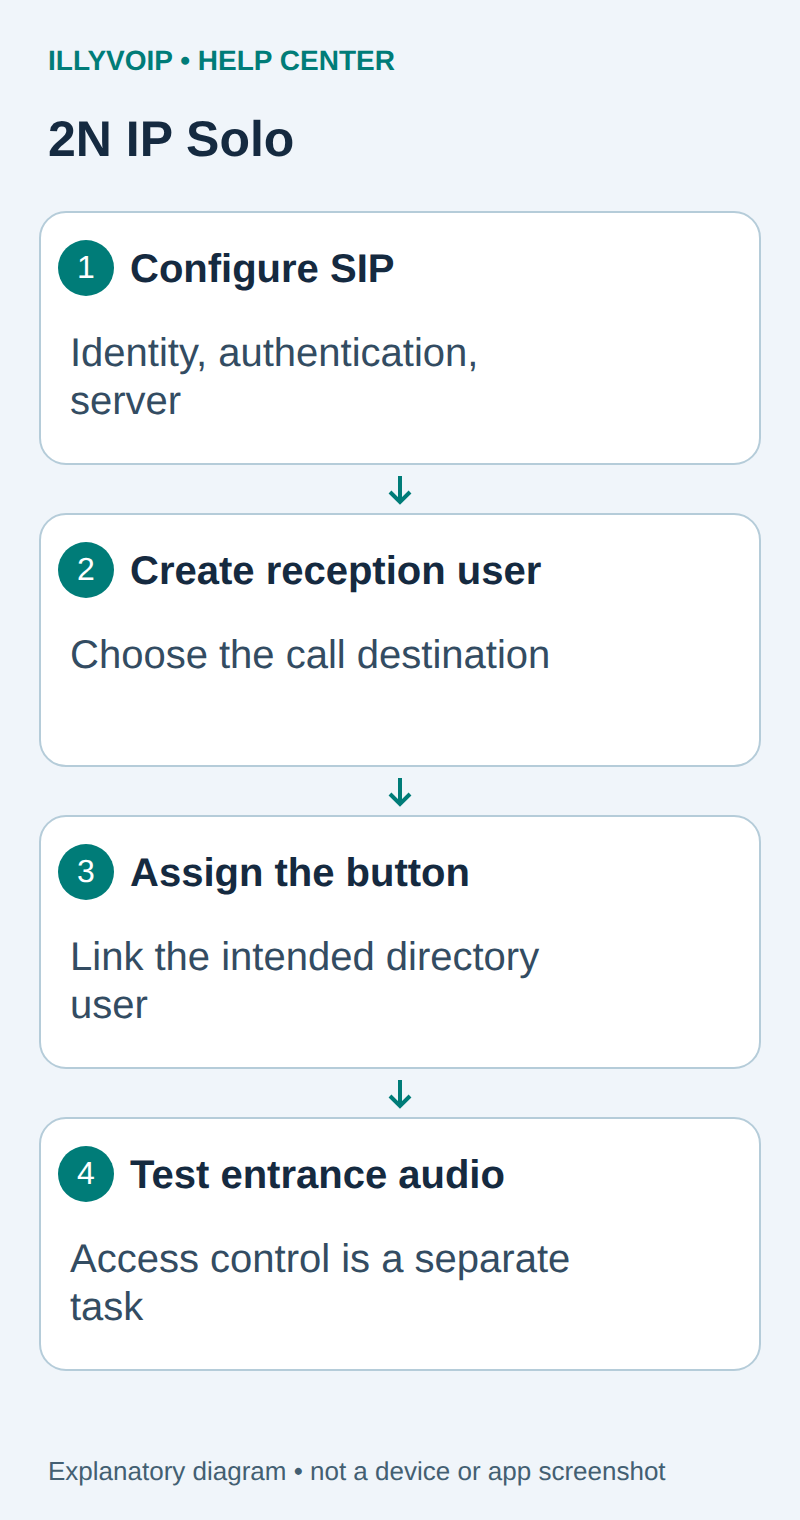
Configure a 2N IP Solo or IP Verso with an IllyVoIP SIP account so a visitor can call an authorized reception number. The setup has two parts: register the SIP account, then assign the button to the intended user and telephone destination.
This guide uses 2N's current IP intercom configuration manual. Match the installed IP Solo firmware and licenses; do not assume every setting documented for another 2N model is present. Keep an existing entrance service available while testing.
IP Verso: connect the intended entrance button to reception
The same audio-call workflow also applies to a 2N IP Verso with compatible SIP firmware and administrator access. The Verso's modular button arrangement adds a step: identify the physical button/module before assigning the directory user. Do not assume its first listed button is the one visitors press.
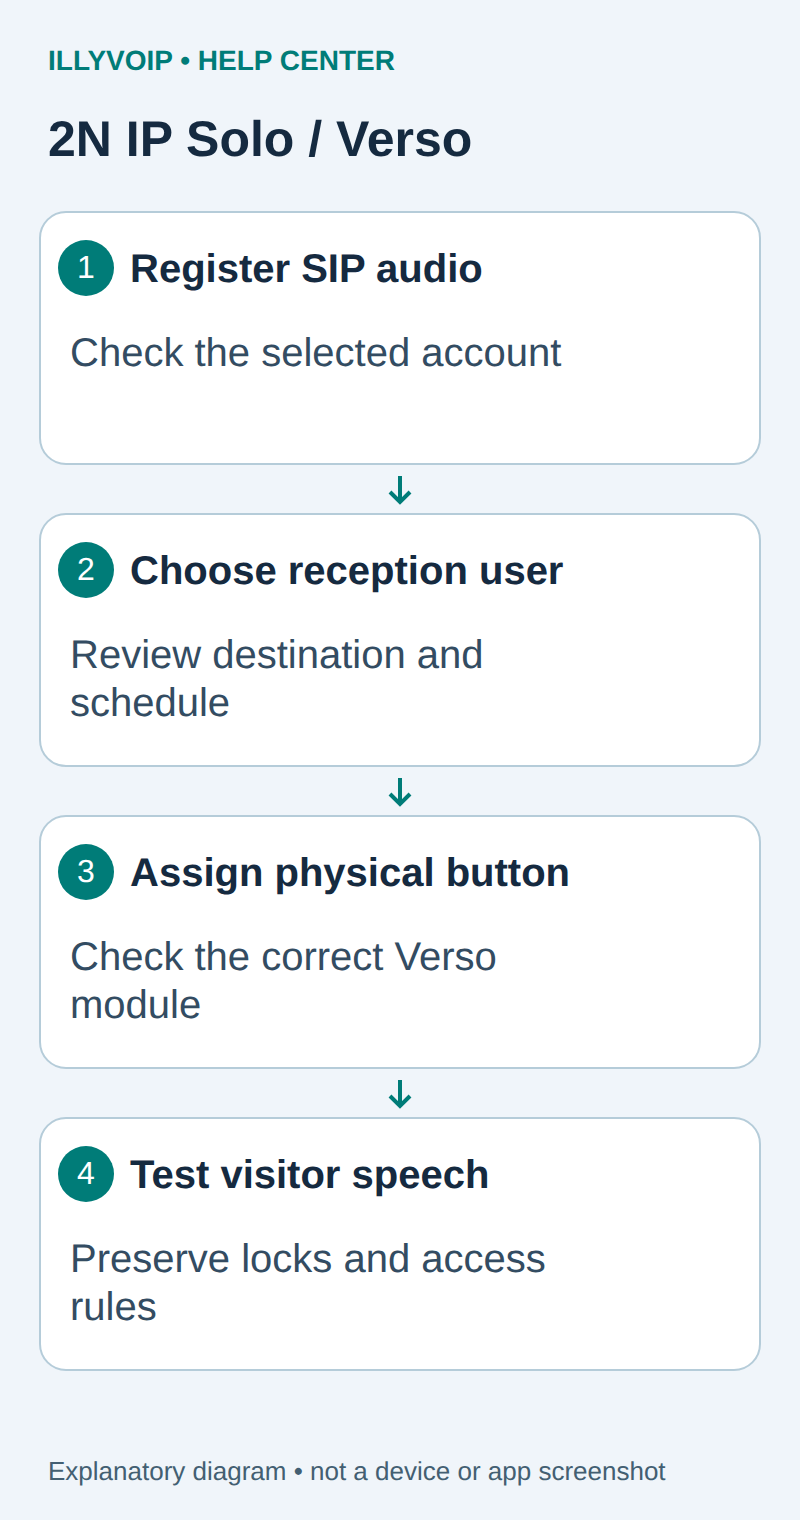
- Record the exact model, firmware and current button assignments. Distinguish the original IP Verso from IP Verso 2.0, and use the matching configuration manual.
- Open the SIP account configuration. In the cited 2.49 manual this is Calling → SIP; older releases can group it under Services.
- Configure the SIP identity, authentication, proxy and registrar using the table below. Save and inspect Registration State and any Failure Reason.
- In Directory → Users, select the intended reception user. Review the telephone destination and the SIP account that should place its call.
- Open the firmware's quick-dial button assignment under Calling → Dialing or the applicable Hardware → Buttons controls. Assign that user to the intended physical button.
- Press that button during an agreed test and confirm reception receives an audio call. Check speech in both directions, cancellation and hangup.
Review all destinations and time profiles attached to the selected user. A second number or fallback SIP account can change where the call goes when reception is unavailable. Start with the intended single destination and preserve any existing authorized fallback until the entrance administrator deliberately changes it.
The 2.49 configuration reference describes multiple SIP accounts and account selection for outgoing destinations. Do not assume an account-selection suffix, menu or capacity from a different firmware version applies unchanged. Confirm which account actually placed the call before diagnosing a caller-ID or billing difference.
Keep lock relays, access codes, card-reader rules, camera streams and door-opening DTMF actions outside this audio setup. A successful reception conversation is not evidence that access-control behavior is safe or that IllyVoIP provides video transport.
Reference: 2N IP intercom configuration manual 2.49. Verso expansion reviewed October 11, 2026. Keep the original IP Solo steps below; no separate duplicate article is needed.
1. Collect the account details and preserve the entrance settings
Have the entrance administrator record the existing SIP account, button assignment and receiving destination. Work through the permitted management interface. Keep exported configuration private because it may include credentials and access-control information.
In IllyVoIP, open Services → SIP Lines and select the intended password-authenticated line. Obtain its SIP user identity/password and expand Technical endpoints for the hostname, destination port and transport. Check the media policy, permitted caller ID, balance and rate for the reception number.
If the intercom uses a PBX extension, configure that extension on the device instead. The PBX's IllyVoIP trunk handles external calls. Do not mix an extension password, a provider SIP password and the Portal login.
2. Configure the SIP account
Open the firmware's Calling → SIP settings. Earlier releases can organize calling under Services; use the matching manual. Select the intended account, enable it and map these fields:
| 2N setting | Value |
|---|---|
| Phone Number (ID) | The line's SIP identity, which need not be the public incoming number. |
| Domain | The supplied SIP domain. |
| Authentication ID / Password | The SIP authentication username and password. |
| Proxy Address / Proxy Port | The service's SIP proxy hostname and corresponding destination port. |
| Registration Enabled | Enable for this password-authenticated registered account. |
| Registrar Address / Registrar Port | The registrar supplied for the line. |
Save and inspect Registration State. If it fails, retain the displayed Failure Reason. Do not fill backup accounts with guessed servers: 2N's account fallback can affect which route is used when the preferred account is unavailable.
3. Match signaling and audio encryption
Set SIP Transport Protocol to the required UDP, TCP or TLS transport. For TLS, retain Verify Server Certificate, use the supplied hostname and ensure the device has the required trust and correct time.
Review incoming and outgoing SRTP controls separately against the IllyVoIP media policy. Selecting TLS alone does not make all audio encrypted. A setting that accepts both encrypted and unencrypted calls is not the same as requiring encryption.
Do not copy a random STUN server, public address or proxy allowlist from another installation. If an IP filter is already active, confirm that the approved service sources are current before attributing every failure to the password.
4. Link the reception user to the button
- In Directory → Users, create or select the reception user intended for this entrance.
- Enter the authorized reception telephone destination in the user's phone-number entry.
- Select the SIP account intended to place that call. The documented account-selection syntax can distinguish account numbers; use the matching firmware's field/help rather than assuming every call uses Account 1.
- In Hardware → Buttons (or the quick-dial button list in Calling → Dialing on the matching firmware), associate the physical button with that reception user.
- Save, then review any additional numbers, schedules or fallback targets already attached to the user.
Start with one target so you can identify the route. Leave relay, lock, access-code and video configuration unchanged. A display name is not authorization to present an arbitrary outgoing caller ID.
5. Verify a real visitor-to-reception audio call
After checking the rate, press the button once and have reception answer. Confirm the intended destination, permitted caller ID, speech from the entrance and speech back to the visitor. End the call and confirm the device returns to idle. Note the time and public call reference.
If the destination is a PBX group, test the actual group's receiving behavior as well. Registration only proves an account state; it does not verify a reception schedule, a group member or public-number routing.
2N documents separate incoming-call behavior, which may leave media inactive or allow an active audio path depending on configuration. Review that explicitly before routing a public IllyVoIP number to the intercom. Do not enable unattended incoming audio simply to make a test call succeed.
Troubleshooting and completion
- Button does nothing: inspect the user/button association, its schedule and configured destination.
- Account fails registration: compare the identity, authentication, server and selected transport; retain Failure Reason.
- Another route is used: inspect the account selected for the user's number and existing fallback accounts.
- Answered call has poor or missing speech: check mute/audio controls and negotiated codecs/media, separately from SIP registration.
Keep a record of the tested firmware, account and destination. Roll back only the reviewed SIP and button changes if needed, preserving other entrance changes. This guide concerns ordinary audio calls, not video interoperability, door unlocking or emergency access.
Reference: 2N SIP configuration and its linked calling/directory manual. Reviewed October 11, 2026. Device and live-call acceptance remain installation-specific.