
R29: configure a reception contact and its outgoing account
The R29 uses its directory and contact account selection for reception calls. These steps follow the R29 administrator guide for firmware 29.30.10.745; compare the installed release before editing. Keep the original R20A procedure below for the R20A.
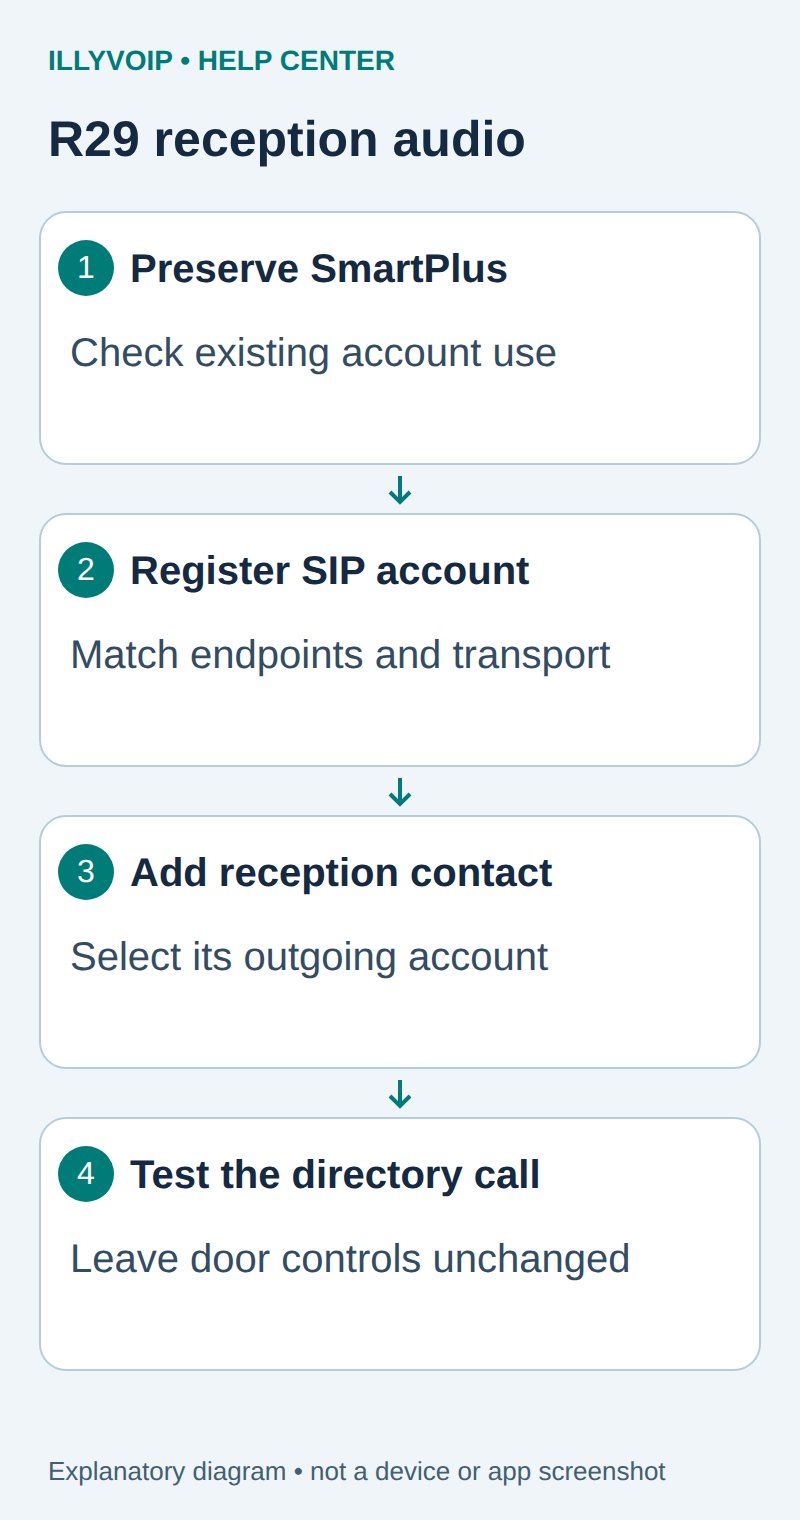
This addition covers ordinary reception audio. Face recognition, camera streaming, access cards, locks and relay actions require their own approved configuration and are not changed here.
In IllyVoIP, open Services → SIP Lines, select the intended password-authenticated line and expand Technical endpoints. Copy its SIP username, SIP password, regional hostname, destination port and transport. These are not your Portal login credentials. Keep any existing working devices and IP-authenticated configuration intact.
R29 step 1: preserve SmartPlus and select the SIP account
Open Account → Basic in the trusted management interface. The R29 supports two SIP accounts. Account 1 is used when SmartPlus cloud service is active; do not overwrite it to add IllyVoIP. Record existing account use and select an available account with the entrance administrator.
For a normal IllyVoIP line, enter the supplied SIP username in the account’s register/user identity fields and enter its SIP password. If the identity and authentication username differ, confirm the installed firmware’s mapping with the vendor rather than guessing: this manual describes Register Name and User Name in its PBX context.
Under SIP Server, enter Server IP as the supplied hostname and set Port. Select Account → Basic → Transport Type to match the line. Configure an outbound proxy only if one was supplied. Save and check the selected account’s Status.
Match the transport and media policy to the line. UDP, TCP and TLS describe signaling; standard RTP, SDES-SRTP and DTLS-SRTP describe different media modes. Selecting a TLS port does not enable TLS automatically or encrypt audio. Use the supplied hostname for certificate verification and keep device time and certificate trust correct. Do not disable a firewall or expose the administration interface to the Internet.
R29 step 2: add the reception contact
- Open Directory → User and click +Add, or edit the authorized reception user.
- Scroll to Contacts Detail. Enter a recognizable reception name and the approved destination in Phone.
- Select the intended Account for this contact. This is particularly important when Account 1 belongs to SmartPlus and IllyVoIP uses Account 2.
- Choose the appropriate contact group. Do not put a visitor-facing reception entry in Hidden Contact if visitors need to select it.
- Save, then verify the entry appears on the device’s Directory screen. Directory presentation is controlled separately under Directory → Directory Setting → Contacts List Setting.
When registered directly to IllyVoIP, use the authorized telephone destination and dialing format. A private PBX extension number is meaningful only when that PBX handles the route. Keep user access permissions and door-opening actions unchanged.
R29 step 3: test reception audio
Under Account → Advanced → Audio Codecs, use a codec shared with the calling path; the manual lists PCMU, PCMA and G722. Do not assume that a supported video codec means IllyVoIP provides video interoperability.
After checking the destination rate, select the reception contact on the device and place one test call. Verify the chosen account, reception destination, permitted caller ID, speech in both directions and clean hangup. Ask reception to distinguish this test from a real visitor.
If the wrong account is used, recheck the contact’s Account setting and existing dial-plan prefixes. If incoming calls are rejected, review Intercom → Call Feature → DND and the configured return code before altering registration. Do not enable unattended incoming audio merely to bypass DND.
Record the tested firmware and destination. Roll back only the reviewed SIP/contact edits if the test fails; preserve SmartPlus and entrance access configuration.
References: R29 SIP configuration, R29 contacts, and R29 codecs.
An Akuvox R20A can use an IllyVoIP SIP line to place an audio call from its entrance button to an authorized reception telephone. Configure the account first, then the button destination. Keep the building's access-control configuration under its existing administrator.
This walkthrough covers audio calling and follows the R20A/B documentation, including the documented Account interface. Match the exact R20A revision and firmware: SmartPlus-managed devices and a separately managed SIP installation can have different ownership of account settings.
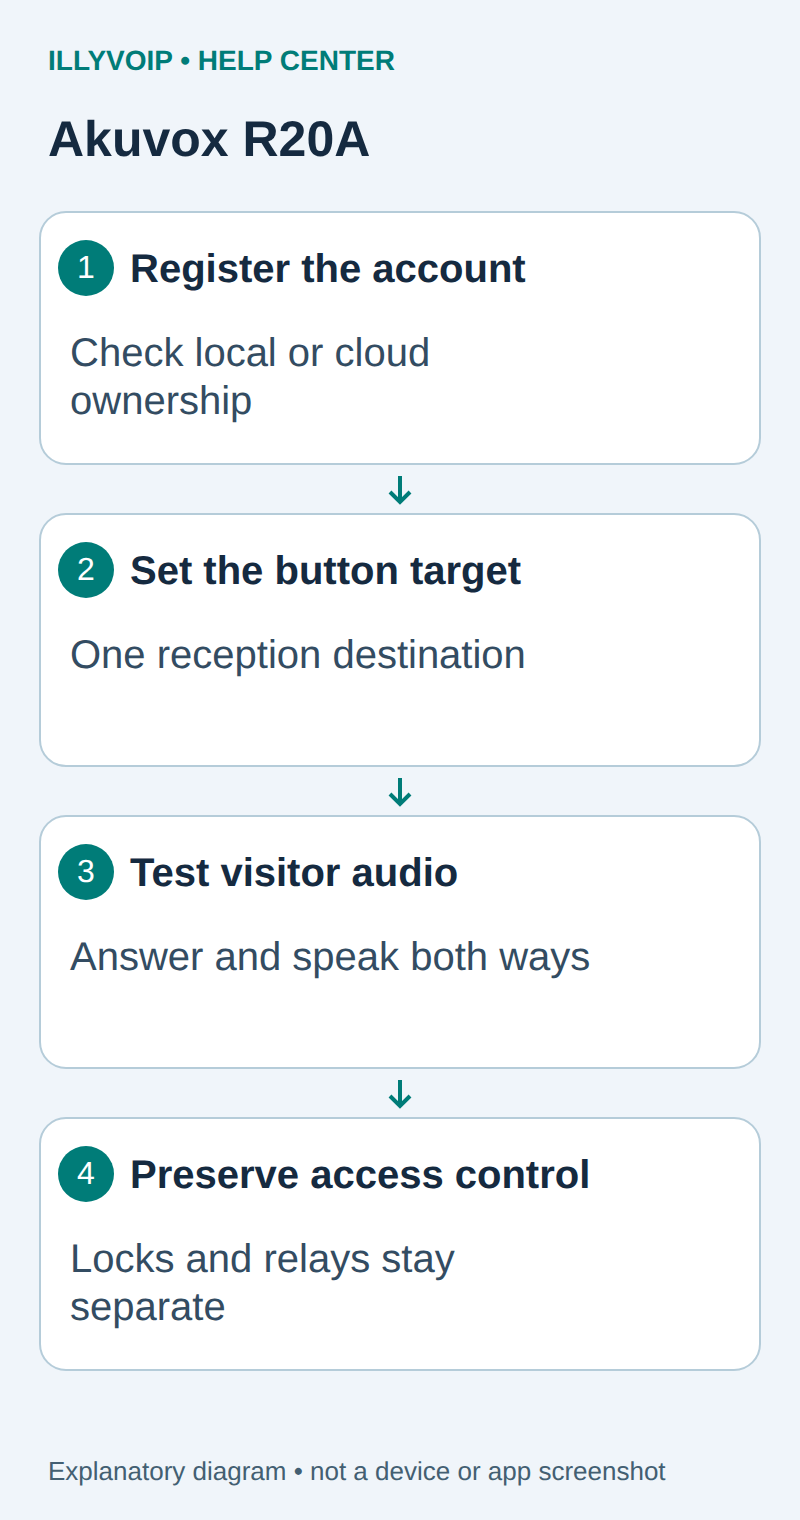
1. Prepare a controlled entrance test
Arrange a test with reception and the entrance administrator. Record the current button destination, SIP account and management method. Do not reset an installed intercom, disconnect a lock or edit relay rules as part of this call setup.
Connect to the intercom from its permitted management network. Find its address from the device's documented address announcement or a known DHCP lease. Sign in with the administrator account and record the hardware and firmware versions.
In IllyVoIP → Services → SIP Lines, select a password-authenticated line. Obtain its SIP username/password and the Technical endpoints hostname, port and transport. Check audio encryption, allowed caller ID, balance and the rate to the reception number. If the intercom is a PBX extension, use PBX credentials on the device and keep the IllyVoIP credentials on the PBX trunk.
2. Register the SIP account
Open Account → Basic and select the account intended for this connection. Inspect existing use first: the documented default Account 1 is also used when SmartPlus is active, so do not overwrite it without resolving ownership.
| Field | What to enter |
|---|---|
| Register Name | The supplied SIP user identity. |
| Username | The line's authentication username. |
| Password | The SIP password, not your Portal password. |
| Server IP / Port | The actual IllyVoIP hostname and destination port. A hostname is accepted here despite the field name. |
| Display Label / Display Name | A recognizable entrance label; this does not grant caller-ID permission. |
| Transport Type | The UDP, TCP or TLS setting corresponding to the chosen endpoint. |
Enable the intended account and save. Leave an outbound proxy or alternate server empty unless your actual connection requires one. Refresh the account status and confirm registration before editing the button destination.
3. Verify the media and network settings
Match the line's audio policy to the device's supported configuration. TLS protects SIP signaling; compatible SRTP must be checked separately when the line requires encrypted audio. Preserve certificate verification and correct device time. Do not select a proprietary or cloud mode as a substitute for ordinary SIP configuration.
Akuvox's third-party WAN registration instructions discuss RPort. Inspect the setting with the installed firmware and your network arrangement; it is not a substitute for the correct server, credentials or media path. Keep direct-IP calling separate from provider-routed SIP calls.
4. Assign one reception destination to the call button
Open Intercom → Basic. In the documented local group-call setup, choose Call Type: Group Call and enter just one reception destination under Group Call Number (Local) for the first test. Verify that the configured SIP account is the one used for the call. Enter the number in the international format required for IllyVoIP. The number is the destination to call, not the device's own SIP username.
Save a single destination for the first test. If the device is configured to call several targets or retry another account, record that behavior before testing: it can create additional outbound attempts. A local IP address or direct-IP URI follows a different route and will not verify IllyVoIP service.
Leave door-opening DTMF codes, relays, PINs, access allowlists and video settings unchanged. An ordinary answered audio call does not establish that any of those features are supported through IllyVoIP.
5. Test from the entrance to reception
- Tell reception that the next call is a test and confirm the destination is correct.
- Press the entrance button once. Check that the intended telephone rings and presents the permitted caller ID.
- Answer and speak in both directions. Check intelligibility at the entrance without changing unrelated access controls.
- End the call and confirm the intercom returns to its idle state.
- Compare the timestamp and destination with the IllyVoIP call history. Record the public call reference if troubleshooting is needed.
If incoming calls to the intercom are also required, configure an active number's destination deliberately and review the device's incoming-call/auto-answer behavior with the entrance administrator before testing. Outgoing success alone does not authorize callers to listen through the entrance device.
Troubleshoot by stage
- Account unregistered: compare authentication, server, port and transport before changing the button number.
- Registered but button calls the wrong target: check its selected account, destination and multi-target behavior.
- Reception rings but cannot hear the visitor: inspect the device audio settings and negotiated media path.
- Settings revert: investigate SmartPlus or another provisioning authority.
Restore the recorded SIP/button settings if the test disrupts reception. Share only the model, firmware, symptom, timestamp and call reference with Support; keep device credentials and access-control configuration private.
References: R20A/B administrator guide and SIP call configuration. Reviewed October 11, 2026; no physical entrance, video or lock-operation test is claimed.