
This guide connects an Avaya J179 running Open SIP firmware to an IllyVoIP SIP line. It is for an administrator who already has access to the phone and permission to change its service. An Aura-managed phone, an IP Office deployment and a cloud-provisioned phone can follow different management rules.
The field names below follow Avaya's J100 Open SIP administration guide, release 4.0.11. Verify them against your installed release before changing anything. This is not a firmware conversion procedure. Preserve the phone's current configuration and record its software version first.
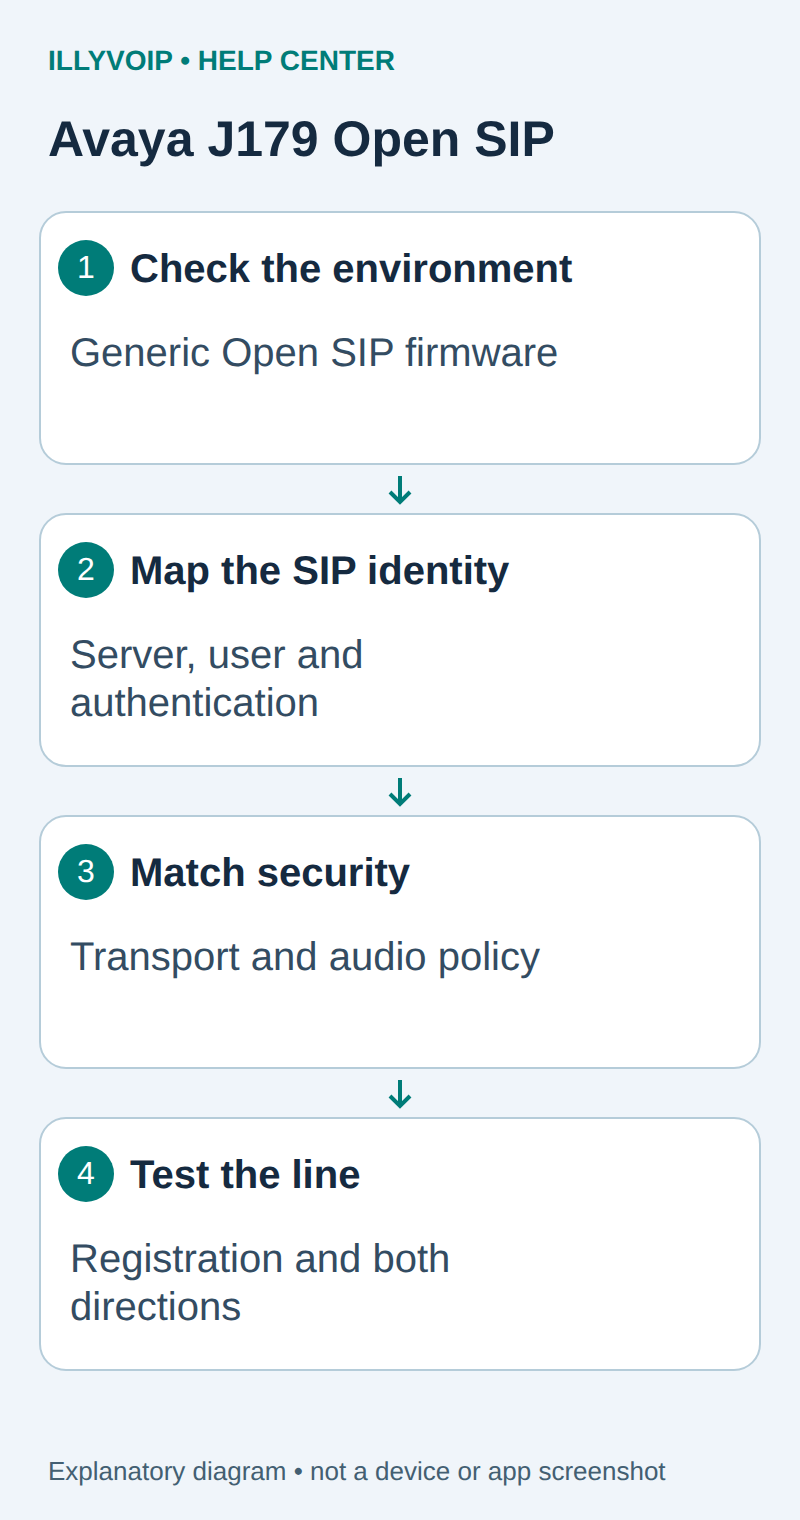
Prepare your IllyVoIP line
In the Portal, open Services → SIP Lines and select the password-authenticated line intended for this device. Record its SIP username and obtain the SIP password securely. Expand Technical endpoints and use the displayed hostname, destination port and transport. Check the line's audio-encryption policy and permitted outgoing caller ID. Your Portal email and password are not SIP credentials.
If the device will be an extension of your own PBX, enter the PBX extension details on it instead. Configure IllyVoIP on the PBX trunk using the separate PBX guide. Start with one account and one test device; avoid copying a working reception line onto several devices without checking registration behavior.
1. Open the phone's administration interface
- Connect the phone to the intended network and power supply. Locate its IP address in the phone's network/status information or the administrator's DHCP lease list.
- From the permitted management network, open that address in a browser and sign in with the device administrator credentials.
- Open Status and record the model and software version. If web administration is disabled by policy, ask the phone administrator to enable the supported management method.
- Check whether provisioning will overwrite local changes. Update the configuration through the managing system when that system owns the phone.
A factory reset is not a prerequisite. It can remove a working configuration and enrollment information that you cannot recreate.
2. Confirm the Open SIP environment
Open Environment Settings. For the documented generic Open SIP arrangement, Avaya uses 3PCC Environment with the generic operation mode, rather than Aura, Discover AVAYA or IP Office environment selection. Make this change only on a phone intended and licensed for that deployment. Save the configuration and allow any required restart in a maintenance window.
If these controls are missing, stop and identify the installed software and provisioning policy. Do not select a named provider profile merely because it is available.
3. Enter the server and account
Open SIP. Review the SIP Global Settings and SIP Account sections together:
| Avaya setting | What to enter |
|---|---|
| SIP Domain | The SIP domain specified for your IllyVoIP connection. |
| SIP Proxy Server | The assigned SIP endpoint, destination port and supported transport. Do not use the Portal web address. |
| SIP User ID / Line/Port | The line's SIP user identity in the field exposed by your firmware and mode. Line/Port is an identity field, not a network-port setting. |
| Authentication User ID | The SIP authentication identity supplied for the line. |
| Authentication Password | The SIP password, without leading or trailing spaces. |
| Display Name | A useful handset label; it does not authorize a caller-ID number. |
For a locally managed setup, set Proxy Policy to Manual before editing the proxy list. The documented form for one explicit endpoint is HOST:PORT;transport=TLS (or the supplied TCP/UDP transport). Replace HOST and PORT with the assigned values. Use the field help for the format supported by your version. If the server list is managed automatically, resolve the provisioning source instead of adding a competing manual server. The cited firmware documents a 31-character ASCII authentication-password limit: never silently truncate a longer password. Check whether your firmware and account can use a compatible credential before proceeding.
Click Save, refresh the account status and look for Registered. Retain the exact failure state if it does not register; repeatedly changing several fields makes diagnosis harder.
4. Match signaling and audio settings
Use the endpoint's specified transport. TLS requires a matching server hostname, trusted certificate and correct phone time; an IP substitution can break certificate validation. Do not disable certificate checking to make a registration succeed.
Review the separate SRTP, codec and DTMF sections. Match the line's media policy and use a mutually supported audio codec. SIP registration over TLS alone does not prove encrypted audio. BroadSoft XSI, BLF lists and server feature codes are not needed for this basic IllyVoIP account.
5. Verify outgoing and incoming calls
- Select the configured line and dial one authorized destination in the required international format. Check the rate and balance before the chargeable test.
- Confirm permitted caller ID, speech in both directions and normal hangup. Test a harmless telephone-menu key if DTMF is required.
- In IllyVoIP, verify that your active incoming number is routed to this SIP line.
- Call that number from another phone. Check ringing, answer and two-way speech on the J179.
If the phone registers but does not ring, check incoming routing, selected line, Do Not Disturb and forwarding before replacing the password. If only audio fails, keep the working signaling configuration and investigate the media path.
Troubleshooting and recovery
- Settings return after restart: inspect enrollment and provisioning ownership.
- Authentication fails: check the user identity, authentication identity, exact secret and firmware field limits.
- Server cannot be reached: check DNS, network access, port and transport together.
- Account registers but calls fail: inspect the actual call response, dialed format, available funds and permitted caller ID.
Record model, firmware, time, account status and a public call reference for Support. Keep passwords and configuration exports private. If necessary, restore only the phone settings changed during this work after checking for newer administrator changes.
Reference: Avaya J100 Open SIP administration guide. Reviewed October 11, 2026. Documented configuration guidance; no physical J179 or vendor certification is claimed.