
Check the firmware first: this walkthrough is for Cisco 8800 Multiplatform (MPP/3PCC) phones, using the 11.3(1)-and-later administration guide. Enterprise phones managed through Cisco Unified Communications Manager do not use the same setup. Do not install different firmware or reset a managed phone just to reveal these menus.
1. Get your IllyVoIP line details
Open SIP Lines and select the line you will use. You need its SIP username, SIP password and server address. Your Portal login password is not necessarily your SIP password. This walkthrough uses password authentication; do not switch an IP-authenticated line without checking which existing devices depend on it.
If you need another line, follow Create a SIP line and review any subscription charge before confirming. Buying a phone number is not required just to register the phone.
2. Configure the phone
- Open the phone’s local administration page from your trusted network. Use administrator access and the advanced view where required.
- Open Voice → Ext 1, or another unused extension, and enable the line.
- Set the server under Proxy and Registration and enable registration. Enter the account under Subscriber Information.
- Save with Submit All Changes and check the extension’s registration status.
| Phone field | What to enter |
|---|---|
| Proxy | SIP server hostname and required destination port |
| User ID | SIP username |
| Auth ID | SIP authentication ID when separate Auth ID is enabled |
| Password | SIP password |
Local port and server port are different
The phone’s local SIP port is not necessarily the destination port of the IllyVoIP server. Follow the server/transport details for your line rather than copying every value from an unrelated configuration example. Leave advanced SIP timers and headers at their supported defaults unless Support identifies a specific reason to change them.
3. Match connection and audio settings
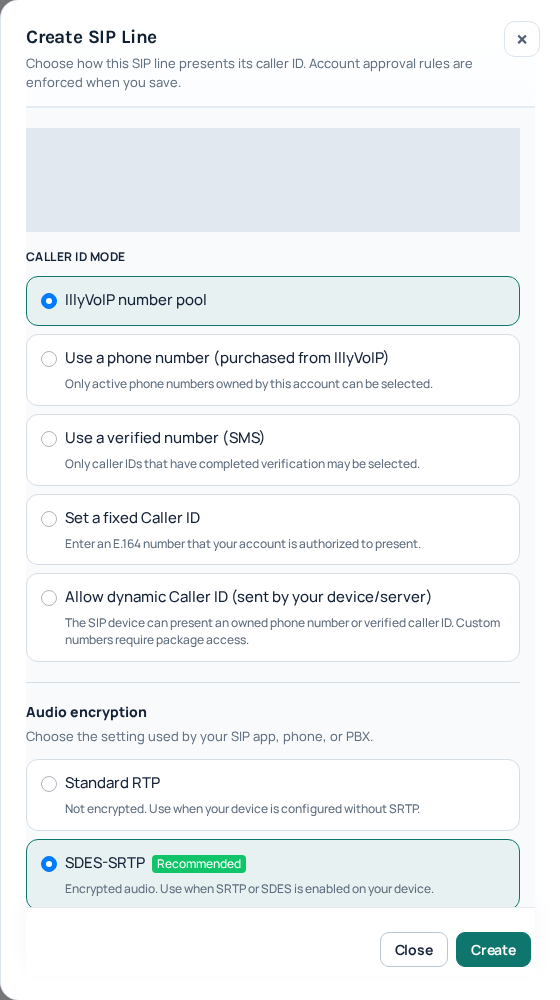
Use the server, destination port and transport shown in your account’s SIP connection details. Do not put the phone’s local IP into the server field. SIP signaling and audio encryption are separate settings: the Portal line’s audio mode must match what the phone supports and uses. Standard RTP is unencrypted; SDES-SRTP and DTLS-SRTP are different modes. Do not select DTLS simply because a browser uses it.
If unsure, ask Support about your exact model before changing an existing working line. Do not disable your firewall or expose the phone administration page to the Internet.
4. Test outgoing and incoming calls
- Once registered, select the configured line and call a number you control using its country code. Check your balance and destination rate first; this can be a paid call.
- Check two-way audio and the outgoing caller ID.
- For incoming calls, route an active IllyVoIP number to this SIP line. Follow phone-number configuration. Registering a handset alone does not change a number’s routing.
If it does not work
No registration: check the server, username, password and authentication mode. Registered but unable to call: check the dialed number, package, balance and caller ID. Connected but no audio: check the network and matching audio settings.
Send Support the model, firmware version, time/timezone, visible error and public call reference if available. Never include passwords or private account screenshots. The SIP code reference helps describe the failure.
Device documentation
Open the official documentation. Based on manufacturer documentation and the current IllyVoIP Portal; not a certification of every model or a claim of physical-device testing.