
D865: use the setup path for this model
The D865 and D785 use SIP identities, but their initial setup screens differ. This section follows the D865 manual. Keep the D785 web-interface steps below for a D785; do not assume its exact Login-tab layout appears on a D865.
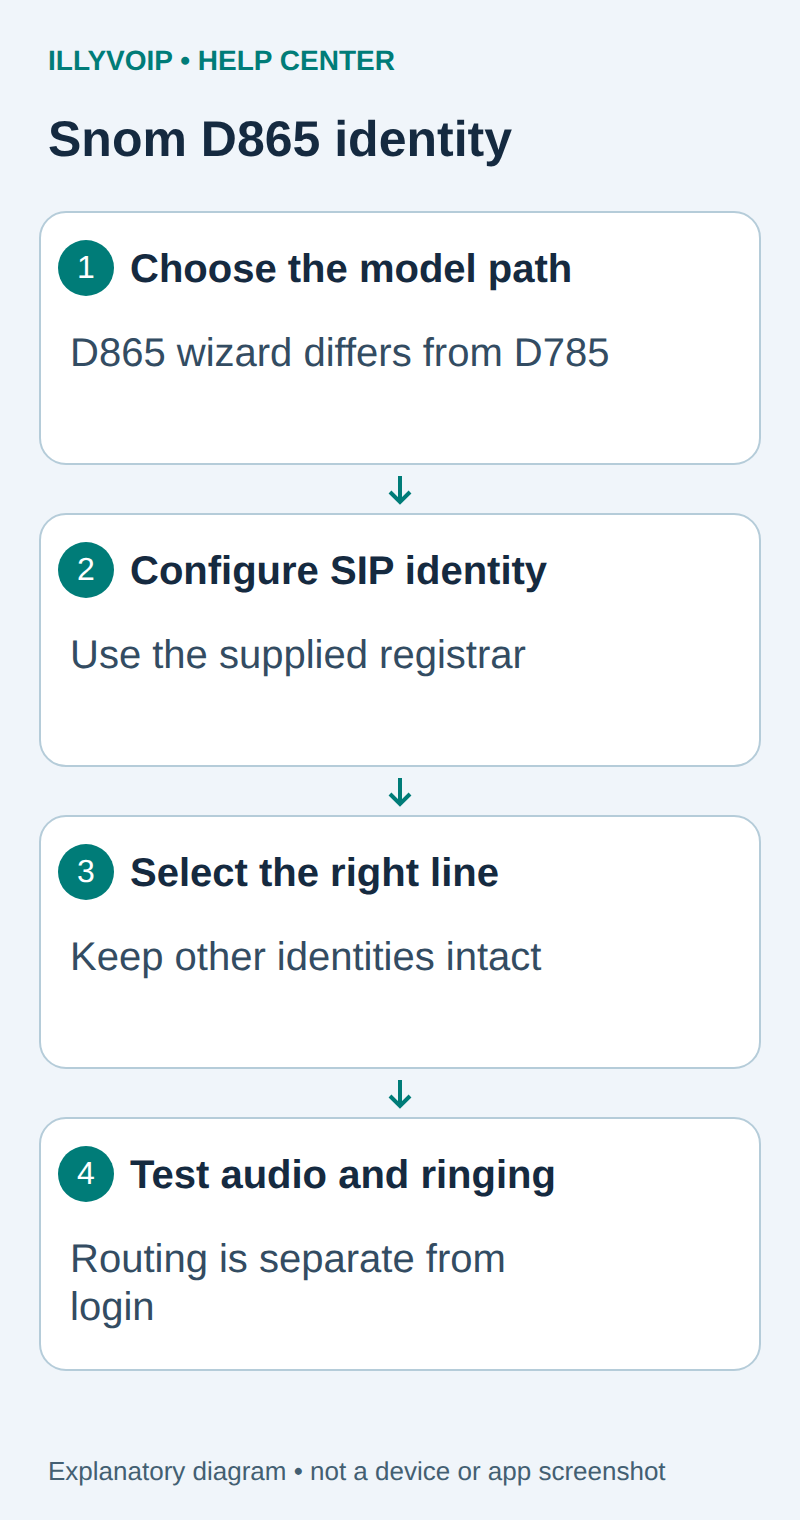
- Connect the D865 to the network and supported power source. Record the existing configuration if it is already in use. Do not reset a working phone just to display the initial wizard.
- For a new phone showing Your device is ready, click Configure SIP Identity. The manual opens the Profile page for identity 1.
- Enter the IllyVoIP SIP account identity, registrar and SIP password, then choose Apply. Use the line’s connection details, not the public number or Portal password.
- For a phone already provisioned, have the administrator open an unused SIP identity through its management interface. Provisioning can overwrite local edits; update the managed profile if that is how the phone is controlled.
- If a separate authentication ID is required, use the corresponding authentication setting documented for the installed firmware. Do not replace the account identity merely to make it equal to a different authentication username.
D865: verify the selected identity and calls
In IllyVoIP, open Services → SIP Lines, select the intended password-authenticated line and expand Technical endpoints. Copy its SIP username, SIP password, regional hostname, destination port and transport. These are not your Portal login credentials. Keep any existing working devices and IP-authenticated configuration intact.
Match the transport and media policy to the line. UDP, TCP and TLS describe signaling; standard RTP, SDES-SRTP and DTLS-SRTP describe different media modes. Selecting a TLS port does not enable TLS automatically or encrypt audio. Use the supplied hostname for certificate verification and keep device time and certificate trust correct. Do not disable a firewall or expose the administration interface to the Internet.
Confirm the configured identity is registered and selected for outgoing calls. An idle-screen label by itself is not enough to confirm the complete call path. Test with the correct identity selected and retain any registration error before changing settings.
- Confirm registration on the configured account, not merely another account on the device.
- Check your balance, destination rate and permitted caller ID. Call a number you control, using the international format accepted by your routing configuration; the call can be charged.
- Answer and check speech in both directions, the destination and caller ID. Hang up and verify the call ends.
- For incoming calls, assign an active IllyVoIP number to the intended SIP line in its number configuration. Registration alone does not change that destination. Call it from another phone and verify the intended device rings.
If the D865 registers but a D785 beside it rings instead, inspect shared credentials, the active registrations and number routing. Do not solve the symptom by resetting both phones or deleting the older identity. Change one account assignment at a time.
After the test, confirm the saved account survives the normal configuration-save process. Leave key assignments, provisioning and existing identities unchanged unless they are part of the approved installation.
Model reference: Snom D865 manual 1.02. The following original procedure remains specific to the D785.
Snom calls a SIP account an identity. This guide follows the D785 manual rather than assuming every D7/D8 model has the same menus. Have the phone administrator handle the setup if the device is managed by your company.
1. Get your IllyVoIP line details
Open SIP Lines and select the line you will use. You need its SIP username, SIP password and server address. Your Portal login password is not necessarily your SIP password. This walkthrough uses password authentication; do not switch an IP-authenticated line without checking which existing devices depend on it.
If you need another line, follow Create a SIP line and review any subscription charge before confirming. Buying a phone number is not required just to register the phone.
2. Configure the phone
- Find the phone’s local IP address and open its web interface from your trusted local network.
- Enter administrator mode and choose an unused Identity in the left menu. Open its Login tab.
- Enable the identity and enter the account details below.
- After changing Account or Registrar, use Re-Register and Save. For other changes, follow the displayed Apply/Save controls.
| Phone field | What to enter |
|---|---|
| Account | SIP username |
| Registrar | SIP server hostname |
| Authentication User Name | SIP username / authentication ID |
| Password | SIP password |
Identity selection matters
A successful registration on one identity does not mean the phone will use it for the next outgoing call. Select the configured identity before dialing. Keep any existing work identities intact. A local display label helps you recognize the account, while IllyVoIP’s caller-ID permissions still determine which outgoing number may be presented.
3. Match connection and audio settings
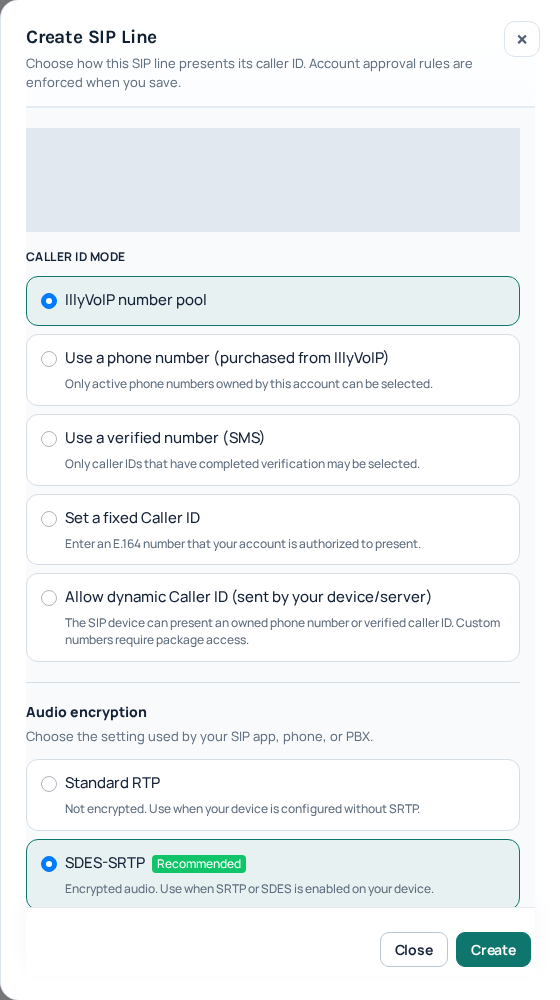
Use the server, destination port and transport shown in your account’s SIP connection details. Do not put the phone’s local IP into the server field. SIP signaling and audio encryption are separate settings: the Portal line’s audio mode must match what the phone supports and uses. Standard RTP is unencrypted; SDES-SRTP and DTLS-SRTP are different modes. Do not select DTLS simply because a browser uses it.
If unsure, ask Support about your exact model before changing an existing working line. Do not disable your firewall or expose the phone administration page to the Internet.
4. Test outgoing and incoming calls
- Once registered, select the configured line and call a number you control using its country code. Check your balance and destination rate first; this can be a paid call.
- Check two-way audio and the outgoing caller ID.
- For incoming calls, route an active IllyVoIP number to this SIP line. Follow phone-number configuration. Registering a handset alone does not change a number’s routing.
If it does not work
No registration: check the server, username, password and authentication mode. Registered but unable to call: check the dialed number, package, balance and caller ID. Connected but no audio: check the network and matching audio settings.
Send Support the model, firmware version, time/timezone, visible error and public call reference if available. Never include passwords or private account screenshots. The SIP code reference helps describe the failure.
Device documentation
Open the official documentation. Based on manufacturer documentation and the current IllyVoIP Portal; not a certification of every model or a claim of physical-device testing.