
A Yealink desk phone can be useful when you want a dedicated handset on your desk rather than keeping a browser open. This guide covers the Account → Register interface used by SIP models in the T4/T5 families. Menu wording varies by firmware; a Teams-only or centrally managed phone may need its administrator before you can configure an independent SIP account.
1. Get your IllyVoIP line details
Open SIP Lines and select the line you will use. You need its SIP username, SIP password and server address. Your Portal login password is not necessarily your SIP password. This walkthrough uses password authentication; do not switch an IP-authenticated line without checking which existing devices depend on it.
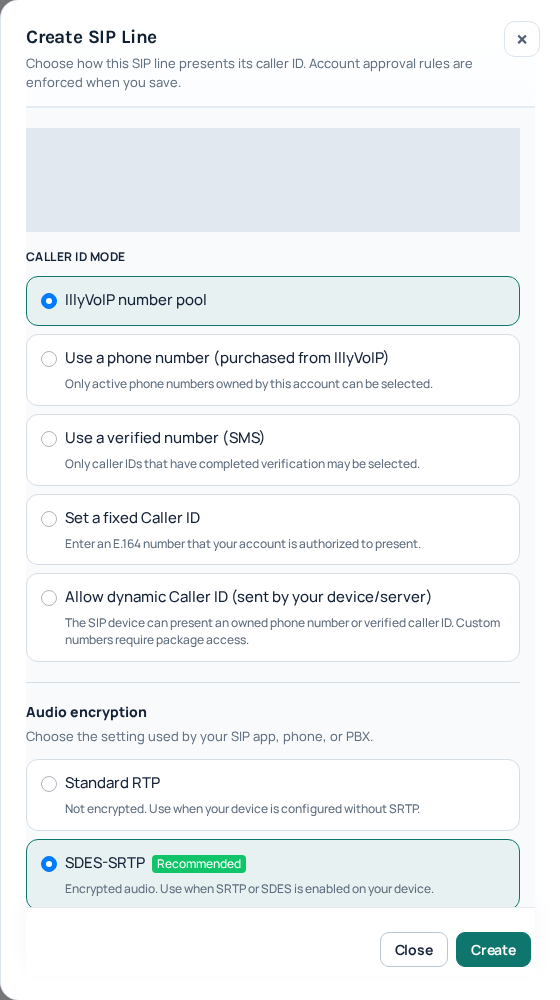
If you need another line, follow Create a SIP line and review any subscription charge before confirming. Buying a phone number is not required just to register the phone.
2. Configure the phone
- Find the phone’s local IP address in its status screen. Open that address from a computer on the same trusted network and sign in with the phone administrator credentials.
- Open Account → Register, choose an unused account and enable Line Active.
- Fill the fields below. A friendly Label identifies the line on the phone; it is not your login.
- Confirm the changes and check the account’s registration status.
| Phone field | What to enter |
|---|---|
| User Name | SIP username |
| Register Name | SIP username / authentication ID |
| Password | SIP password |
| Server Host | SIP server hostname |
The phone label is not your outgoing number
“Reception” is a useful label for a shared desk. It does not authorize a new caller ID. Choose the permitted outgoing number in IllyVoIP and check it during your test call. If you reuse a phone from another office, ask its administrator whether automatic provisioning will overwrite your changes; do not factory-reset a working business phone as a first troubleshooting step.
3. Match connection and audio settings
Use the server, destination port and transport shown in your account’s SIP connection details. Do not put the phone’s local IP into the server field. SIP signaling and audio encryption are separate settings: the Portal line’s audio mode must match what the phone supports and uses. Standard RTP is unencrypted; SDES-SRTP and DTLS-SRTP are different modes. Do not select DTLS simply because a browser uses it.
If unsure, ask Support about your exact model before changing an existing working line. Do not disable your firewall or expose the phone administration page to the Internet.
4. Test outgoing and incoming calls
- Once registered, select the configured line and call a number you control using its country code. Check your balance and destination rate first; this can be a paid call.
- Check two-way audio and the outgoing caller ID.
- For incoming calls, route an active IllyVoIP number to this SIP line. Follow phone-number configuration. Registering a handset alone does not change a number’s routing.
If it does not work
No registration: check the server, username, password and authentication mode. Registered but unable to call: check the dialed number, package, balance and caller ID. Connected but no audio: check the network and matching audio settings.
Send Support the model, firmware version, time/timezone, visible error and public call reference if available. Never include passwords or private account screenshots. The SIP code reference helps describe the failure.
Device documentation
Open the official documentation. Based on manufacturer documentation and the current IllyVoIP Portal; not a certification of every model or a claim of physical-device testing.
A closer walkthrough: from the desk to the first call
Before opening Account → Register, connect the phone to the office network and confirm that it has power and a local IP. A powered screen alone does not prove Internet access. If your computer uses a guest Wi-Fi network, it may be unable to open the phone even though both devices have Internet access. Ask the network administrator rather than moving the phone into a public network.
Check each field before saving
Choose an unused account slot and note its number. User Name identifies the SIP line; Register Name supplies the authentication identity. Use the values from that same IllyVoIP line, not a colleague’s line or your Portal email. Password is the SIP password. Server Host is the server address, not the phone’s local IP and not the Portal website URL. Do not add a website path such as /voice.
Label is for recognizing the line on the phone. Display Name is not a replacement for authorized outgoing caller ID. Leave an optional outbound proxy or backup server alone unless the line’s connection details require it; guessed values add another possible failure.
What should happen after saving?
Check the selected account’s registration status before dialing. If the screen still shows an older label, reopen the same account slot and confirm the saved values. Do not keep changing credentials while the phone is still applying a change. If several lines are configured, select the newly configured line key explicitly for your first test.
Three symptoms that need different fixes
- No registration: check Line Active, server, username and password. Capture the exact status instead of describing every failure as no Internet.
- Registered but calls rejected: check the dialed format and the line’s package, balance and Caller ID permissions in IllyVoIP.
- Outgoing works, incoming does not: check the purchased number’s destination and Do Not Disturb/forwarding on the phone. Buying another number is not the first troubleshooting step.
After the test, document the model, firmware and line label for the next administrator. Store any configuration backup securely because it may contain credentials. Make one change at a time and keep the previously working setup available.