
Configure a Grandstream GXV3370 to make and receive ordinary IllyVoIP audio calls. Its touchscreen and camera do not imply that an IllyVoIP telephone call supports video. This guide uses the phone's SIP account settings, not an Android softphone installed on the device.
Follow the GXV3370 administration guide for the installed firmware. Preserve any existing accounts and provisioning settings before changing the selected account. Start with one available account so you can identify which registration and call results belong to this setup.
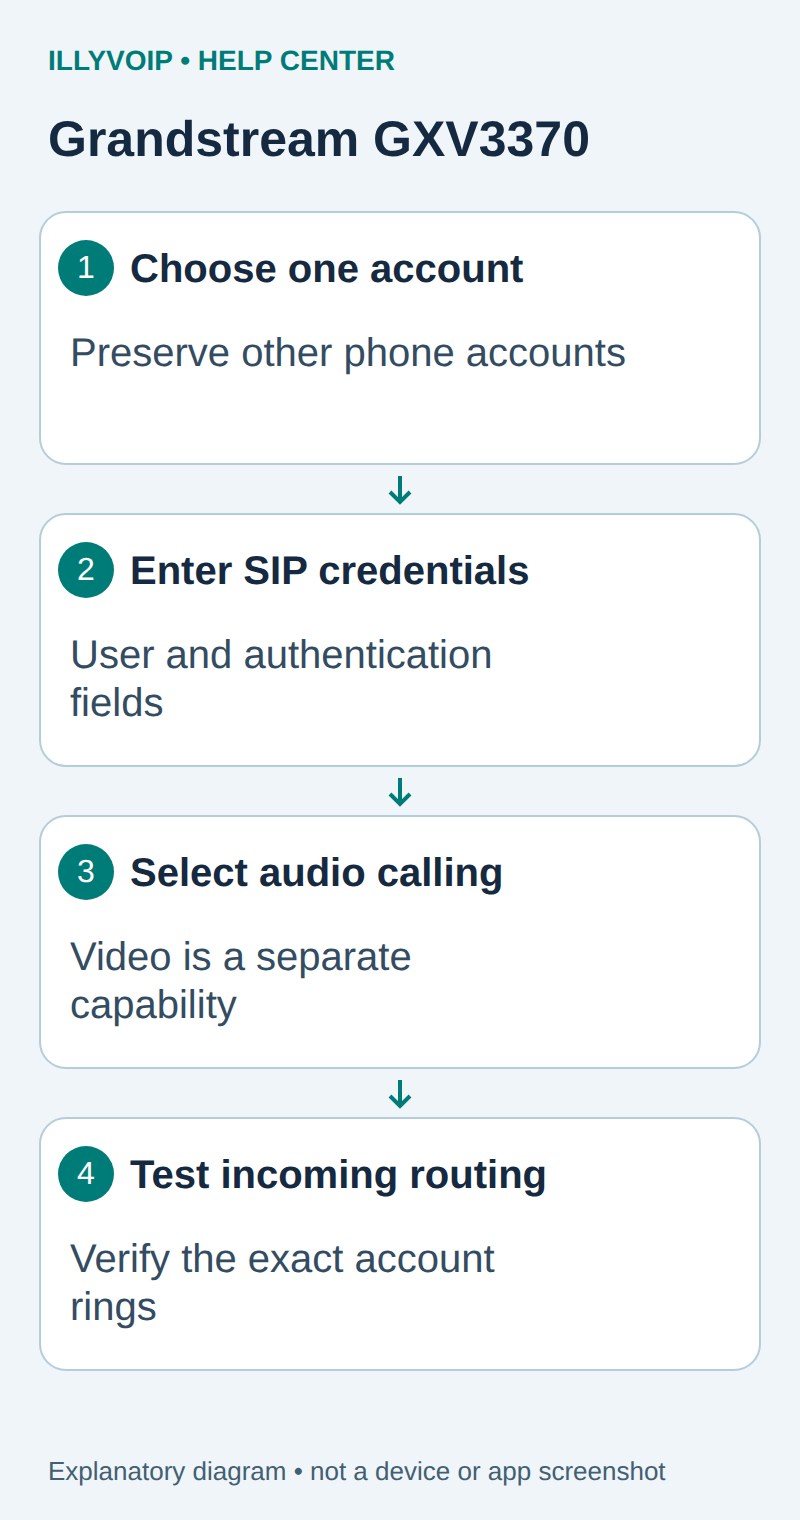
Prepare your IllyVoIP line
In the Portal, open Services → SIP Lines and select the password-authenticated line intended for this device. Record its SIP username and obtain the SIP password securely. Expand Technical endpoints and use the displayed hostname, destination port and transport. Check the line's audio-encryption policy and permitted outgoing caller ID. Your Portal email and password are not SIP credentials.
If the device will be an extension of your own PBX, enter the PBX extension details on it instead. Configure IllyVoIP on the PBX trunk using the separate PBX guide. Start with one account and one test device; avoid copying a working reception line onto several devices without checking registration behavior.
1. Open the GXV3370 interface
- Connect the phone to its intended network and suitable power. Use the phone's network/status information to find its IP address.
- Open that address from a browser on the permitted management network.
- Sign in with the phone administrator credentials. Record its firmware version and note whether configuration is managed centrally.
- Open Account and select the account you intend to configure. Avoid changing a working account just because it is listed first.
The phone also exposes account configuration on its display. Use one interface consistently during initial setup, then verify the saved values in the other only if necessary.
2. Map the account fields
Under the selected account's General Settings, enter:
| GXV3370 setting | IllyVoIP value |
|---|---|
| Account Active | Yes for this account. |
| Account Name | A label such as the office or user name. |
| SIP Server | The supplied SIP hostname and the destination port in the format supported by the field. |
| SIP User ID | The SIP line username. |
| SIP Authentication ID | The authentication identity for that line. |
| SIP Authentication Password | The SIP password. |
| Outbound Proxy | Only a proxy required by the actual connection. |
Do not put the incoming telephone number in the authentication fields unless it is also the SIP identity explicitly supplied for that line. Save and apply the account changes.
3. Check transport, registration and audio
In the account's SIP settings, match the signaling transport to the IllyVoIP endpoint. A non-default destination port belongs to the server connection; the phone's local SIP port is a different setting.
For TLS, use the assigned hostname with correct certificate trust and time. In the account's audio settings, match SRTP policy and select a mutually supported audio codec. Do not change camera or video settings to solve a basic audio registration problem.
Open Status → Account Status and find this account by its SIP user identity. Confirm registration there rather than relying on an unrelated account's green indicator.
4. Select the account and place a test call
- On the dial screen, deliberately select the IllyVoIP account.
- Check the rate, then dial one authorized destination in the required international format.
- Use an audio call. Confirm the permitted outgoing caller ID with the recipient.
- Test speech in both directions, the handset and speakerphone as needed, mute and normal hangup.
- If telephone menus matter, test a harmless keypad selection separately.
Video negotiation, camera access and third-party Android apps are outside this workflow. An audio call working does not certify any of those features.
5. Route and verify incoming calls
In IllyVoIP, confirm the active incoming number targets this SIP line. Call it from a separate telephone, observe which GXV account rings, answer and check speech. Repeat after the phone has been idle for the normal interval used at the site.
If outgoing calls work but incoming calls do not, inspect the number destination, current registration, Do Not Disturb and forwarding. If the wrong account places a call, fix account selection before changing server credentials.
Troubleshooting and rollback
- No registration: compare the exact selected account's server, authentication fields and transport.
- Changes disappear: check central provisioning ownership and whether you applied the changes.
- Call connects without usable audio: check the selected audio device, mute state, codec/SRTP policy and network media path.
- Unexpected charges or caller ID: verify the outgoing account and permitted caller-ID configuration before another call.
Record the firmware, account slot, timestamp and public call reference for Support. Keep passwords and configuration exports private. Restore only the changed account settings if needed, after checking for newer administrator changes.
Reference: GXV3370 administration guide. Reviewed October 11, 2026. This documents the setup; it does not claim physical-device or video interoperability testing.