
A Grandstream GXW42xx FXS gateway lets ordinary analog telephones use SIP accounts. Start with one physical port and one IllyVoIP line, verify calls, then extend the same mapping to the other ports you actually need.
This guide covers the GXW4216, GXW4224, GXW4232 and GXW4248 family without treating every hardware revision as identical. Check whether your unit is V1 or V2, its firmware and its physical connectors before changing configuration. This is a voice-telephone setup, not a fax, alarm or lift-phone compatibility claim.
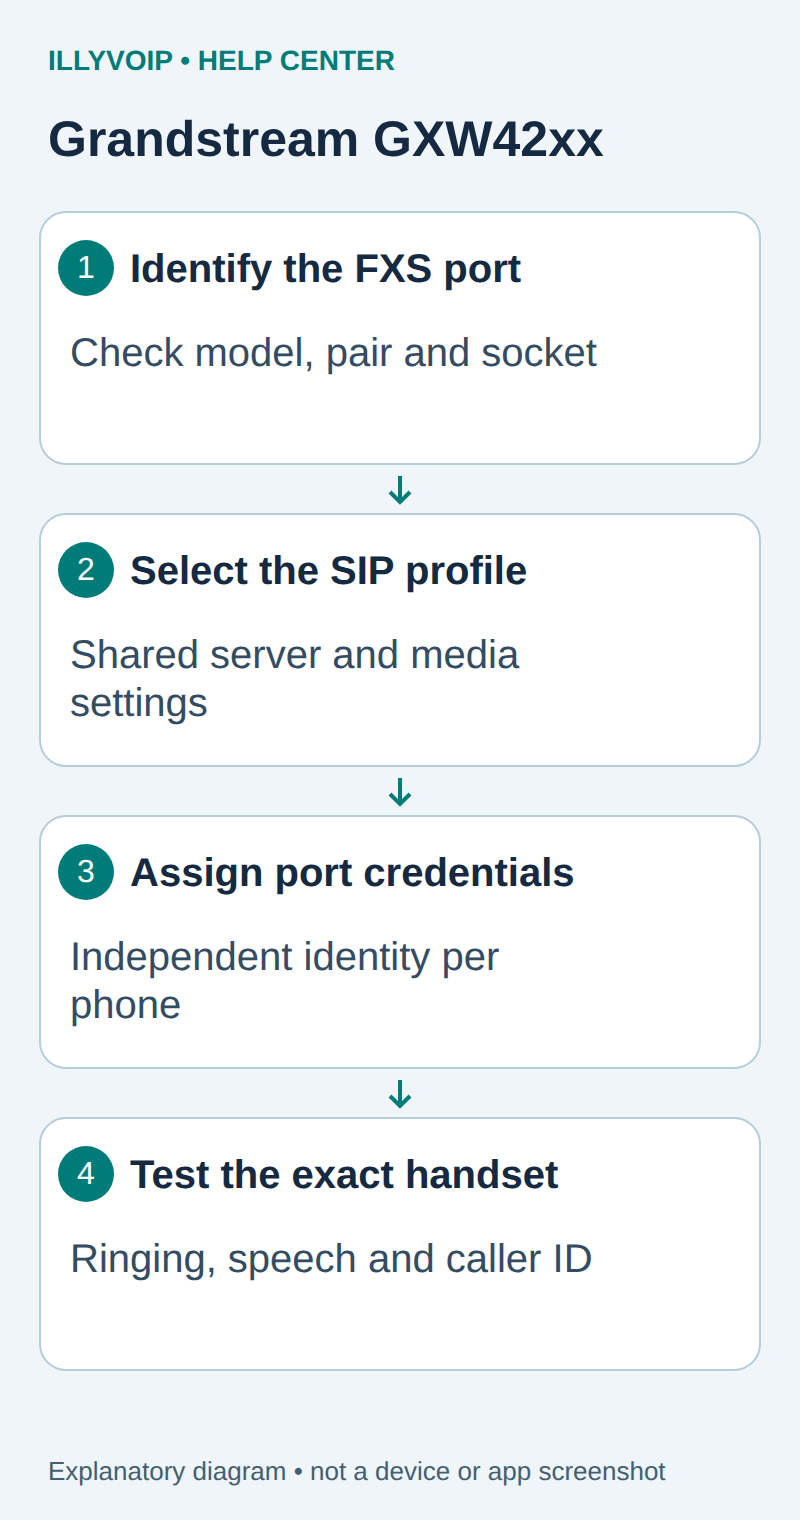
1. Identify the physical port
Record the gateway model and firmware from its status page and device label. Connect Ethernet and power as specified for that model. Use an ordinary analog telephone on a documented FXS output. Never connect that output to a live telephone-company line or another powered FXS port.
Some installations use an RJ21 breakout or patch panel rather than individual telephone sockets. Follow the exact model's pinout and label the cable pair and physical port before configuring SIP. A connector that resembles a network connector is not evidence that it is an Ethernet port.
Make a private port worksheet. For example: physical Port 1 → reception telephone → SIP line A → intended incoming number. Do not put passwords on a label or in a shared spreadsheet. Keep unused ports out of the initial test.
2. Obtain the IllyVoIP line details
Open IllyVoIP → Services → SIP Lines and select a password-authenticated line. Obtain its SIP identity and password, then expand Technical endpoints for the hostname, port and transport. Check the required audio policy and permitted caller ID.
For independent phones, plan a distinct SIP identity for each independent port. If the gateway is registering PBX extensions, use PBX credentials on its ports and keep the IllyVoIP trunk on the PBX. Do not mix these two arrangements or copy one phone's identity across every port expecting simultaneous ringing.
3. Configure the appropriate SIP profile
Open the gateway's administrator web interface on the permitted management network. Preserve the current configuration privately. In Profiles, select a profile intended for this service and configure the supplied SIP server and destination port. Use the documented hostname/port format if the interface combines them.
Enable SIP Registration and select the matching SIP Transport. Leave failover and outbound-proxy fields empty unless they are part of the actual connection. A profile supplies shared server/media settings; it is not the physical port's authentication account.
Match SRTP requirements separately from TLS signaling. When using TLS, check Validate Server Certificates, the appropriate trust configuration and device time. Do not assume an old default validates certificates. Apply a required restart only in a suitable maintenance window.
4. Assign the account to one FXS port
Open FXS Ports and edit the row for the physical port you labeled.
| Port field | Value |
|---|---|
| SIP User ID | The IllyVoIP line's SIP identity. |
| Authenticate ID | The authentication username for that line. |
| Password | The SIP password, not the Portal password. |
| Name | A recognizable label for this telephone. |
| Profile | The profile configured for the service in the previous step. |
For the independent-port setup, keep the port outside a shared hunting group and leave off-hook auto-dial unset. Save using the installed interface's Update/Apply control and follow any documented restart requirement. Refresh Status and inspect SIP Registration for this exact port.
If another port registers while this one does not, compare the port row and selected profile before changing the common server settings. A common profile change can affect every port assigned to it.
5. Verify outgoing and incoming calls
- Lift the handset on the labeled telephone and check for dial tone. This establishes only the local analog connection.
- After checking the rate and balance, dial one authorized international destination.
- Confirm the receiving number, allowed caller ID and speech in both directions.
- In IllyVoIP, route the intended active incoming number to this SIP line.
- Call that number from another phone. Confirm that the correct physical telephone rings, answer and verify audio.
- Test keypad tones against an authorized menu if that is part of your normal use. Match the agreed DTMF method rather than changing every codec.
Record the timestamp, port and public call reference. If the wrong phone rings, inspect the cable pair, port identity, incoming-number destination and any pre-existing hunting-group configuration.
6. Add further ports deliberately
Repeat the worksheet and account mapping one port at a time. Check each incoming number and outgoing caller ID independently. Confirm the service's actual concurrent-call allowance; the number of physical sockets does not establish the account's call capacity.
A hunting group is a different configuration. Grandstream documents distributing calls among member ports; this should not be described as automatically ringing every phone together. Plan the desired busy/no-answer behavior and capacity before converting independent ports to a shared group.
When a test fails
No local dial tone: check the phone, pair and FXS port. No registration: inspect the port credentials, assigned profile and endpoint transport. Registered but cannot call: check dialed-number handling, permissions and the recorded call result. Audio problems: separate analog cabling and handset behavior from negotiated SIP media.
Keep a private backup and the completed port worksheet. Restore only the affected port/profile settings if needed. Confirm persistence after an agreed restart, without interrupting unrelated active calls.
Reference: Grandstream GXW4200 series manual, including V1/V2 notes and connector diagrams. Reviewed October 11, 2026. Physical port wiring and live calls must be tested at the installation.