
Connect a Panasonic KX-TGP600 base and compatible cordless handset to IllyVoIP by configuring a SIP line on the base and assigning that line to the handset. DECT pairing, SIP registration and incoming-number routing are different steps: a handset showing signal bars has completed only the radio connection.
The field references below follow Panasonic's KX-TGP600 Administrator Guide, document version 2020-07. Check your regional hardware, installed firmware and support situation before changing an existing system. Keep the old configuration available during a controlled test.
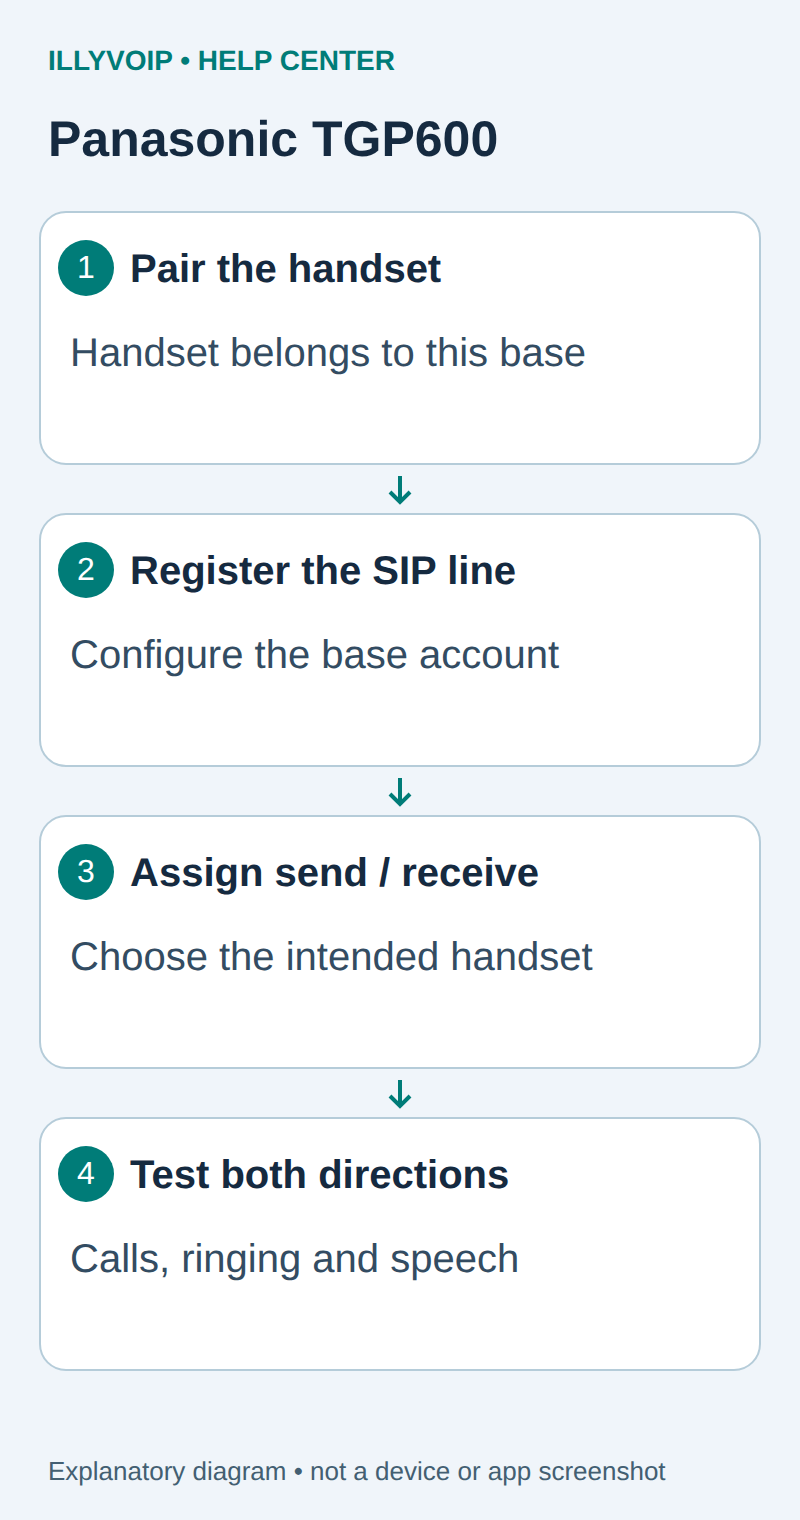
1. Prepare one handset and one line
Connect the base to the intended network, power it correctly and charge the handset. Start with one handset already registered to this base; if it is not paired, complete the handset registration procedure in the matching Panasonic operating instructions before configuring the SIP line. Check the base's handset information so you know which handset number you are assigning.
In IllyVoIP, open Services → SIP Lines and choose a password-authenticated line. Obtain its SIP username/password, then expand Technical endpoints for the server, destination port and transport. Check the line's audio-encryption policy and permitted caller ID. Use a dedicated test identity if a production device already depends on another line.
If the Panasonic is an extension of a PBX, use the PBX extension account here and configure the IllyVoIP trunk on that PBX. Do not enter your Portal email or Portal login password into the base.
2. Enable and open the web interface
- On a registered handset, open its menu and Setting Handset → Other Option → Embedded Web, then set Embedded Web to On, following the labels for your handset.
- Find the base's current IP address in its network information or the router's DHCP lease list. Match the physical device identity rather than using an example address.
- Open that address from the permitted local network and sign in with the base administrator account.
- Check the software and handset information. Keep the interface private; do not expose it through public port forwarding.
Embedded web access can have a limited availability window. If it stops responding, check whether it needs to be enabled again before resetting the base or changing network settings.
3. Configure the intended SIP line
Open VoIP → SIP Settings and select an unused line, such as Line 1. Keep a record of the line number.
| Panasonic field | IllyVoIP value or decision |
|---|---|
| Phone Number / SIP URI | The SIP user identity. Panasonic directs non-numeric user identities to the SIP URI setting; do not replace your SIP username with an incoming DID. |
| Registrar Server Address / Port | The supplied registrar hostname and destination port. |
| Proxy Server Address / Port | The service's SIP proxy values where required by the connection. |
| Service Domain | The SIP domain supplied for the line. |
| Authentication ID / Password | The line's SIP authentication username and SIP password. |
| Outbound Proxy Server Address / Port | Populate only when an outbound proxy is explicitly required. |
The advanced SIP URI setting represents the user at the SIP domain, for example the shape sip:user@example.invalid. Replace the example with the actual supplied identity. Do not enter an HTTPS Portal address as a SIP server.
Save the line. Match its transport to the endpoint; do not assume the displayed default port establishes the transport. If the installed firmware cannot express the required signaling or media policy, resolve compatibility before proceeding. Keep certificate verification enabled for TLS.
4. Assign receiving and outgoing lines
Open Telephone → Multi Number Settings. Panasonic provides separate assignments for receiving calls and making calls.
- Under Group Handset / Handset select for receiving call, assign the new SIP line to the handset intended to ring.
- Under Handset and Line Number select for making call, permit that handset to use the intended line and select its default outgoing line.
- Save the assignments and confirm you have not removed another handset's working line.
- Review the base's VoIP Status for the corresponding line. A correct handset assignment cannot repair failed SIP registration.
For example, if Reception should receive the IllyVoIP number but an office handset should not, assign the receiving line only to Reception. Check the office handset's outgoing choice separately. Do not assume receiving permission and the default outgoing line are identical.
5. Test calls in both directions
- Check balance, the destination rate and the permitted caller ID in IllyVoIP.
- From the selected handset, place one authorized outgoing call using the intended line. Check two-way speech and the displayed caller ID at the destination.
- Verify that an active IllyVoIP number is routed to this SIP line, then call it from another telephone.
- Check that the selected handset rings and other handsets follow the assignments you saved. Answer and check speech.
- Test a harmless telephone-menu digit if your users need DTMF, then end the call.
Internal handset-to-handset calling tests the DECT system, not the IllyVoIP public route. Recheck incoming calls after a normal idle period if the base is behind NAT.
Find the failing stage
- No handset connection: inspect DECT registration, power and coverage.
- Web page unavailable: check the base address, management network and Embedded Web state.
- Line not registered: compare SIP identity, authentication, endpoint and transport.
- Wrong handset rings or wrong line dials: review both Multi Number Settings tables.
- Registered but public incoming calls fail: check the IllyVoIP number destination before re-entering credentials.
Record the model, firmware, line number, handset number, timestamp and public call reference. Keep exports and passwords private. Restore the affected line and handset assignments from your recorded baseline if the change disrupts service.
Reference: Panasonic KX-TGP600 Administrator Guide. Reviewed October 11, 2026. This guide does not claim a physical handset or live-call test.