
A Snom M500 has two separate jobs: connecting the cordless handset over DECT and registering a SIP account for calls. Complete and check each stage separately. This walkthrough starts with one M500 and a compatible M55 handset or M58 deskset; it does not build a new dual-cell installation.
The menu names follow the M500 Administrator and Provisioning Manual. Check the firmware and approved handset compatibility first. In an existing dual-cell system, use the primary base for account and handset administration and preserve the installed synchronization settings.
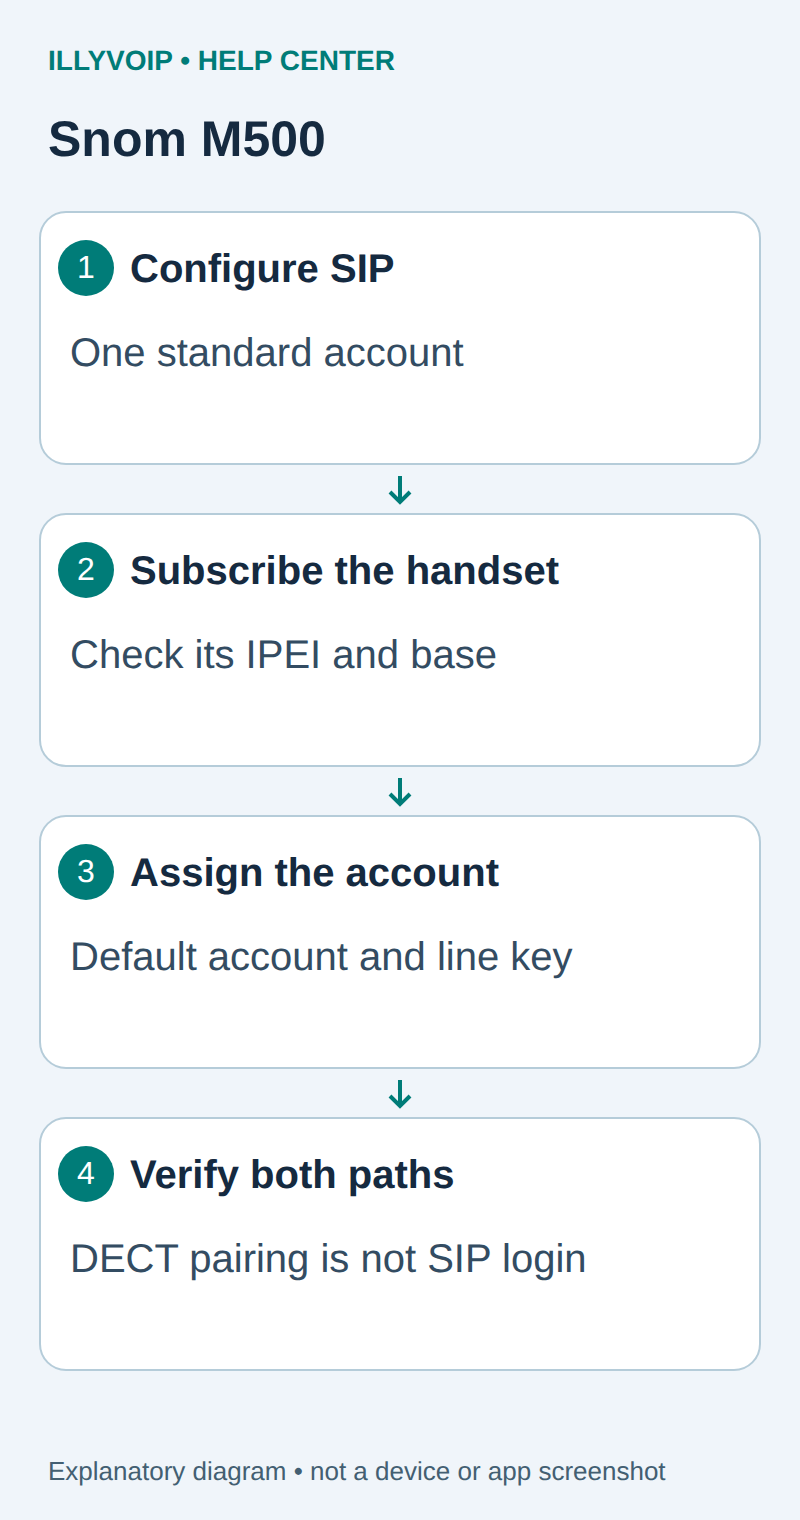
Prepare your IllyVoIP line
In the Portal, open Services → SIP Lines and select the password-authenticated line intended for this device. Record its SIP username and obtain the SIP password securely. Expand Technical endpoints and use the displayed hostname, destination port and transport. Check the line's audio-encryption policy and permitted outgoing caller ID. Your Portal email and password are not SIP credentials.
If the device will be an extension of your own PBX, enter the PBX extension details on it instead. Configure IllyVoIP on the PBX trunk using the separate PBX guide. Start with one account and one test device; avoid copying a working reception line onto several devices without checking registration behavior.
1. Reach the base and preserve its configuration
- Connect the M500 to the intended LAN and suitable power. Obtain its address from the network administrator or the existing handset's base-status information.
- Open the base's web interface from the management network and sign in with its administrator credentials.
- Record the base and handset firmware. Check whether a provisioning server owns the settings.
- Choose an unused account slot and a handset you are allowed to configure.
Do not reset an in-use base to recover web access. A base reset affects all of its registered devices.
2. Configure the SIP account
Open System → SIP Account Management, choose the account in the Account list, and open Registration. The manual groups these controls under System pages; firmware navigation can vary.
| M500 field | IllyVoIP value |
|---|---|
| Enable Account | Enable the selected account. |
| Account Type | Standard for this ordinary individual calling workflow. |
| Account label | A recognizable name for this line on the handset. |
| User Identifier | The SIP username only. Do not append the server hostname to this field. |
| Authentication Name / Password | The SIP authentication identity and password. |
| SIP Server Settings: Server address / Port | The endpoint hostname and matching destination port. |
| Registration Settings: Server address / Port | The registrar specified for the line; use the supplied endpoint when the same server handles both roles. |
Leave optional outbound and backup proxies unused unless your connection explicitly requires them. Do not replace an existing system-wide proxy while adding a single account. Save the settings and inspect the account's registration state.
3. Check transport and audio
The account has separate Signaling and Audio tabs. Match the supported transport and media-encryption settings to the IllyVoIP line. Use the actual endpoint port, not a guessed default. For TLS, verify the hostname, certificate trust and base time.
Standard and Key Line Emulation have different call-sharing behavior. Start with Standard. This article does not establish support for shared-line appearances, remote hold pickup or provider-specific feature codes.
4. Register the cordless handset
- Open Cordless Registrations on the base that owns registration.
- Identify the physical handset by its IPEI. Use the manual-registration action for the intended handset, or the documented IPEI registration procedure.
- Start registration on the handset using the registration menu in its own M55/M58 user guide. Enter the configured base registration code when requested.
- Confirm the handset appears registered, then inspect Cordless Status for its identity and range status.
- Close the registration window after adding the intended handset.
The IPEI identifies a cordless device; it is not the IllyVoIP SIP username. If you are configuring an existing handset, do not deregister it simply to change its calling account.
5. Assign the handset's calling account
Open Programmable Keys, choose the handset in Select Handset, and set its Default Account to the account you configured. Review its line-key assignments so the intended account is available. Preserve keys used by other workflows.
Check the account label on the handset before dialing. A SIP account registered on the base does not by itself prove that this handset will use it or alert for it.
6. Test the complete path
- Place one authorized outgoing call from the intended handset and account. Verify the rate first.
- Check caller ID, speech in both directions and hangup.
- Route the active incoming IllyVoIP number to the intended line, then call it from a separate phone.
- Confirm which handset rings and answer on that handset. Repeat separately for any additional line or handset you add.
Find the failing stage
No handset connection: check compatibility, range, registration window, IPEI and the base code. Handset connected but SIP unregistered: check the selected account's registrar, credentials, transport and certificate requirements. Wrong outgoing line: inspect Default Account and the handset's line selection. Incoming call does not ring: check the number destination, account assignment and DND.
For a dual-cell site, verify base synchronization and roaming independently after ordinary calls work. Do not change wideband or base topology settings during an active call; some changes reboot the base. Record the version, failing stage and timestamp for Support without including secrets.
Reference: M500 Administrator and Provisioning Manual. Reviewed October 11, 2026; physical handset and roaming acceptance remain installation-specific.