
Connect an existing Snom PA1 as a private paging extension behind a PBX that uses IllyVoIP. Calls enter through a restricted PBX route before the adapter opens its speaker path. The PBX holds the IllyVoIP trunk credentials; the PA1 receives only its own extension credentials.
This guide follows the original PA1 user manual. PA1+ has different hardware and firmware documentation; do not copy speaker ratings or wiring assumptions between them. A site administrator should already have installed a compatible speaker arrangement. This is ordinary paging guidance, not an emergency system design.
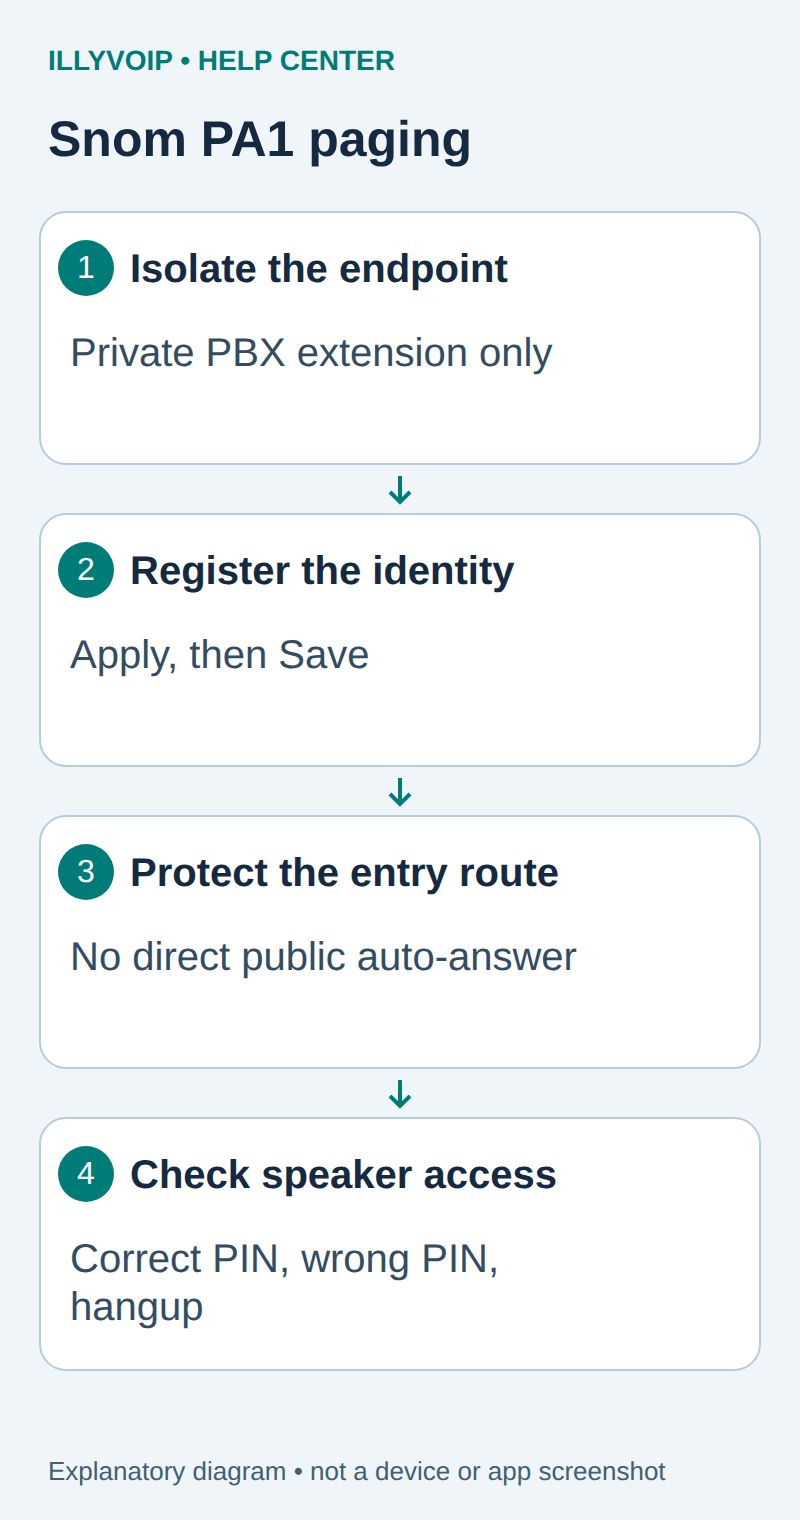
1. Find the device and prepare it
- Record the PA1 firmware and existing configuration. Confirm the correct speaker wiring, power and allowed volume with the site administrator.
- Find the device's address in the administrator's DHCP lease list or use the documented IP announcement procedure.
- Open the local web interface from an authorized management workstation.
- Set or verify the separate web-management password and preserve the existing network/provisioning policy.
The IP/Reset button has different effects during startup and normal operation. Follow the manual's timing and LED conditions if using it to announce the IP address; do not hold it or press it during an unknown boot state. A reset can erase the working setup.
2. Register the private SIP identity
Create a dedicated restricted PBX endpoint named snompa1, or choose your own consistent name. Use a unique authentication secret. Record the private PBX registrar, port and transport.
In the PA1 web interface, open Identity 1 → Login, or an unused identity approved for this installation:
| PA1 field | Value |
|---|---|
| Account | The private PBX extension identity. |
| Password | The password for that extension. |
| Registrar | The PBX registrar, using the address/port format supported by the installed firmware. |
If the firmware exposes a separate authentication name, populate it according to the PBX endpoint's requirements. Match supported signaling and media settings to the PBX. This local extension policy is separate from the IllyVoIP trunk's transport and encryption policy.
Click Apply or Re-Register, then Save to make the changes persistent. The manual describes a steady green Call LED with the red Power LED off after registration. Confirm the account status in the interface as well; LEDs alone do not prove a safe paging route.
Review loudspeaker volume, amplifier gain and the automatic call-ending setting for the installed firmware. Start quietly. Leave unused identities and multicast paths disabled or isolated so they cannot bypass the PBX gate.
3. Restrict access before enabling paging
A paging adapter answers calls to its page identity automatically. That is how it creates a live announcement, and it is why a public incoming number must not lead straight to the adapter.
- Restrict the adapter's SIP network access to the PBX and management access to authorized administrators.
- Give the adapter a private PBX extension with a unique password. Its incoming dialplan context must have no external dialing privileges.
- Make the PBX accept calls into the paging route only from the intended trunk or authorized internal users.
- For an external entry point, require authentication before dialing the paging extension. Caller ID alone is not an access credential.
- Block unused direct-IP and multicast paging paths that could bypass the PBX policy.
The following Asterisk example belongs in your PBX's supported custom dialplan location. It uses an existing named PJSIP extension, a private PIN file and a fixed destination. It does not install or configure the IllyVoIP trunk.
[illy-snompa1-authorized]
exten => s,1,Answer()
 same => n,Authenticate(/etc/asterisk/private/paging-pins)
 same => n,Dial(PJSIP/snompa1,15,L(60000))
 same => n,Hangup()
Create the private PIN file with one strong numeric paging PIN per line, readable by the Asterisk service account and inaccessible to unnecessary users. Keep real PINs out of tickets, published examples and call logs. The PBX administrator must verify how its build logs dialplan application data before enabling the route.
Route only the approved incoming number or internal access code to this context's s extension. Do not include the context indiscriminately in every inbound route. Authentication must succeed before Dial runs; the destination is fixed, never derived from caller input. The example limits the answered paging bridge to 60 seconds. Review the PIN policy, retry controls and traffic restrictions for your deployment.
On a managed PBX, use supported custom routes and extension management. Do not edit generated configuration that the PBX will overwrite, and do not restart a production PBX just to load an article example.
4. Verify the allowed and rejected paths
- Choose a quiet maintenance window and warn people who may hear the speaker. Start at a low agreed volume.
- From an authorized internal caller, use the protected entry route and correct PIN. Confirm an announcement is heard clearly and the call ends normally.
- Repeat with an incorrect PIN and with no PIN. The adapter must not receive a paging call and no speech should reach the speaker.
- From an unauthorized internal source, check that direct dialing cannot bypass the protected route.
- If an IllyVoIP incoming number is intended for paging, confirm that it reaches the PBX gate first. Test the approved and rejected paths from an external telephone.
- Check the time limit and remote hangup. An abandoned call must not leave the speaker open.
External calls can incur charges. Registration success alone proves neither safe authorization nor a working amplifier. If a rejected test reaches the speaker, disable the new paging route and correct access control before putting it into use.
Troubleshooting and recovery
Adapter does not register: check its private PBX endpoint, identity, password and transport. PIN is rejected: check the file's format and permissions and negotiated DTMF delivery to the PBX. Call answers but speaker is silent: check amplifier input, level, mute/enable and the negotiated audio path. Unexpected announcements: investigate direct extension, direct-IP and multicast paths rather than just changing the public number.
Keep the original PBX route and device export privately. If the new setup fails, disable only its entry route and restore reviewed settings without overwriting newer changes. Record the time, firmware and failed stage for Support; omit credentials and PINs.
Reference: Snom PA1 official user guide. Reviewed October 11, 2026. The example requires installation-specific PBX, speaker and authorization acceptance; no physical-system test is claimed.