
A blind transfer sends the caller toward another destination without speaking to that person first. An attended transfer lets you speak to the destination before completing the handoff. On a Yealink SIP-T54W, the Transfer controls support both workflows, but the SIP service or PBX must also permit the requested transfer.
This guide follows the SIP-T54W Quick Start Guide V86.46 and current Yealink transfer documentation. Soft-key labels and provisioned behavior can differ by firmware. It covers SIP firmware, not a Teams phone. Check the matching guide before using these steps on another model.
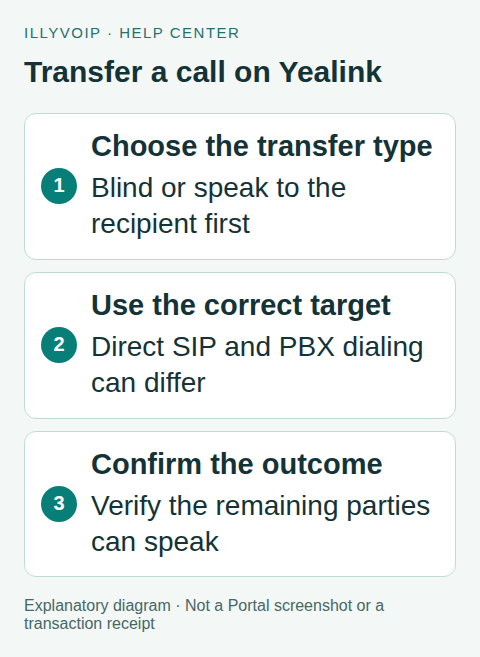
1. Establish who controls the transfer
If the phone registers directly to an IllyVoIP SIP line, the line’s permissions and allowed destinations apply. If it registers to your PBX, the PBX owns extension dialing and transfer behavior before the IllyVoIP trunk is involved. A three-digit extension that works inside one PBX is not automatically a valid destination on a directly registered line.
Confirm that your account or PBX administrator allows the intended transfer. IllyVoIP has SIP transfer controls, but this is not a promise that every account, device or call path supports every transfer variation. Do not change a working trunk’s authentication mode to enable a handset feature.
2. Check the target before transferring a customer
Place an ordinary authorized call to the intended target first. Verify the exact dial format, that the target can answer, and that two-way audio works. For an external number, use the permitted international format and check the applicable calling policy. The extra call leg may incur charges.
Agree a test with the receiving person. Start with one call and one transfer rather than testing during a busy queue. Note the original call’s time and public reference so you can correlate the later handoff.
3. Perform a blind transfer
- While speaking on the active call, press the phone’s transfer key or the Transfer soft key. The original call is placed on hold.
- Enter the verified target number.
- Use the transfer key or B Transfer soft key as shown by the SIP-T54W guide to send the call directly.
- Check the phone’s result and, during your agreed test, confirm that the target rings and receives the caller.
Once you complete a blind transfer, you have not first confirmed that the recipient is available. A busy destination, timeout or rejection may end the attempted handoff. Do not promise the caller will automatically return to you.
4. Perform an attended transfer
- During the original call, press Transfer.
- Enter the target and press Send to place the consultation call.
- Wait until the other person answers. Explain who you are transferring.
- Press the transfer key or Transfer to complete the handoff.
- In the controlled test, verify that the original caller and target can hear each other after your phone leaves the conversation.
Completing a transfer while you hear ringback is a semi-attended transfer, not a completed consultation. If the target does not answer, use the phone’s displayed cancel/end control for that consultation leg, select the held original call and resume it where the current state permits. Verify which leg is selected before pressing a hangup key.
5. Understand shortcuts and failed-transfer behavior
A BLF or speed-dial key can use a provisioned transfer mode. Pressing it may not behave like the explicit Transfer sequence above. Ask the phone/PBX administrator how that key is configured before relying on it at reception.
Yealink documents a separate resume-after-failed-blind-transfer setting. Its existence does not prove that your phone has it enabled or that every remote failure can recover the original conversation. Do not import an auto-provisioning parameter across all handsets as a trial fix. Test the chosen behavior on the intended model and call path.
6. Troubleshoot the observed failure
- The target cannot receive an ordinary call: fix its dial format, availability or routing before investigating transfer signaling.
- Transfer is rejected: retain the result and check the SIP-line/PBX transfer permission and destination policy.
- The target answers but audio fails: compare the transferred call’s media path with an ordinary call. Registration alone does not verify this leg.
- The original caller disappears: distinguish an intentional handoff, a remote hangup and failed-transfer recovery.
- The displayed caller ID changes: inspect the receiving system and current caller-ID policy; a transfer does not grant permission to present an arbitrary identity.
Change one proven setting at a time. If you collect a trace, keep the SIP dialogs and original/consultation timing together and share only sanitized evidence privately.
Acceptance checklist
Test a successful blind transfer, a successful consultation, a busy/no-answer target and cancellation back to the held caller. Confirm audio and clean hangup after transfer. Record firmware and whether the phone was direct to IllyVoIP or behind a PBX. This guide describes the procedure; it does not certify your live call path.
Frequently asked questions
Is transferring the same as forwarding a number?
No. Transfer moves an existing call. Number forwarding changes where future incoming calls are routed.
Should I redial after an uncertain transfer?
First check whether the original caller is already connected elsewhere. An immediate new call can create confusion or another charge.
Related guides and references
- Set up a Yealink desk phone with IllyVoIP
- Transfer a Voice API call and handle no answer
- Make and manage calls with the browser webphone
- Official reference: support.yealink.com
- Official reference: support-cdn.yealink.com
- Official reference: support.yealink.com
Reviewed 8 October 2026 using current IllyVoIP implementation and official references. Check your installed version and account options before applying settings. Examples do not certify a physical device or completed live integration.