
A Yeastar TA200 connects an ordinary analog telephone to a SIP service through an FXS port. This walkthrough configures one port for an IllyVoIP line. It does not configure a PSTN trunk, fax delivery or an emergency-calling service.
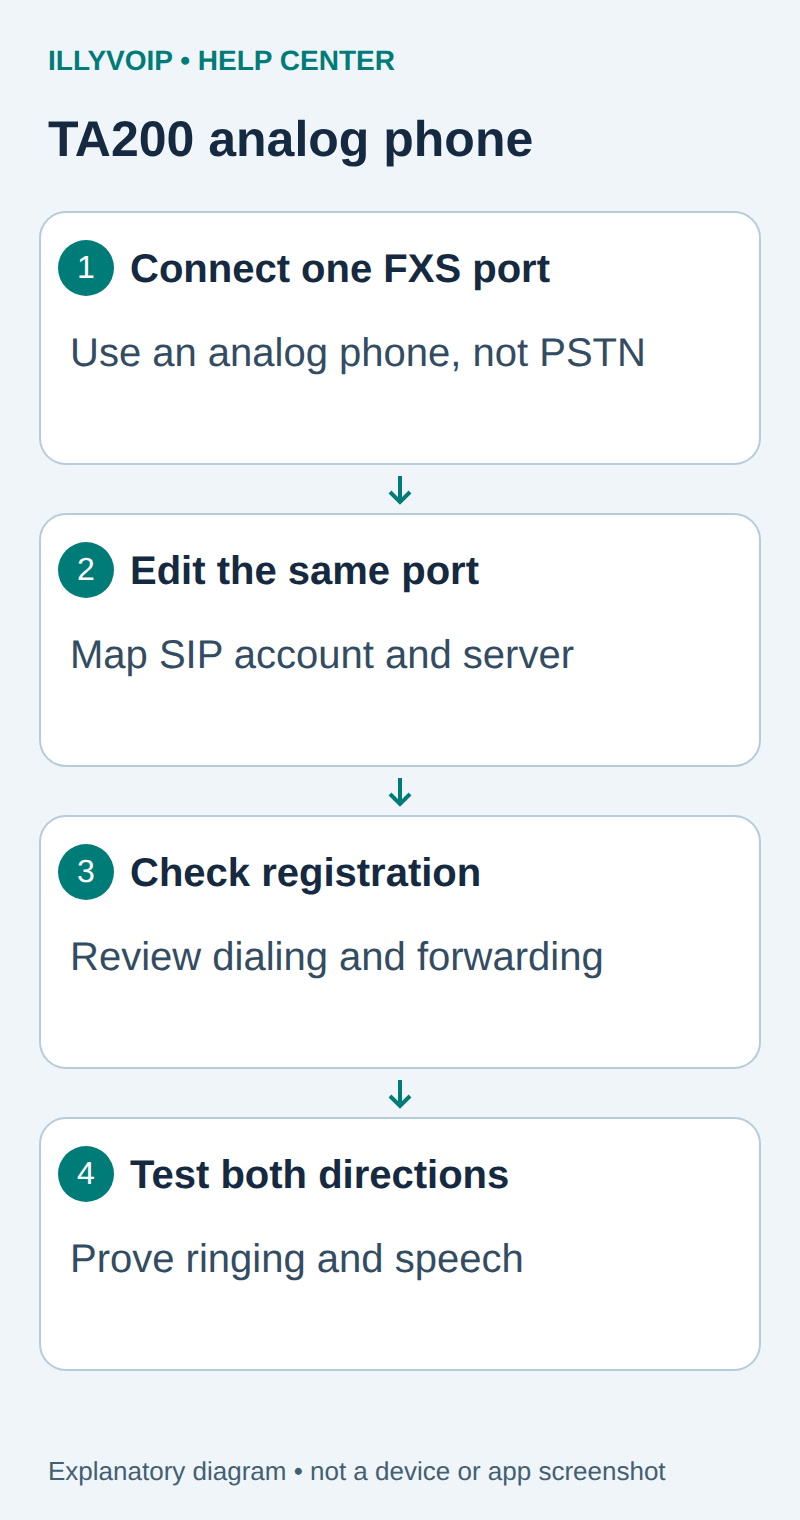
1. Connect and identify the port
Connect the TA200 to the trusted local network and its specified power supply. Plug the analog telephone into the chosen FXS socket. Do not connect a live telephone-company line to an FXS port. Note whether the phone uses port 1 or 2; changing the other port will not configure this handset.
Open the gateway’s management interface using its assigned local address. Use authorized administrator access and save a private backup or record of the current settings. Preserve the second port and any existing forwarding.
In IllyVoIP, open Services → SIP Lines, select the intended password-authenticated line and expand Technical endpoints. Copy its SIP username, SIP password, regional hostname, destination port and transport. These are not your Portal login credentials. Keep any existing working devices and IP-authenticated configuration intact.
2. Edit the selected FXS port
Open Gateway → Port Settings → FXS Port and click Edit for the connected port. In General Settings, use the following mapping.
| Setting | Value or action |
|---|---|
| User Name | IllyVoIP SIP username. |
| Authentication Name | SIP authentication ID. |
| Password | SIP password. |
| Hostname/IP | Supplied SIP server hostname and the supported destination-port configuration. |
| Domain | SIP domain supplied for the account. |
| Transport | The account’s UDP, TCP or TLS transport. |
| Caller ID Name / Number | Use the approved identity for this installation; a typed number does not grant IllyVoIP caller-ID permission. |
| From User | Leave unset unless your account configuration explicitly requires it. |
| DID Number | An incoming-call matching filter. The manual allows blank to match any/no DID information; do not put an arbitrary number here. |
| Outbound proxy / Failover | Configure only when explicitly supplied; guessed alternatives can break registration or change routing. |
3. Apply and check account state
Save the edited port and apply pending configuration using the gateway’s displayed controls. Inspect the port/account information under Status. Confirm the port you edited is registered before testing. If the firmware exposes additional incoming authentication or realm controls, follow the supplied service requirements rather than assuming a provider challenges requests in the same way as your previous PBX.
Match the transport and media policy to the line. UDP, TCP and TLS describe signaling; standard RTP, SDES-SRTP and DTLS-SRTP describe different media modes. Selecting a TLS port does not enable TLS automatically or encrypt audio. Use the supplied hostname for certificate verification and keep device time and certificate trust correct. Do not disable a firewall or expose the administration interface to the Internet.
4. Check dialing and ringing
Review the selected port’s dial plan before the first call. An analog adapter may collect digits until a rule matches or a timeout expires. Use a narrowly scoped rule appropriate to your actual dialing format; do not paste a broad international dial plan from another country. Check DND, ring timeout and Follow Me on this port. A forwarding rule can explain why the analog phone never rings.
- Confirm registration on the configured account, not merely another account on the device.
- Check your balance, destination rate and permitted caller ID. Call a number you control, using the international format accepted by your routing configuration; the call can be charged.
- Answer and check speech in both directions, the destination and caller ID. Hang up and verify the call ends.
- For incoming calls, assign an active IllyVoIP number to the intended SIP line in its number configuration. Registration alone does not change that destination. Call it from another phone and verify the intended device rings.
If an automated menu is required, test its digits during an authorized call and match the negotiated DTMF method. That is separate from dialing digits before the call starts. This article does not promise fax or T.38 compatibility.
Troubleshooting by stage
- No registration: compare the hostname, destination port, transport, authentication ID and password. A SIP digest challenge can be normal; repeated challenges or a final rejection need investigation.
- Registered but calls fail: check the dialed destination, balance, routing permissions and authorized caller ID before changing credentials.
- Connected with missing speech: inspect codec negotiation, matching media security and the actual RTP path. Successful registration does not prove audio works.
- Incoming call reaches another destination: check the number’s destination and the selected account, then forwarding and do-not-disturb settings.
If you contact Support, include the model, firmware, time with timezone, visible error and public call reference. Remove passwords, authorization headers and private contact details from evidence. Roll back only the settings changed for this setup.
If the handset has no local dial tone, check power, the telephone cable, the actual FXS socket and the telephone before changing Internet settings. A working dial tone still does not prove SIP registration.
Documentation and scope
Yeastar TA100/TA200 manual. Reviewed October 11, 2026. Manufacturer instructions and current IllyVoIP settings inform this guide; physical-device and live-provider acceptance must be completed on your installation.