
Current Portal: open Services → SIP Lines for the selected identity's SIP details. Match its authentication, signaling transport and call-audio settings on your device; old screenshots show an earlier software version. Use your own credentials and current regional server. Private values in illustrations are hidden.
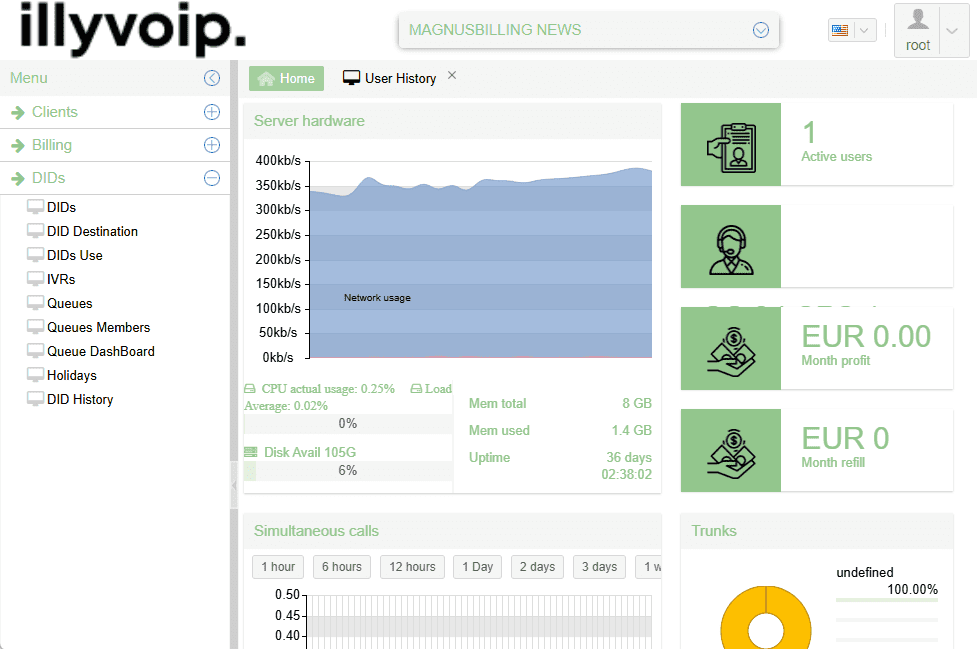
MagnusBilling is a powerful open-source VoIP billing system that lets you manage SIP trunks, VoIP providers, DIDs, and call routing efficiently. It’s widely used by VoIP businesses, call centers, and service providers to automate billing, monitor call usage, and optimize traffic routes.
Key Features of MagnusBilling
- Manage VoIP accounts for users and clients.
- Create and configure SIP trunks to connect with providers like ILLYVOIP.
- Set up inbound and outbound routes to control call handling.
- Automate billing and balance deductions by duration and rates.
- Monitor live call logs and reports for activity and usage.
- Become a VoIP reseller by offering ILLYVOIP services and managing everything from MagnusBilling.
By integrating MagnusBilling with Illyvoip, you can resell VoIP services, manage multiple clients, set pricing, and scale your business without worrying about infrastructure.
Step 1: Logging into MagnusBilling
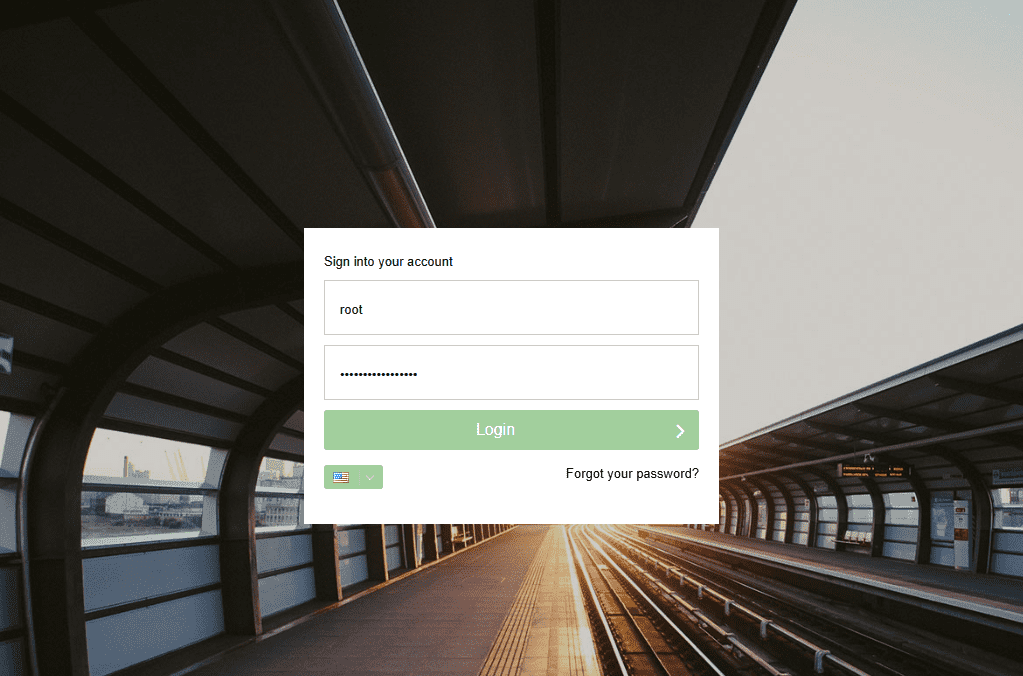
Open your own MagnusBilling administrator URL and sign in using the credentials configured for your installation. Change default credentials before exposing the system.
- Username: your MagnusBilling administrator username.
- Password: use your own password for the selected account.
Step 2: Creating a New User
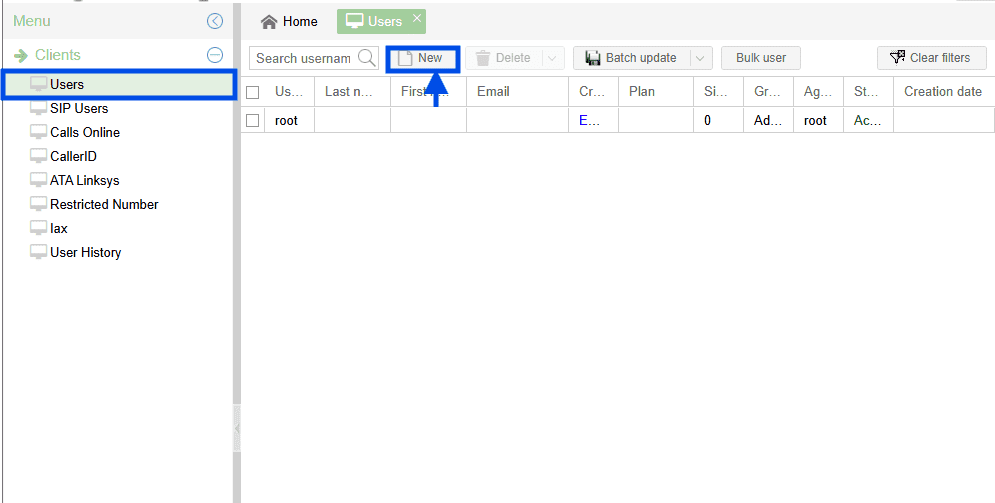
Create a user (client) to assign a plan and SIP:
- Clients -> Users -> New
- Select Client as the user group.
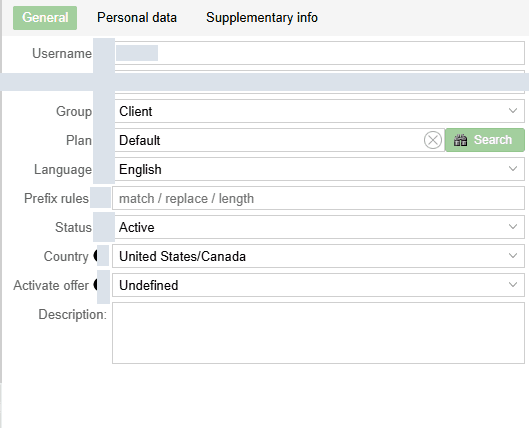
Use the default plan for now. You can create a custom rate plan later.
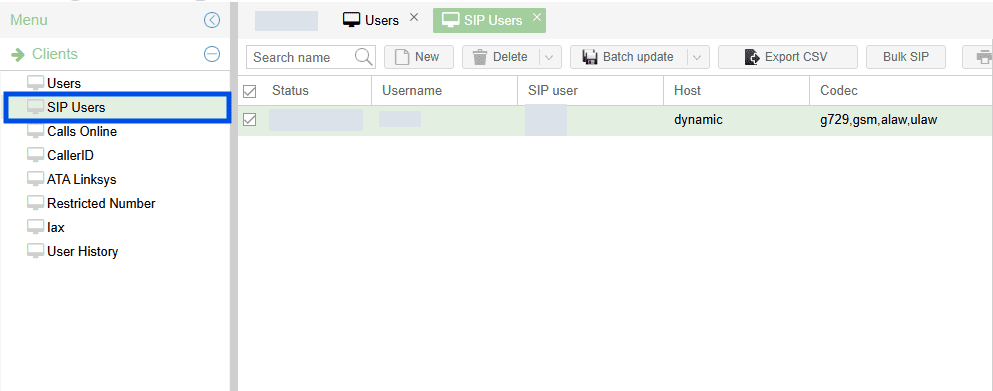
Testing the SIP Account
MagnusBilling generates a SIP account per user. Test with Zoiper (any SIP softphone works).
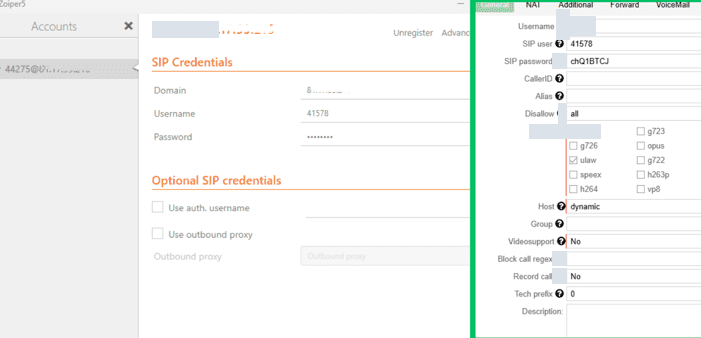
Enter:
- Domain:
your MagnusBilling server address - Username:
41578 - Password: use your own password for the selected account.
Click Register.
If successful, SIP status shows OK.
Full Zoiper guide: How to Set Up Zoiper with a SIP User.
Before test calls, create a Provider: Routes -> Providers -> New
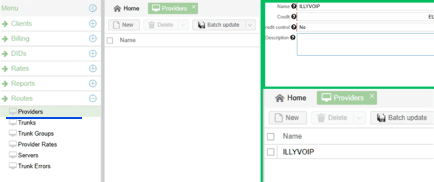
Provider Fields
- Name: Illyvoip
- Credit: Track available funds with the provider.
- Credit Control: Monitor spend and remaining balance.
- Description: Notes about this provider.
Click Save.
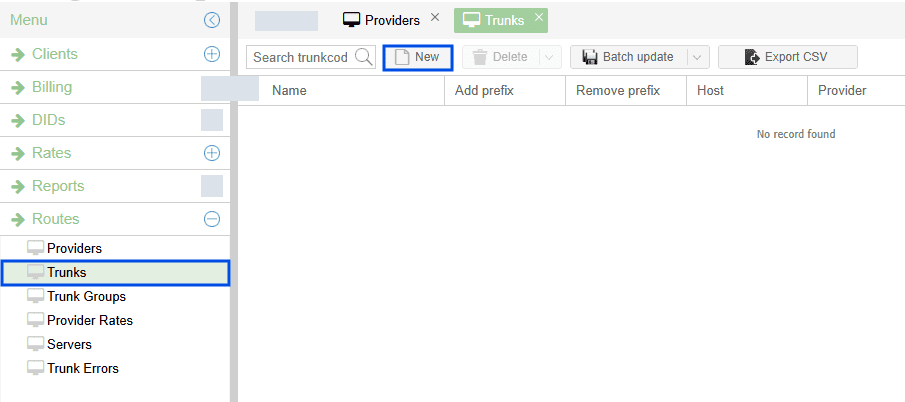
Adding a SIP Trunk
Routes -> Trunks -> New -> add your ILLYVOIP trunk (for in/out routing).
Get Your SIP Account Details
- Log in to ILLYVOIP.
- Open SIP Lines.
- Copy your SIP Username, Password, and Domain.
- Use them in the Magnus Trunk.
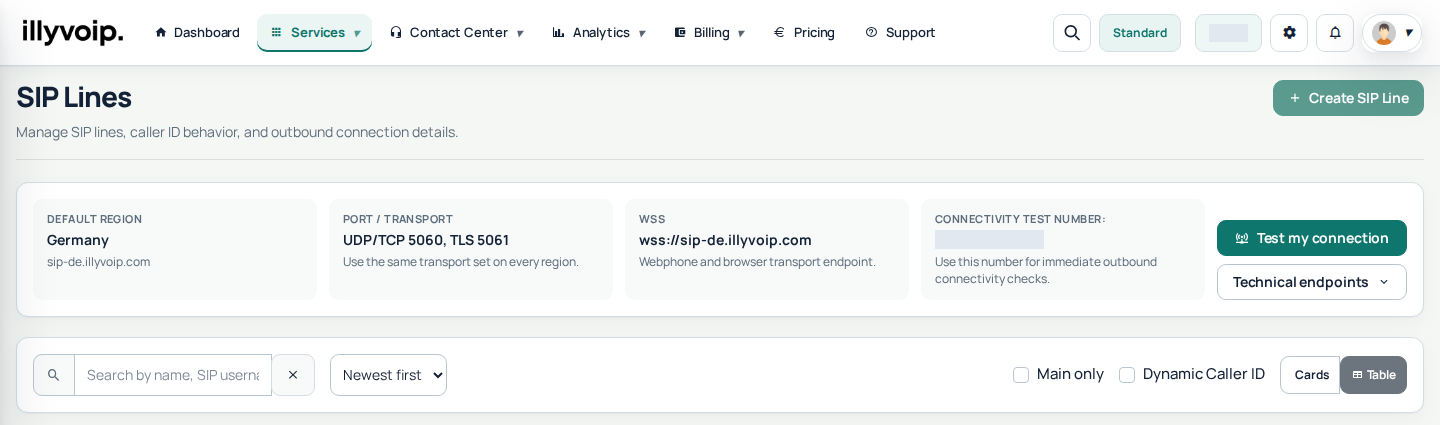
Use Services → SIP Lines in the current Portal to manage the identity and its authentication mode. SIP lines and agent accounts are separate options; the old Convert to Trunk control is not required.
Difference: SIP User vs SIP Trunk
- SIP identity: the credentials or source-IP authorization used by your selected device or PBX.
- SIP trunk: the PBX connection carrying calls for its extensions, within your account and device limits.
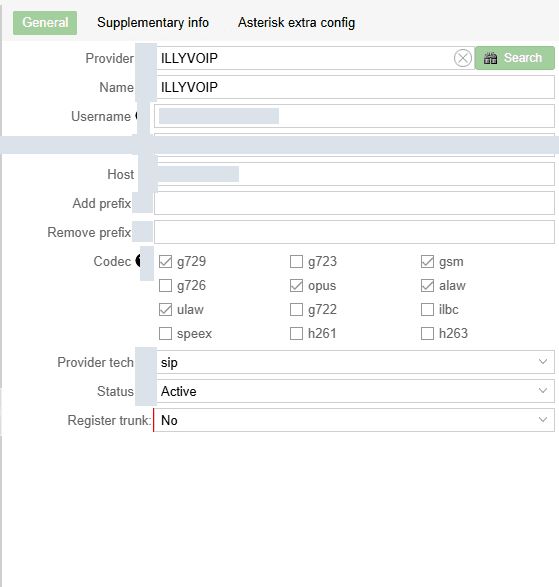
Trunk Fields (example)
- Provider: ILLYVOIP
- Name: ILLYVOIP
- Username: Your SIP username
- Password: use your own password for the selected account.
- Host/IP: e.g.,
the SIP server shown in your Portal - Prefix (optional): copy the current technical prefix of a package available to your account. Do not reuse an old Platinum or Premium example.

Using IP-to-IP Authentication
Configure a SIP trunk with IP Authentication:
- Open your SIP Account on Illyvoip.
- On the intended SIP line, choose Actions and the IP-authentication option if available. Enter the public source IP used by your PBX. Review the change before saving.
- Enter your server IP address.
- On MagnusBilling, fill only the Host (SIP Server).
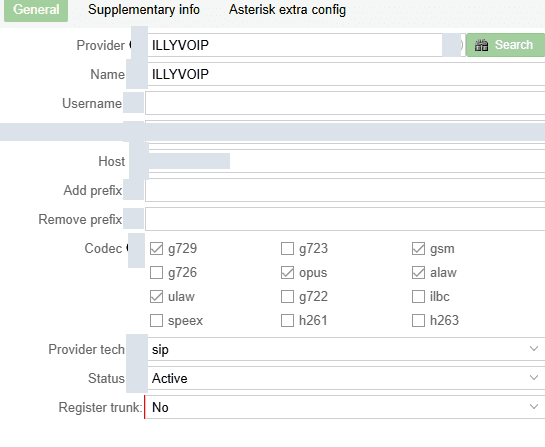
If everything is configured correctly, your ILLYVOIP trunk shows Active.
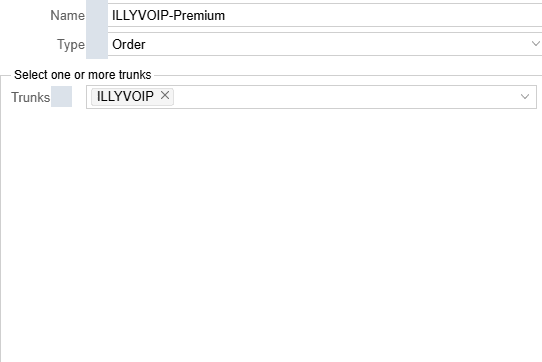
Create Trunk Groups: Routes -> Trunk Groups -> New
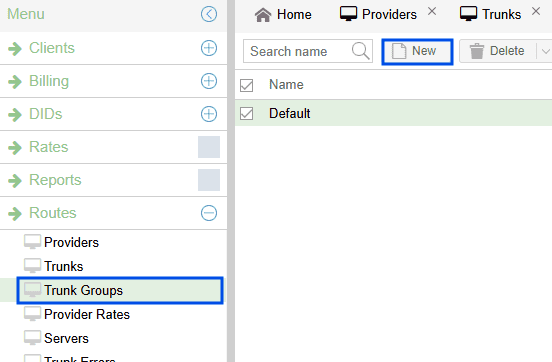
Configuring Trunk Group
- Name: ILLYVOIP-Premium
- Type: Order
- Trunks: ILLYVOIP
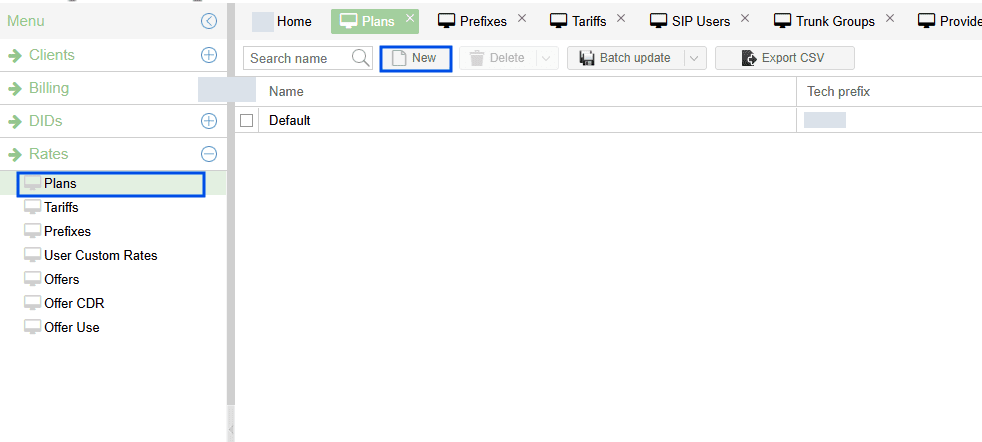
Creating a New Plan
- Rates -> Plans -> New
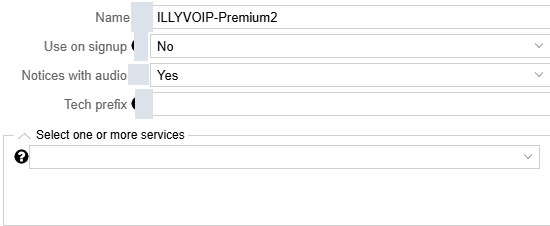
- Name: ILLYVOIP-Premium
- Use on signup: optional
- Notices with audio: Yes/No
- Tech Prefix: optional
Configuring Prefixes
- Rates -> Prefixes -> New
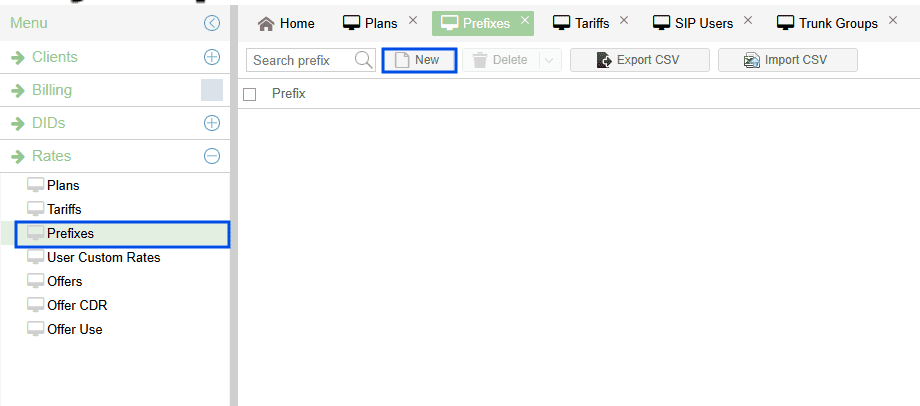
You can bulk upload prefixes and tariffs via CSV, or add manually:

Configuring Tariffs
Rates -> Tariffs -> New
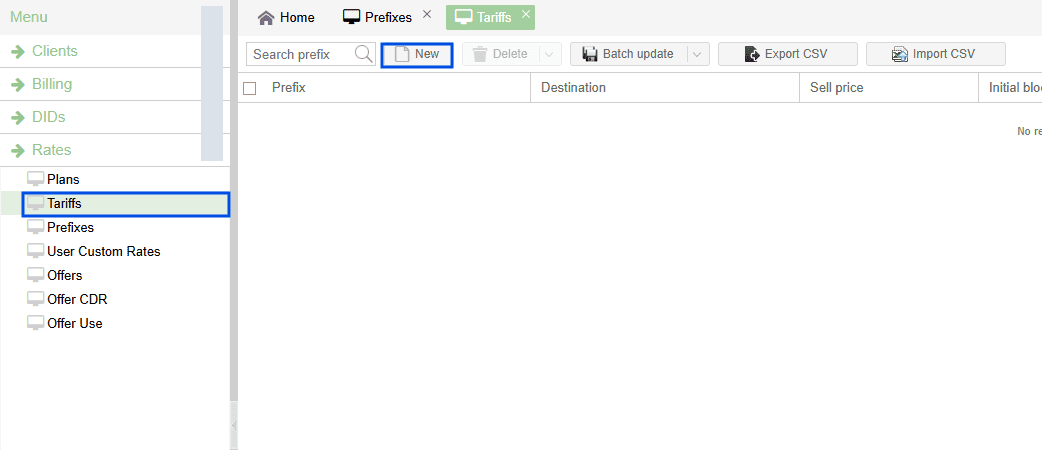
Tariffs for Prefix Destinations
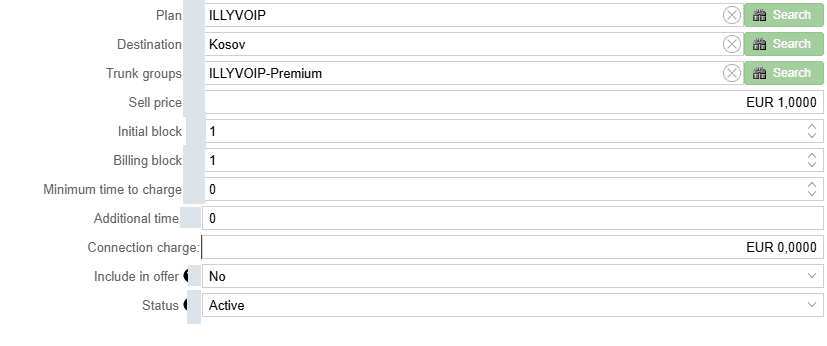
- Plan: ILLYVOIP
- Destination: selected prefix (e.g., 383 Kosovo)
- Trunk Groups: ILLYVOIP-Premium
- Sell Price: per minute
- Initial/Billing Block: e.g., 1/1
Finalize & Test Calls
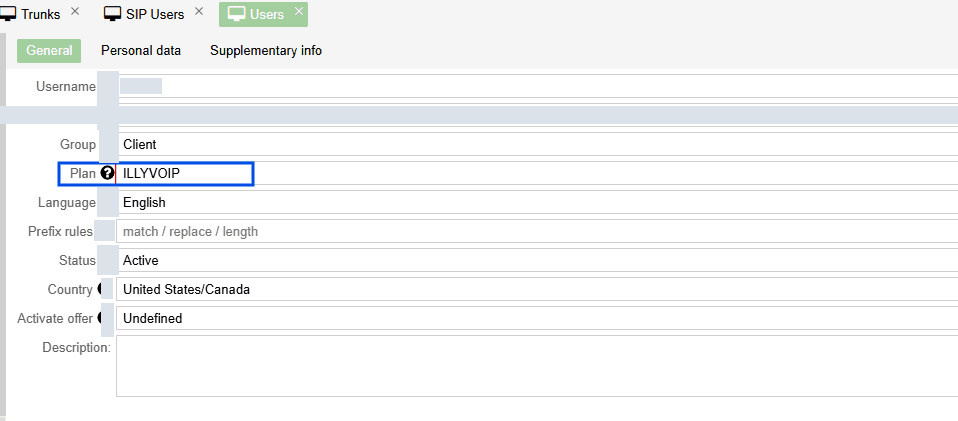
- Update the user’s routing plan to use your plan/trunks.
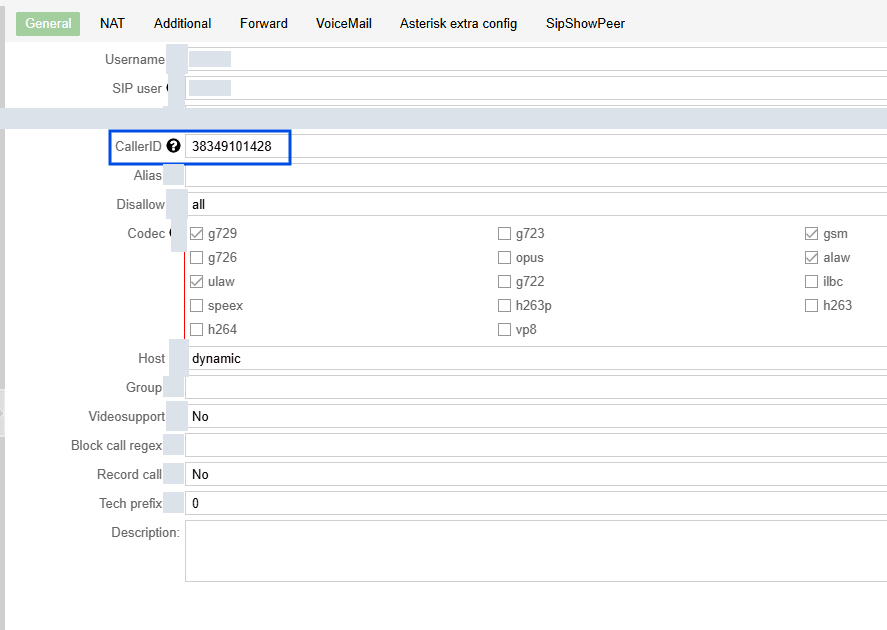
- Assign a Caller ID to the SIP user.
Ensure the User Has Credit
Otherwise you’ll see Balance Empty.
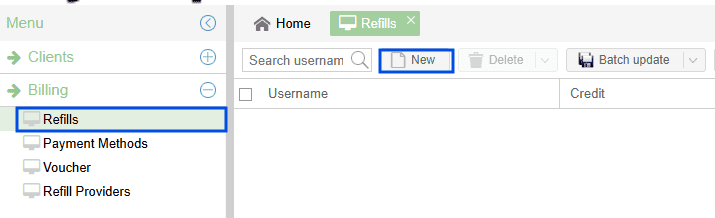
- Billing -> Refills -> New
Assigning Credit to a User
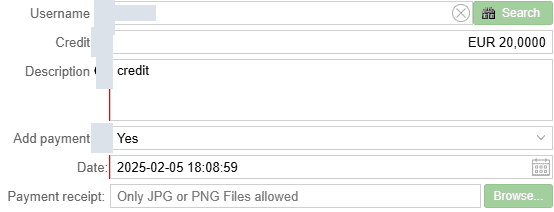
- Username: pick the user
- Credit: amount
- Description: note
- Add Payment: Yes to mark paid
Making a Test Call
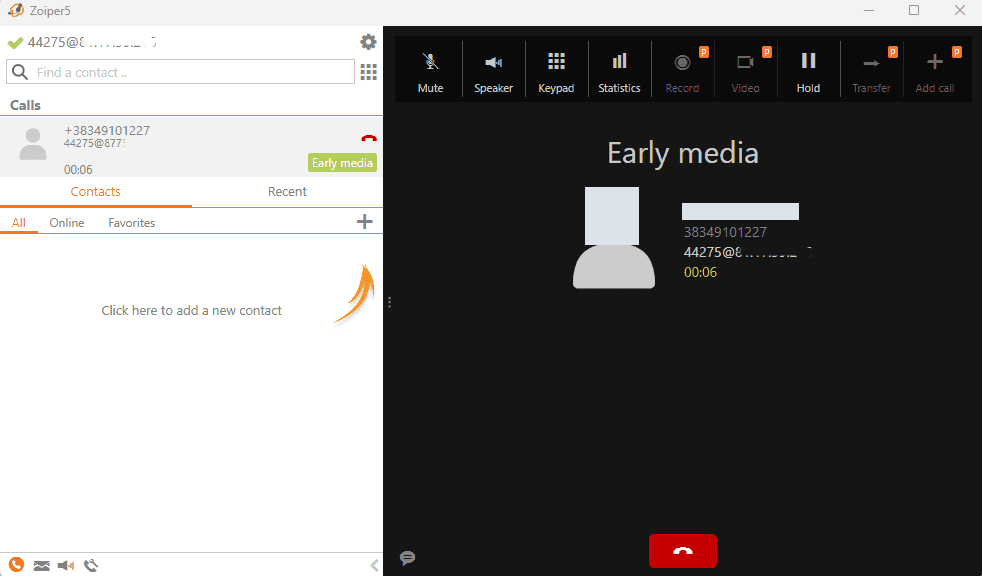
Place a test call.
If everything is set up correctly, your test call will connect successfully.
Configuring DID Numbers on MagnusBilling
Step-by-Step for Illyvoip DIDs
Assign Your DID
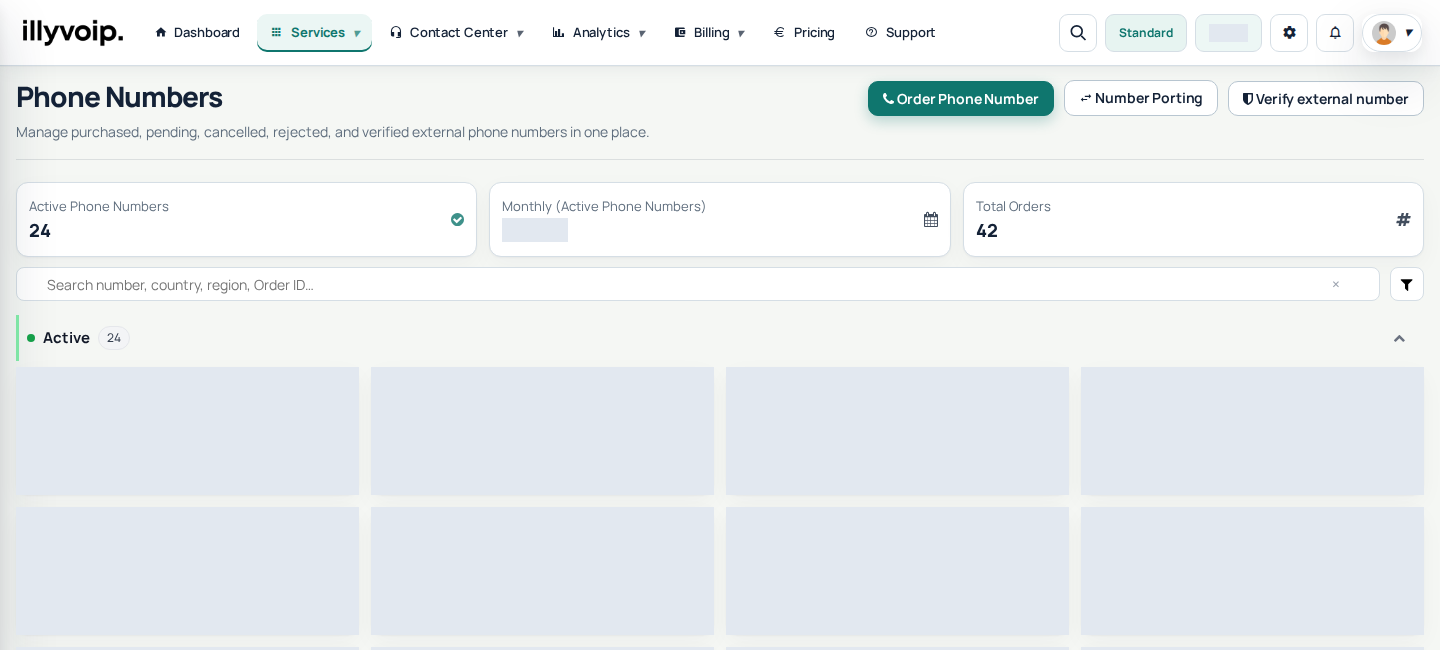
- In Illyvoip -> Phone Numbers.
- Select your active DID -> Actions -> Configure.
- Choose External SIP servers to send inbound calls to MagnusBilling.
Configure the DID in MagnusBilling
- DIDs -> New
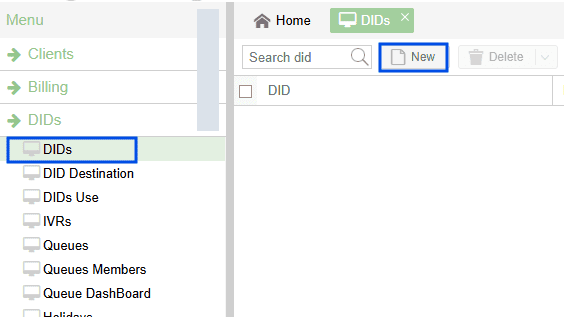
Fill at least: DID Number, Country, and set Status to Active.
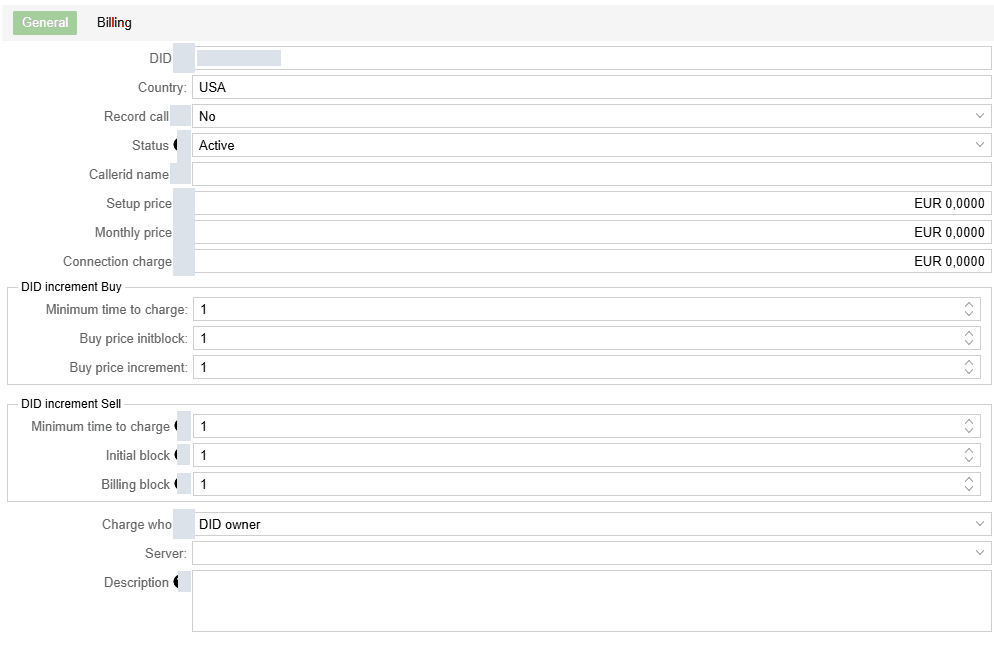
Recommended: complete billing details (Setup, Monthly, Connection Charge) and set Caller ID, DID increments, and Server.
When successful, the Number status shows Active.
Now set the DID destination (where to route inbound calls).
Configuring DID Destination
- Select your DID from the list.
- Enter the Username (SIP user) that will receive the calls.
- Set Status to Active.
- Priority: 1 (or as needed).
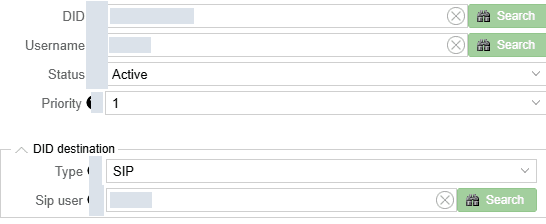
Click Yes to save. You should now receive calls on your Zoiper SIP extension.
Testing Your DID
Make a test call to your DID from a mobile SIM.
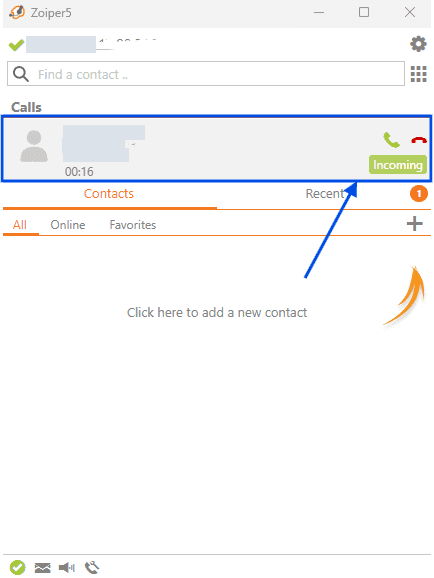
Calls should arrive on your Zoiper 5 SIP extension. If you need help, contact support.